
Quick & Dirty Hard Cider
In the unseasonably hot September afternoon sun, I visited the orchard to stock up on eating apples and a gallon of unpasteurized cider. Turning it into hard cider takes minutes of your time and a few days of blind neglect.
It's apple season! And what a year it has been for apples. I'm discovering apple trees I didn't even know existed on the edge of my woods, all bowing gracefully into autumn with their heavy loads of beautiful, imperfect, wild apples. While I have dreams of pressing cider from my own apples, I wasn't able to track down an apple grinder in time for pressing this year. Luckily, there is an orchard two miles from my house to fulfill all of my apple needs.
In the unseasonably hot September afternoon sun, I visited the orchard to stock up on eating apples and a gallon of unpasteurized cider. Turning it into hard cider takes minutes of your time and a few days of benign neglect.
Hands down the easiest way to make hard cider is to open your plastic jug of unpasteurized cider, pour off a glass to drink fresh, put the lid back on and leave it alone until the lid pops of of its own accord. Drink over the next few days as it continues to ferment. Read on for a more in depth look at making hard cider.
First, the apple cider must be unpasteurized. Pasteurized cider often has added preservatives which prevent fermentation, so it will never turn into hard cider. Try it, and you'll just waste the cider.

Second, apple cider expands when it ferments, due to the carbon dioxide that is released by the wild yeasts who are busy turning the apple sugar into sweet, sweet, alcohol, for free. Take some time to thank them when you start your cider. Because the cider will expand while fermenting, there must be room in the top of the container when you start, or you're end up with cider (and flies) all over the counter, and less hard cider to enjoy.
To this end, Either pour off a glass of fresh cider from the container you buy it in, or transfer your cider into a larger container before letting sit out to ferment. Because most cider is available in plastic containers, I like to transfer one gallon of fresh cider into two half gallon ball jars to ferment. You can either drink the "extra" cider or ferment it in a quart jar.

Pro Tip: If you like to ferment in half gallon jars, put a thick rubber band around the middle of the jar to prevent it slipping out of your hand when you pick it up.
Now that you've given the cider some breathing room, it's time to cover it to keep out the flies. Apple cider contains naturally occurring yeasts that are present on the skin of the apple when it is harvested, so your cider does not need to be open to the air like some other ferments. You're not trying to catch wild yeast here. The cider has all the yeast that it needs.
I covered the cider pictured here with squares of an old t-shirt secured with a jar ring because that's what I had available. You can also cover it loosely with a ball jar lid and ring, making sure the ring is loose enough to allow the gases to escape. DO NOT COVER TIGHTLY. If you cover the jars tightly, the fermentation gas will be trapped and the jar will explode! Don't waste the cider or the time it will take you to visit the ER. If you have an airlock set up for other fermentation projects, you can use that as well to release the air while covering the cider.

Label your jars with the date. I promise that you will forget when you started them.
Apple cider tastes best when it ferments below 70F degrees. For quick counter top cider, it's okay to ferment it at higher temperatures, but the pros keep the cider cool.
Place your cider on the counter, in the pantry, or on the cellar stairs. Ignore it for three days. By then, it will start bubbling and fermenting and turning into alcohol. You can start tasting it after three days, but I usually leave mine out to ferment for a week before drinking it. You will be able to taste the alcohol when it is ready, and the cider should start to clear a little as it ages. There's no right answer for when you should drink the cider. Just try it.
Alternatively, you could just drink the cider out of the jug, starting when it is fresh, and store it on the counter until it's empty. You'll drink some of it fresh and some of it hard, at varying levels of alcohol content. Hard cider tops out at about 5% alcohol, so you won't get a higher proof if you leave it out for an extended period of time. However, if left out for weeks, it will start turning into apple cider vinegar, but in my experience that can take six months or more to finish fermenting.
I know it can be nerve-wracking to start your own fermentation, but as with other ferments, if the cider smells good, you shouldn't worry about drinking it. Apple cider has lots of sugar and acid, which protect it from spoilage while the naturally occurring yeasts work their magic. As long as you start with unpasteurized cider, this is an easy and safe fermentation to try at home.
In short, leave unpasteurized apple cider out on the counter. Watch it bubble. Drink it down. Just about the cheapest, easiest, and most delicious way to make alcohol at home. My own price comparison (at $6 per gallon for fresh cider) pegs the homemade cider at one-third the price of bottled hard cider. Well worth the time and effort!
Because fresh cider can be hard to find year-round, you can always freeze an extra jug of it to ferment later on. Sealed plastic jugs of cider can be safely frozen without bursting. In fact, if you buy unpasteurized cider in the spring or summer, it was likely frozen by the orchard to preserve it before it was delivered to the store -- a testament to how fast apple cider ferments, and why homemade hard apple cider is such a sure bet.
Cider Bonus: Unfiltered hard apple cider is full of antioxidants and B Vitamins, a byproduct of the fermentation process. When we think about John Adams and early American colonists tucking into a pint of cider over breakfast, they were not only starting their day on a happy note with a beverage safer than the available water, they were imbibing a natural "multivitamin" for energy and health. I'll drink to that!

Nothing But Apple(sauce)
By March, storage apples are usually losing their vigor and very few varieties are still good for fresh eating. So, I was pleasantly surprised last week to see 25lb bags of apples for sale from our local orchard for $5.99. How could I resist?
I love apples. I LOVE apples. When I was a child, if you offered me either an apple or a cookie, I would choose the apple. I store them to eat fresh, I dry them to snack on, and I can applesauce. Usually, all of my apple preserving is done in the autumn, but last year, I ran out of time and was only able to make a small batch of applesauce from a neighbor's tree. I have been savoring each jar all winter.
By March, storage apples are usually losing their vigor and very few varieties are still good for fresh eating. So, I was pleasantly surprised last week to see 25lb bags of apples for sale from our local orchard for $5.99. How could I resist? As you can see from the picture, I also couldn't resist a new hatchet to tackle some small felling projects this spring.

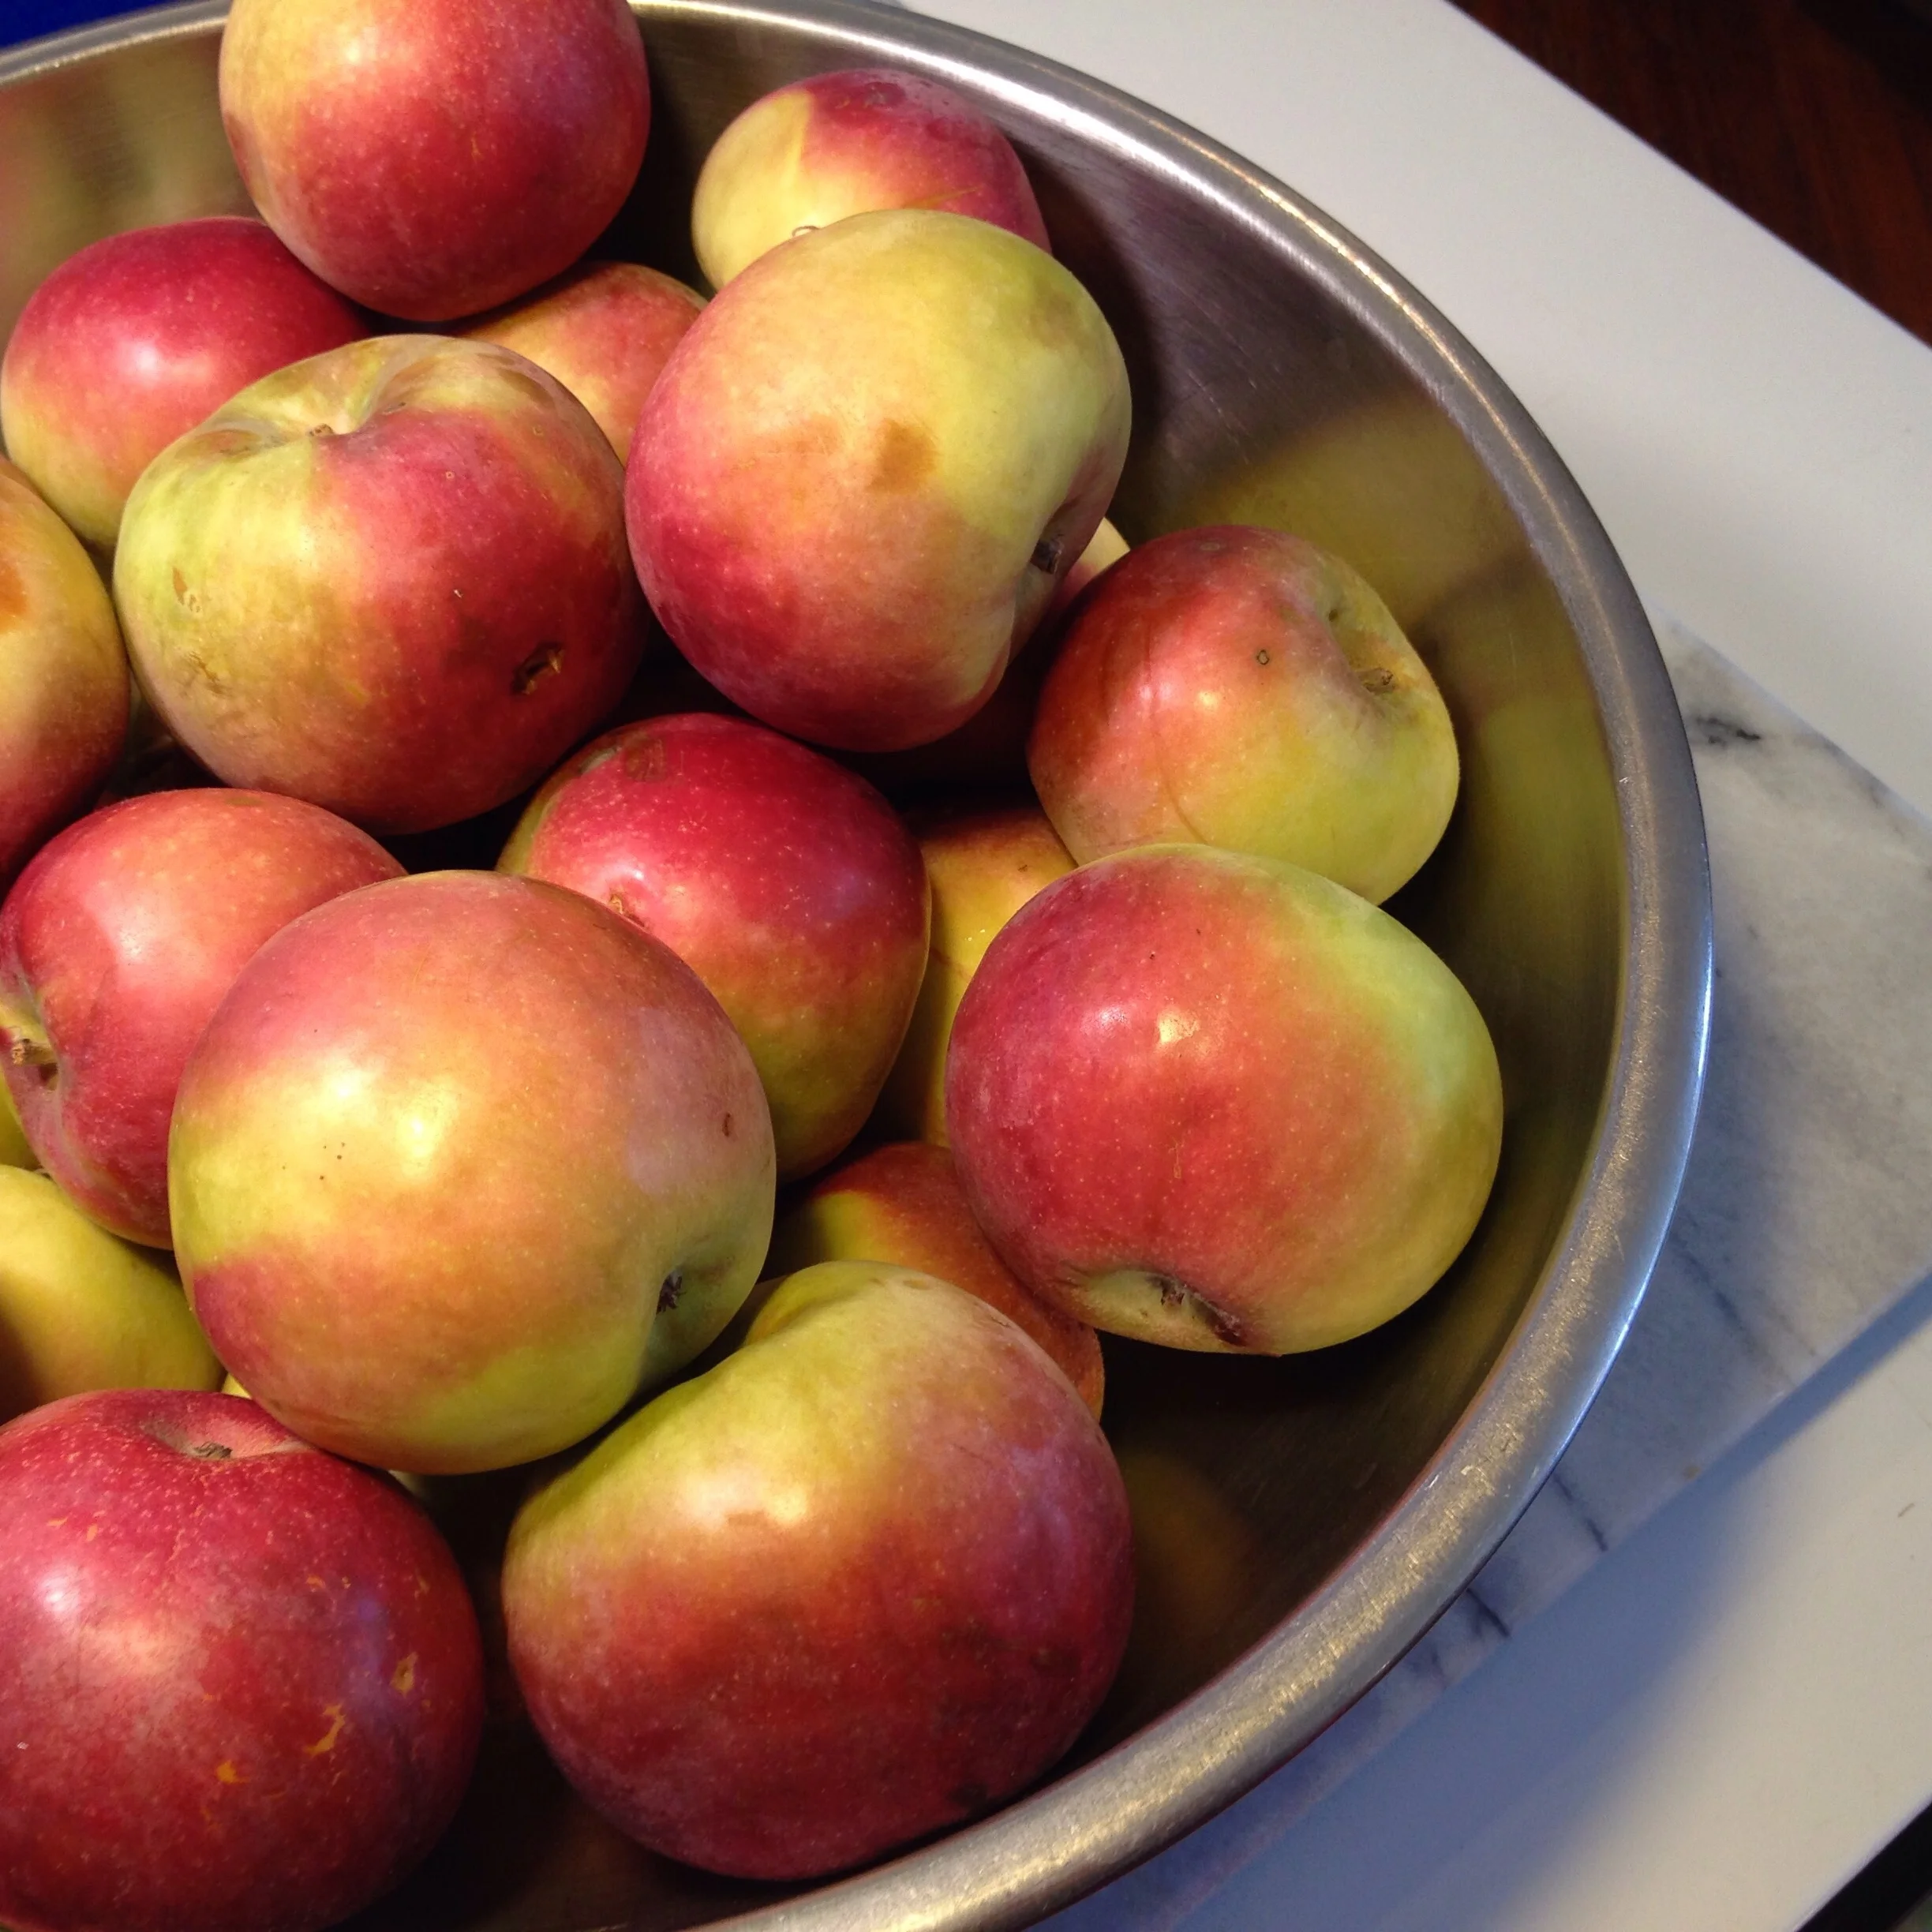
The apples themselves are battered and worn, but still firm and more than good enough for a few quick batches applesauce. Applesauce tastes the best when you use more than one variety of apple, and I prefer to use mostly red apples to get a pink sauce, but as long as the apples aren't rotten, you really can't go wrong. Here is a close-up of the apples I used this time:

To prep the apples, I soak them in water, then take one apple at a time, cut off any rotten or diseased parts, cut into eighths, and toss in a large pot. Into the pot I also put about a cup of water. The water helps to prevent the apples from burning as they soften. Working in 8lb batches, I filled my first pot. Be sure to leave enough space to stir the apples as they cook. I didn't leave quite enough space this time, so I covered the pot for the first 5 minutes of cooking and lowered the heat to prevent burning.
A note about prepping apples: I use a food mill to make applesauce. It separates skins and seeds from the cooked applesauce. If you do not have a food mill, you must peel, core, and slice your apples before heating them (try using an apple peeler/corer/slicer). If you have red apples and want a pink sauce, you can still put a few red skins back into the applesauce as it cooks, to color the sauce, and then just remove the skins by hand before filling the jars.

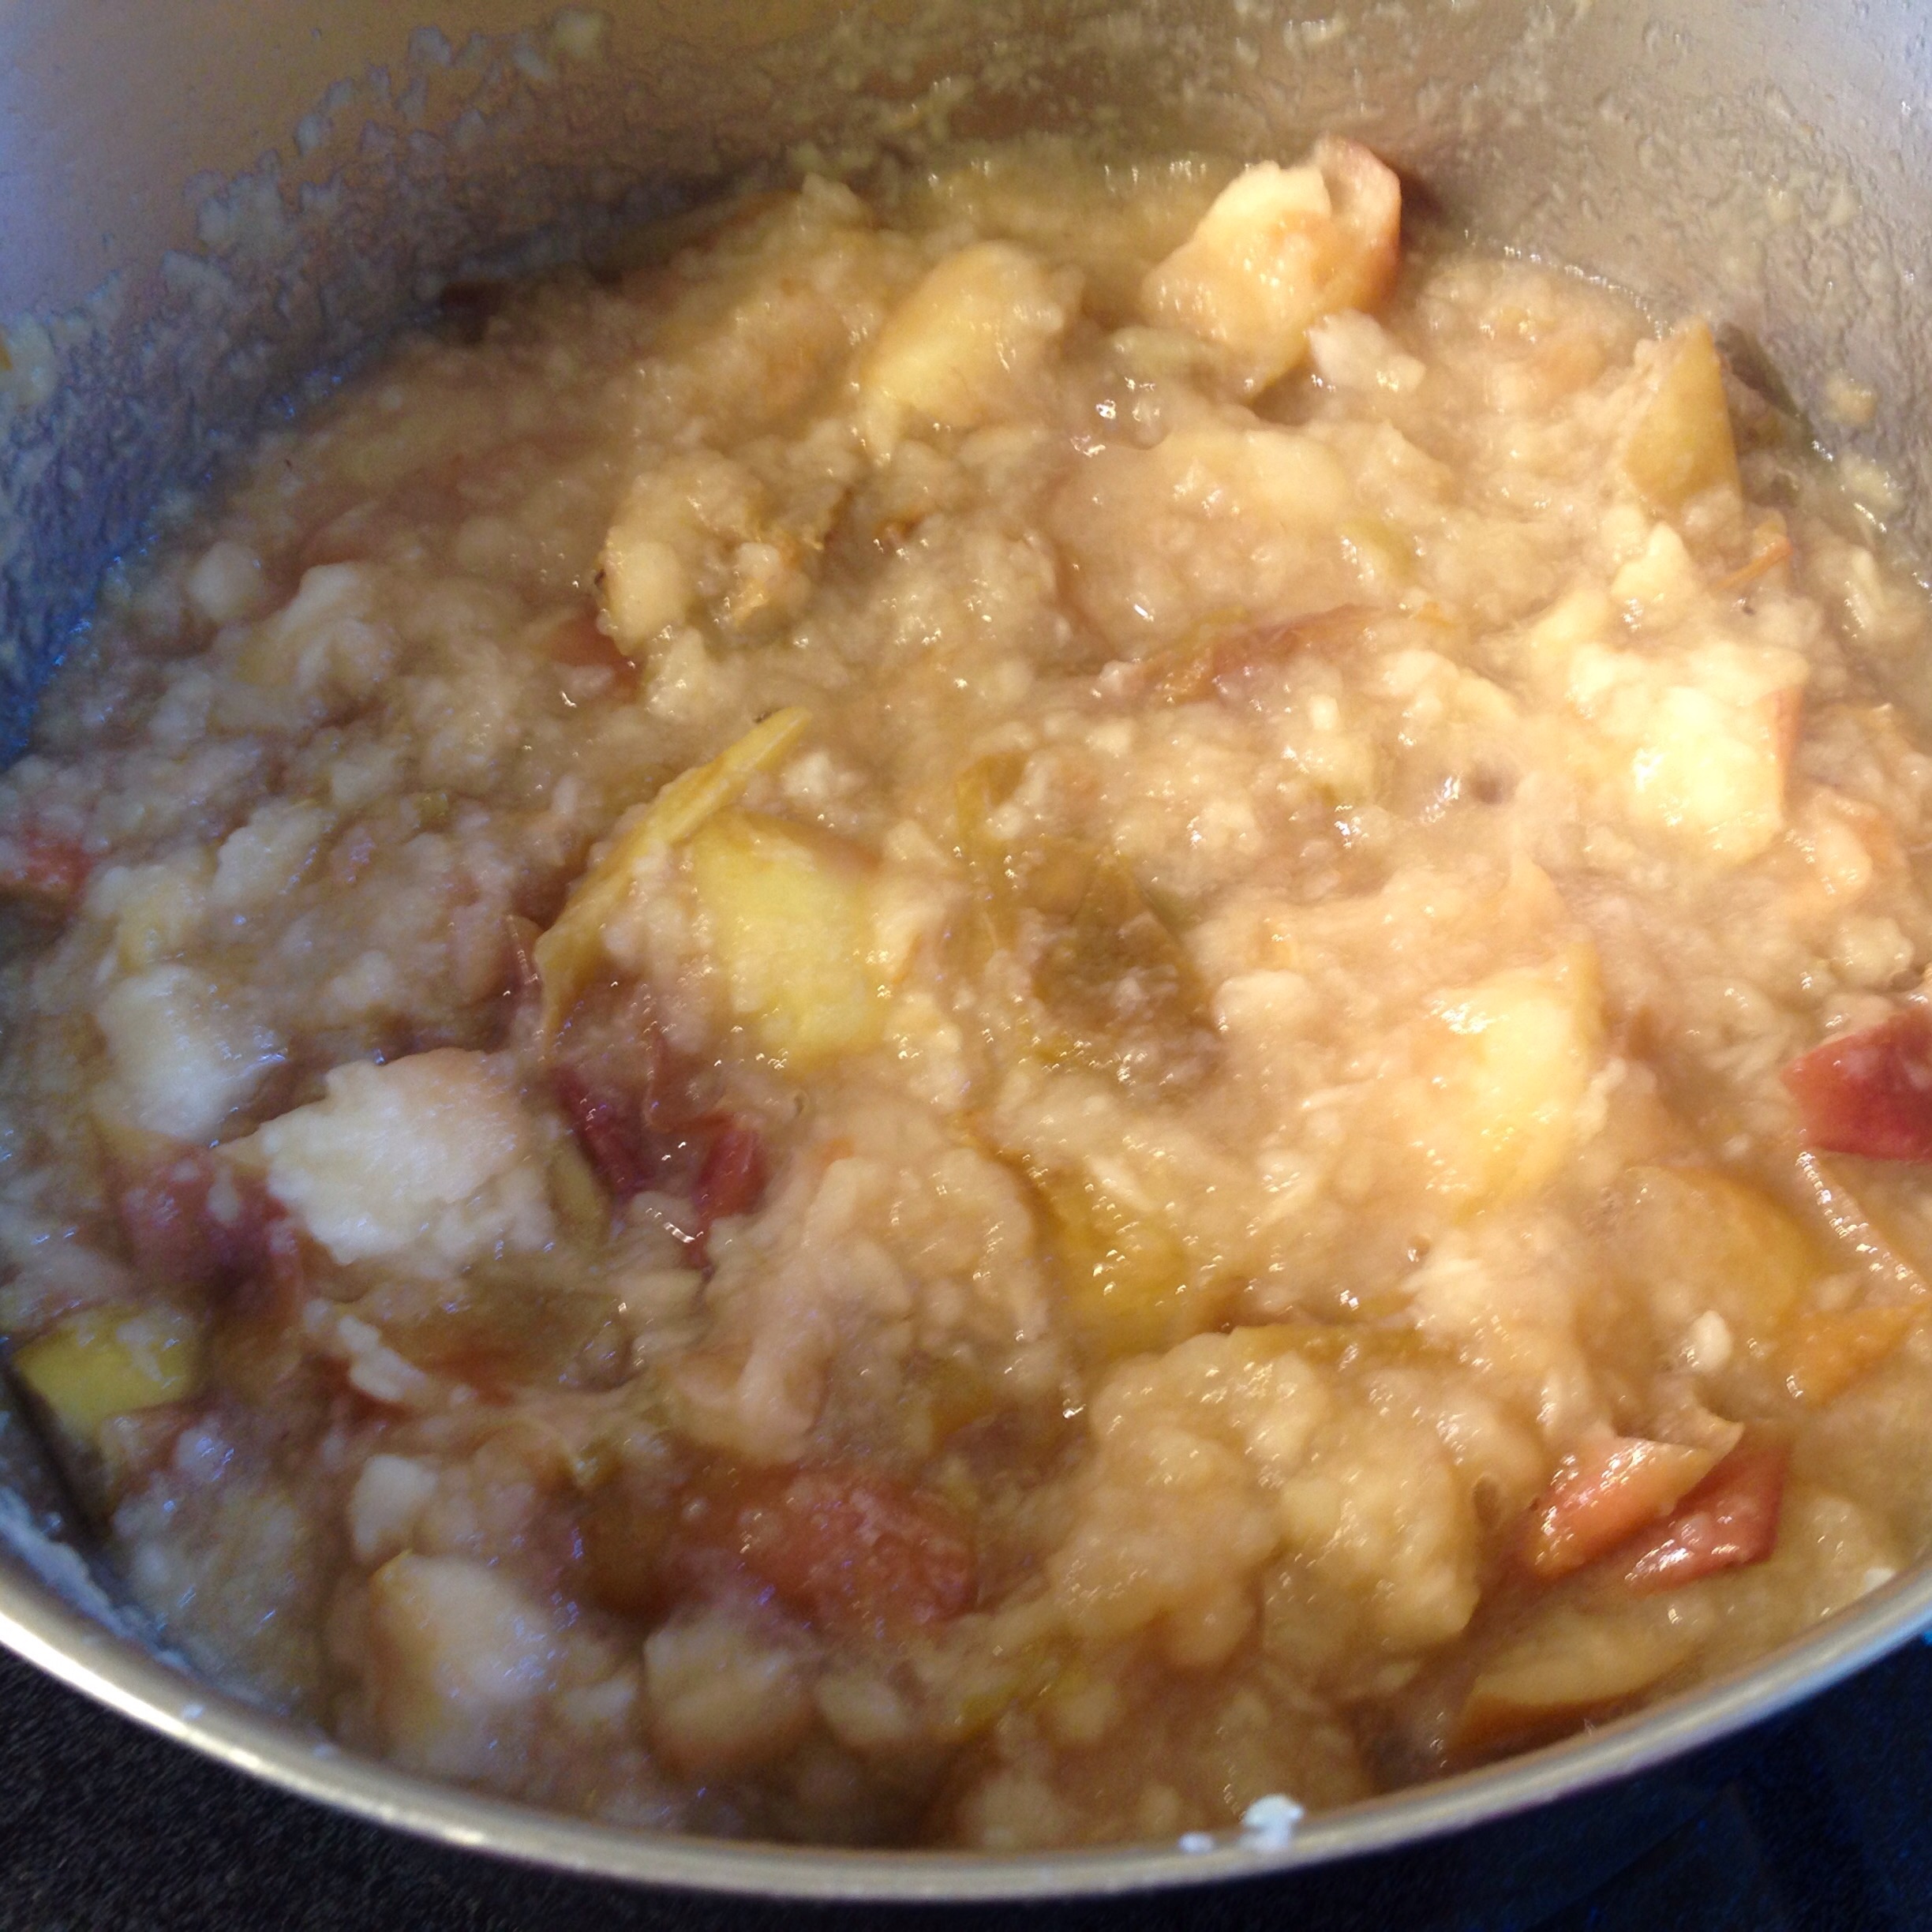
Once the apples soften slightly, stir them carefully every few minutes to prevent burning. I cannot stress this enough: you must stir. Apples have a lot of sugar in them, and they will burn if you turn your attention elsewhere for too long, and a burned apple ruins the whole pot! Here's a picture of the apples about halfway through cooking. They are soft and turning into applesauce. The house smells delicious now!
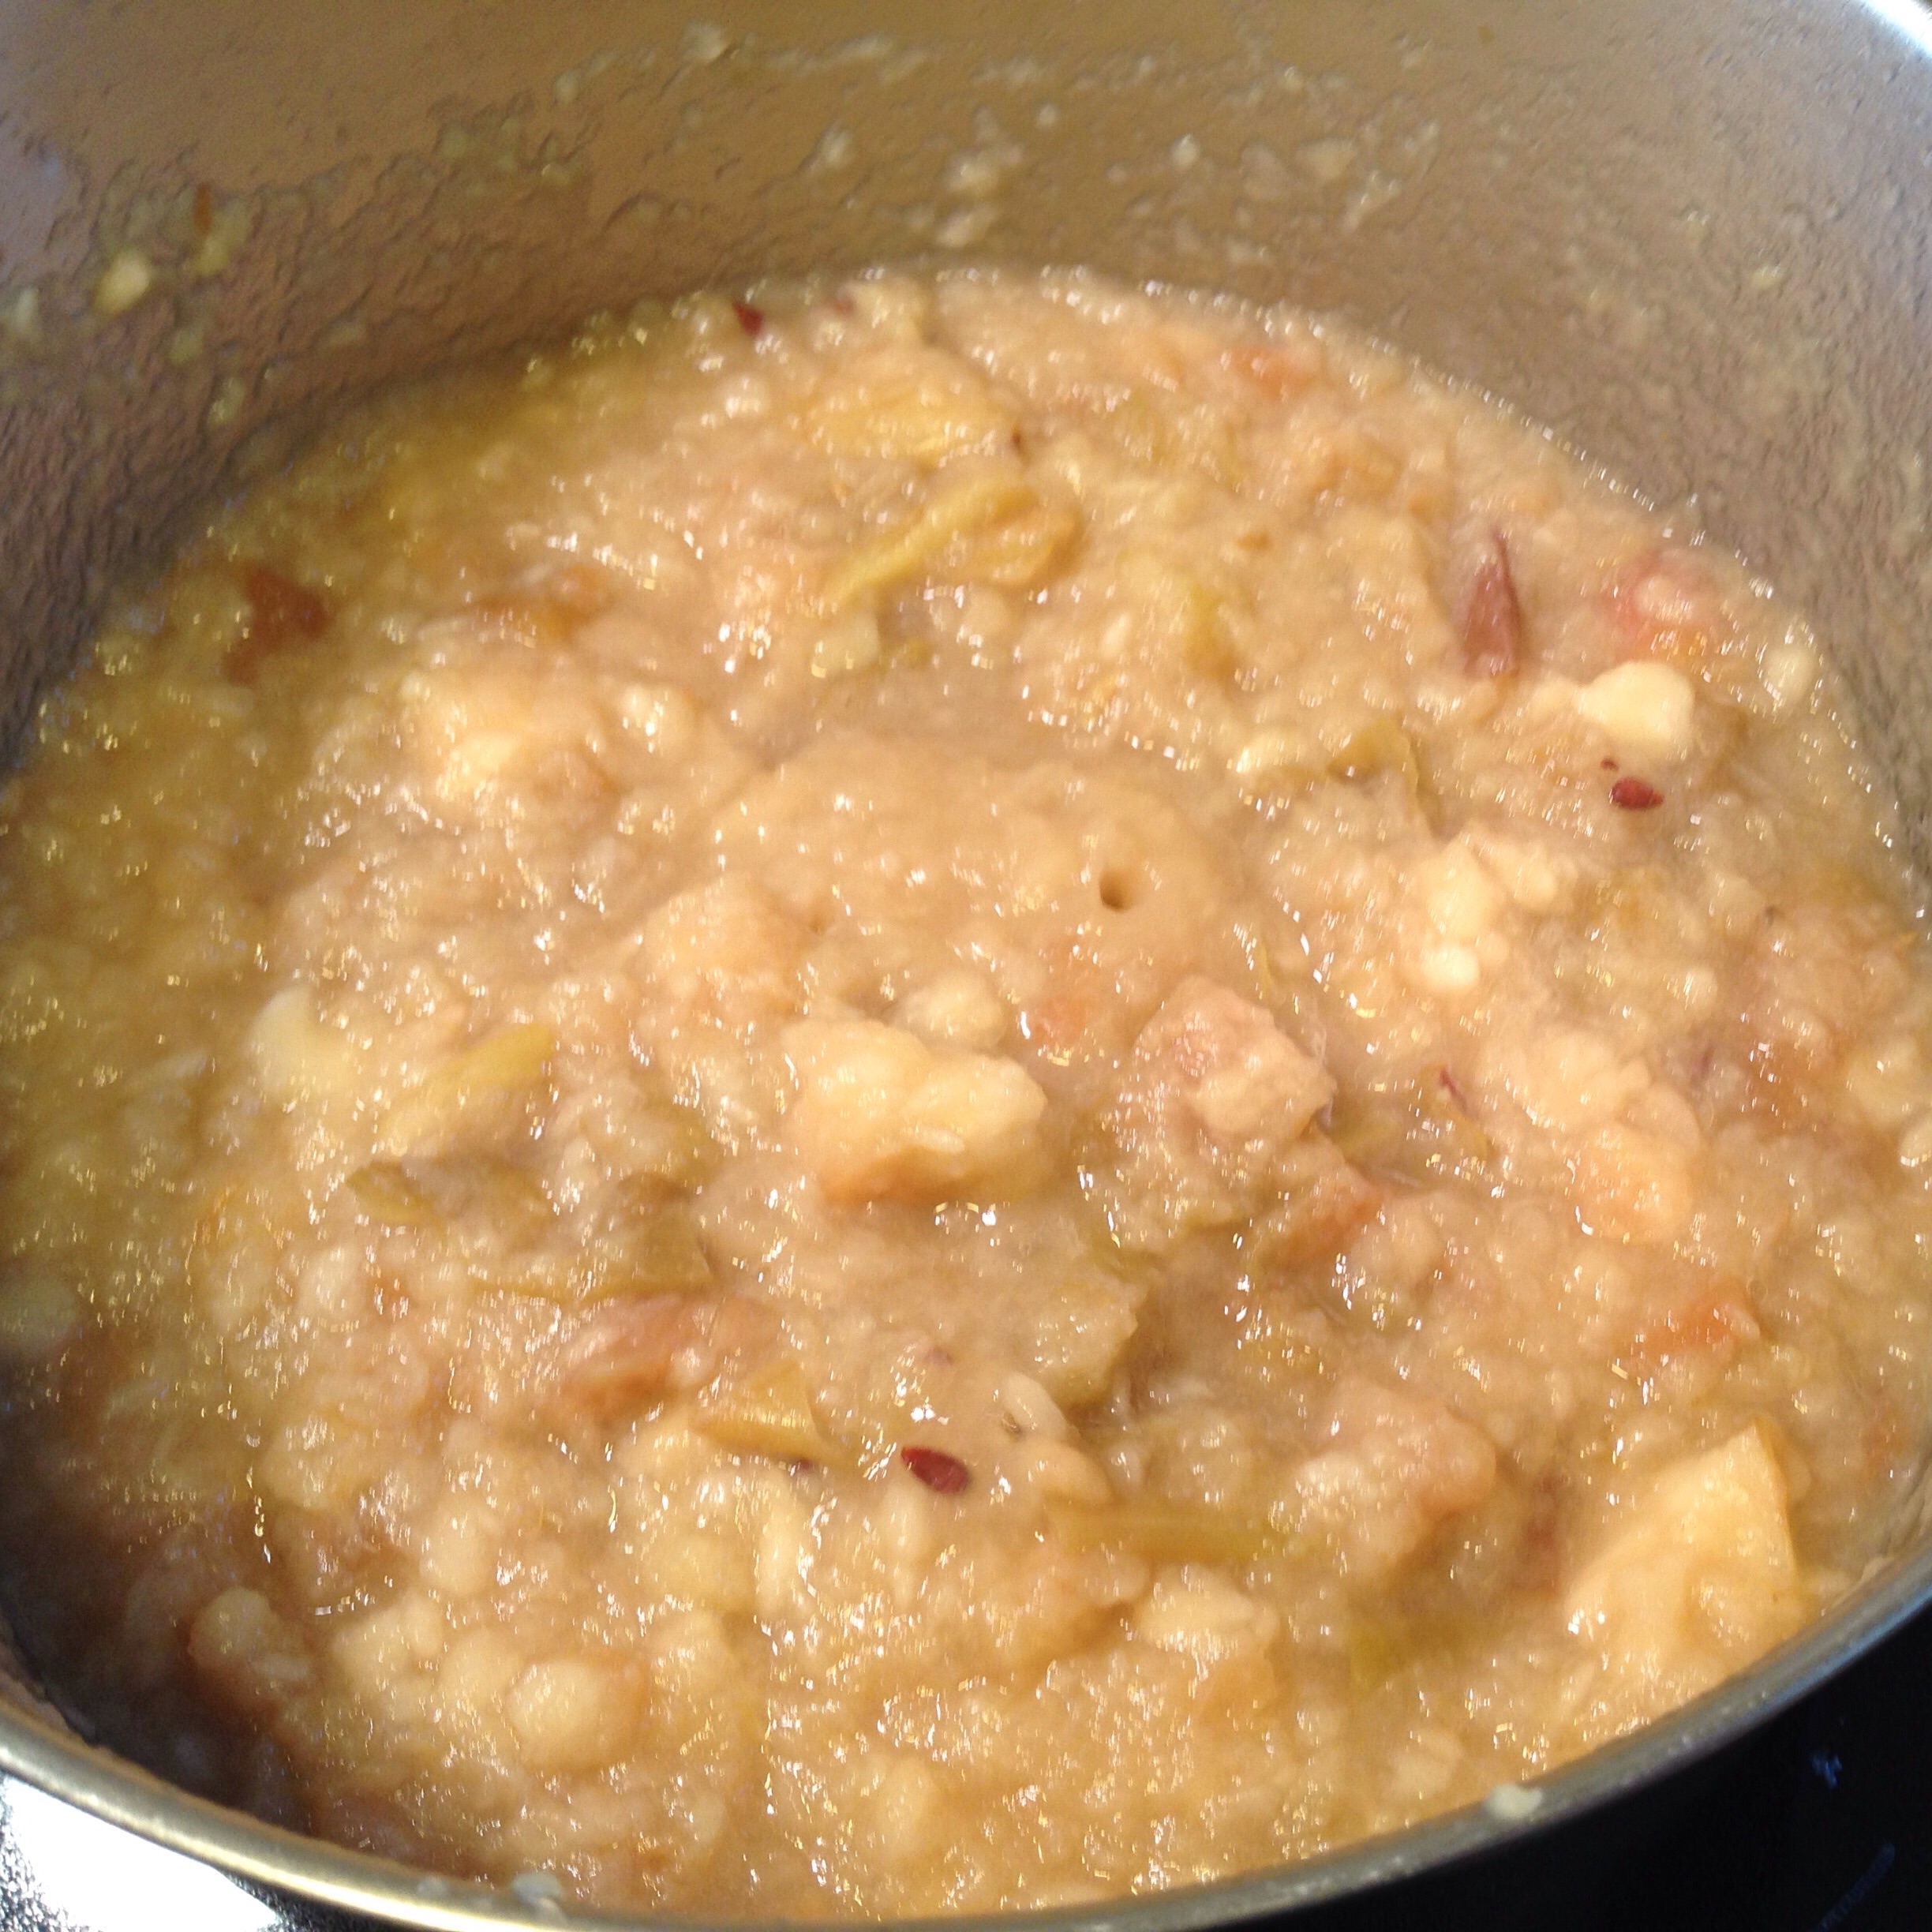
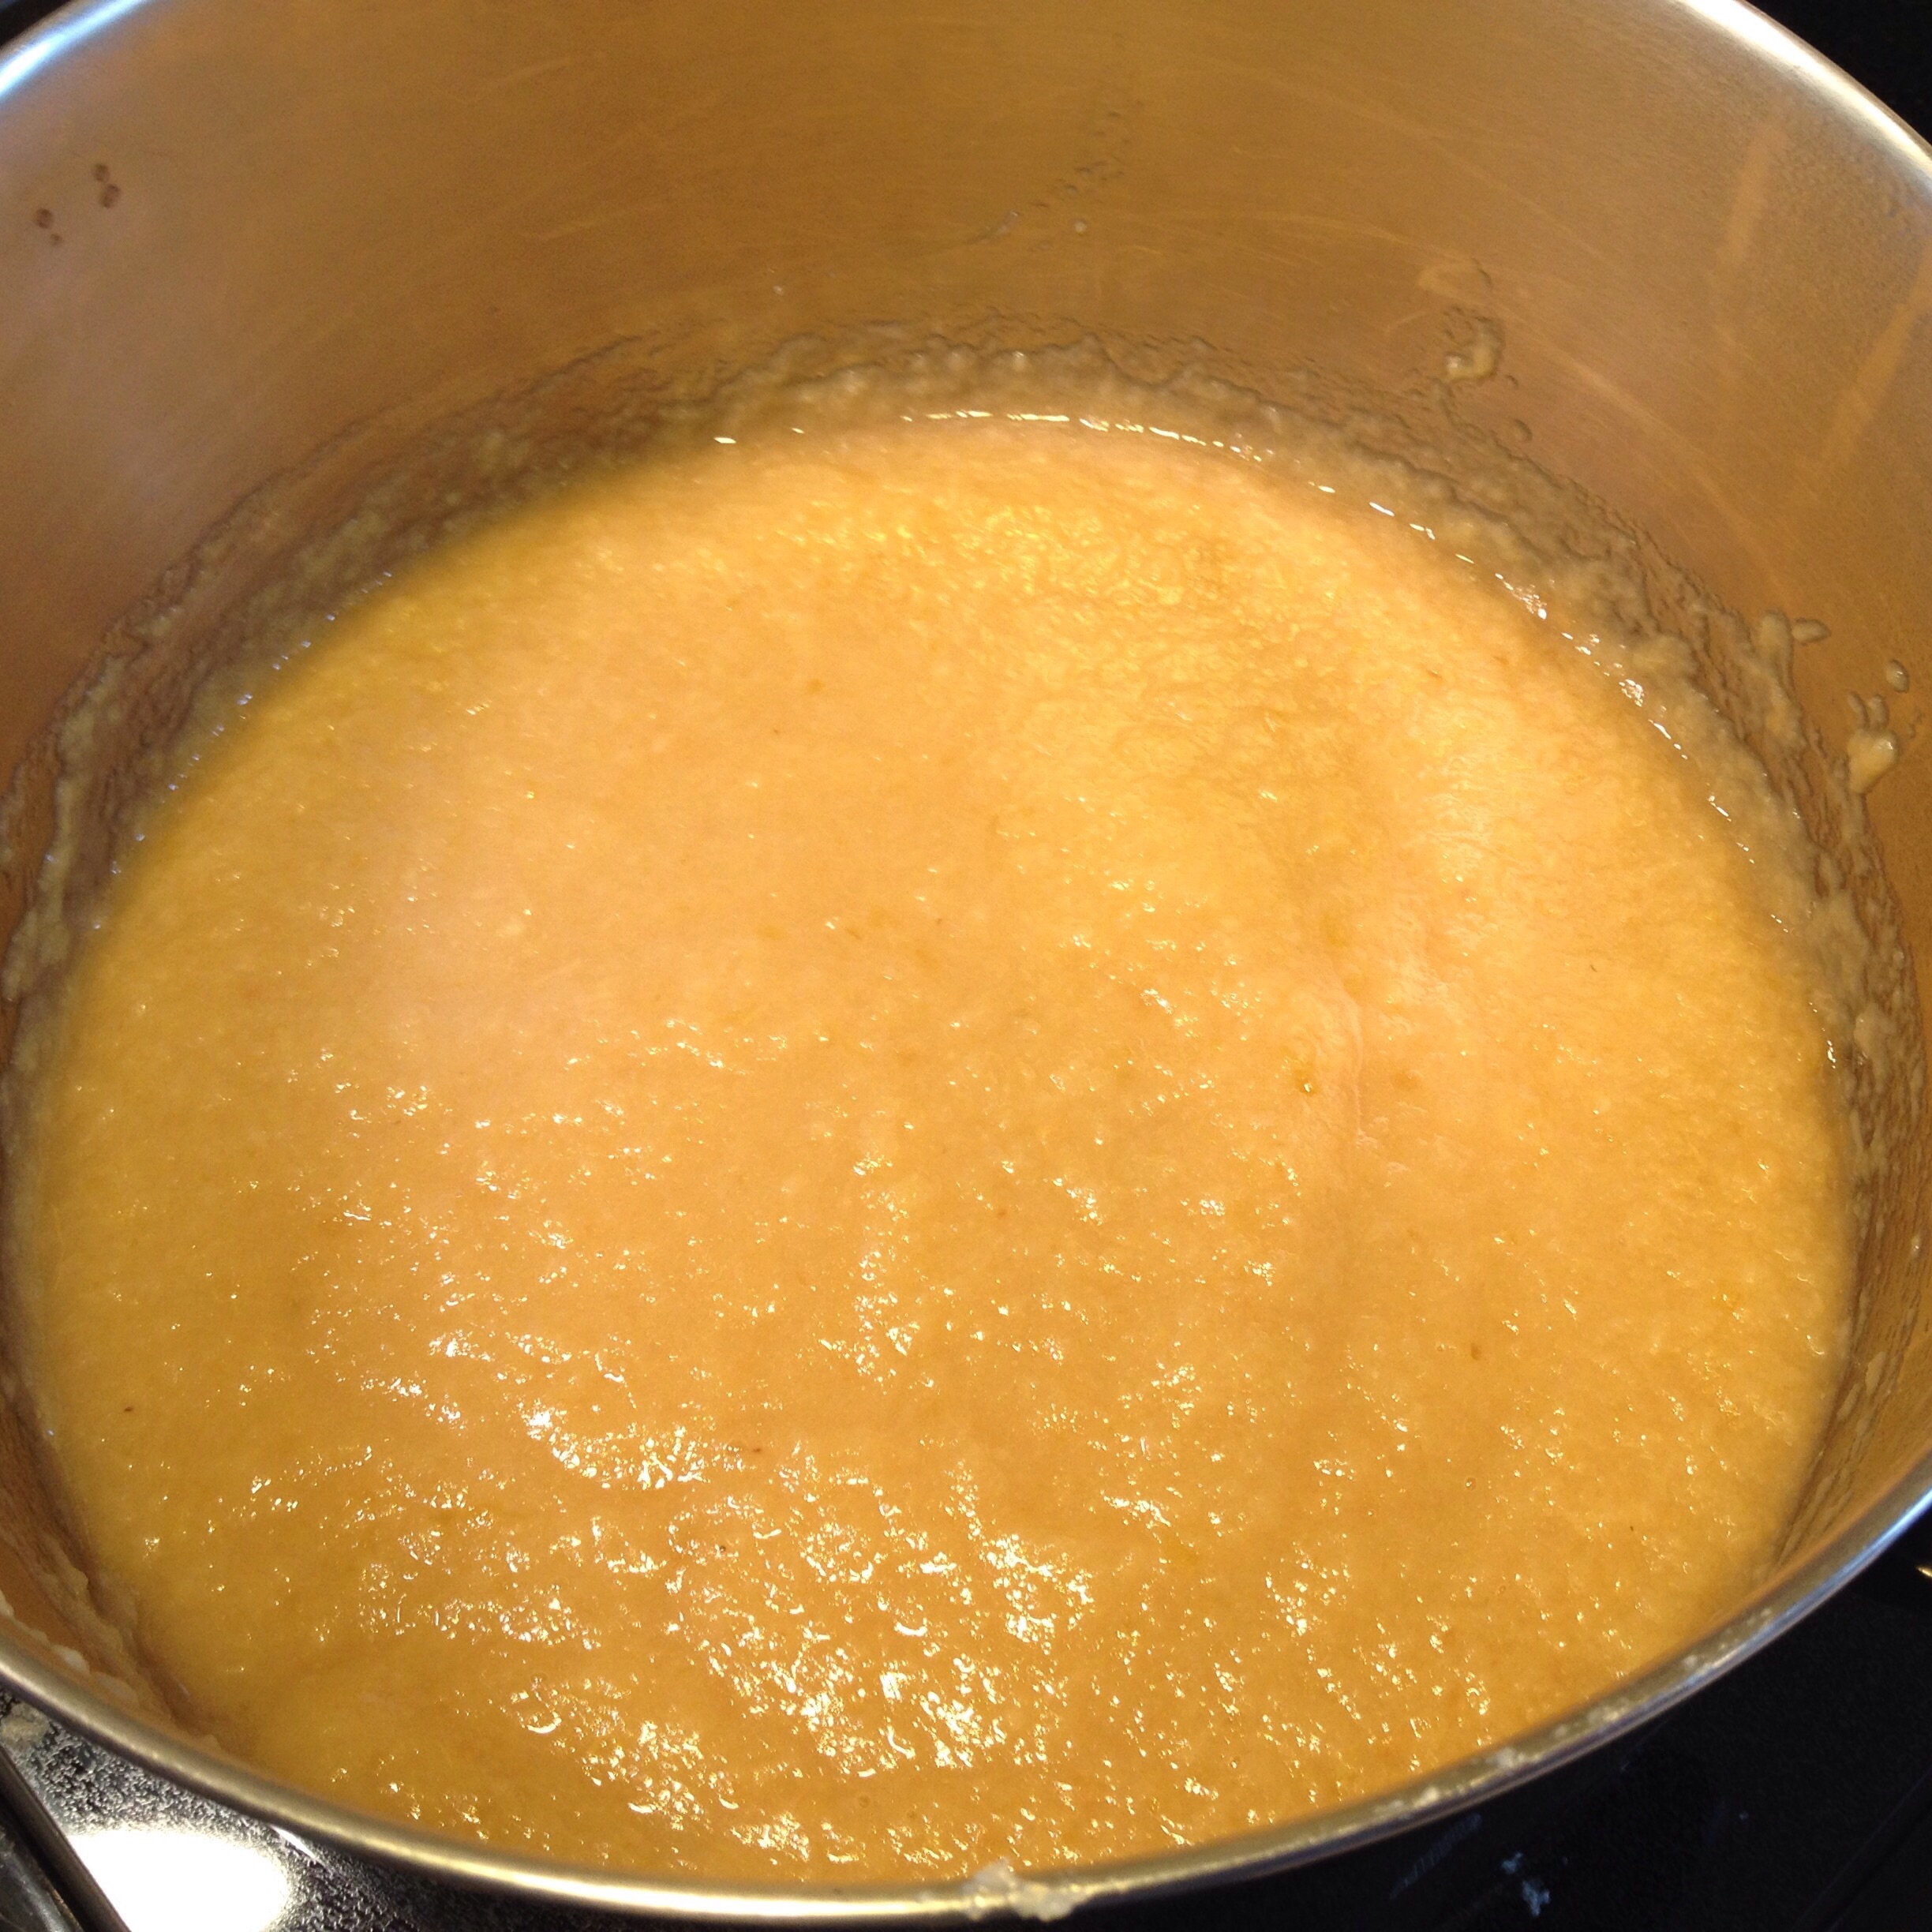
When the apples are all cooked down, and the pot looks like applesauce with skins in it, remove from heat and put through a food mill with the smaller holed disc. See how smooth and delicious the applesauce looks coming out the bottom of the food mill? Yum!

Once the applesauce has gone through the food mill, return it to the pot and bring to a boil before filling jars. At this point, some people also add sugar and spices to their applesauce. I never add sugar, as I've never had apples that need it, and I've found that I prefer canning plain applesauce. If I want cinnamon or other spices in my applesauce later, I can add it when I open the jar.
I preserve most of my applesauce in jelly jars because I love eating them in single servings for dessert or a snack. Ball recommends water bath canning applesauce in pints and quarts for 20 minutes. I process my jelly jars for 20 minutes as well, just to be safe. The extra cooking time doesn't effect the quality of the sauce because it has already cooked for so long before it is canned.
How much applesauce did I get from 25lbs of late-season apples? 30 jelly jars! Given the great price I got on the apples, each of these one-cup servings of applesauce cost just 20 cents. It doesn't get much better than that, and now I don't have to covet my few remaining jars from the fall. After this great experience, I plan to do all of my applesauce canning in the early spring with old storage apples. A great price and all the time in the world to make applesauce as I wait for the gardens to wake up!
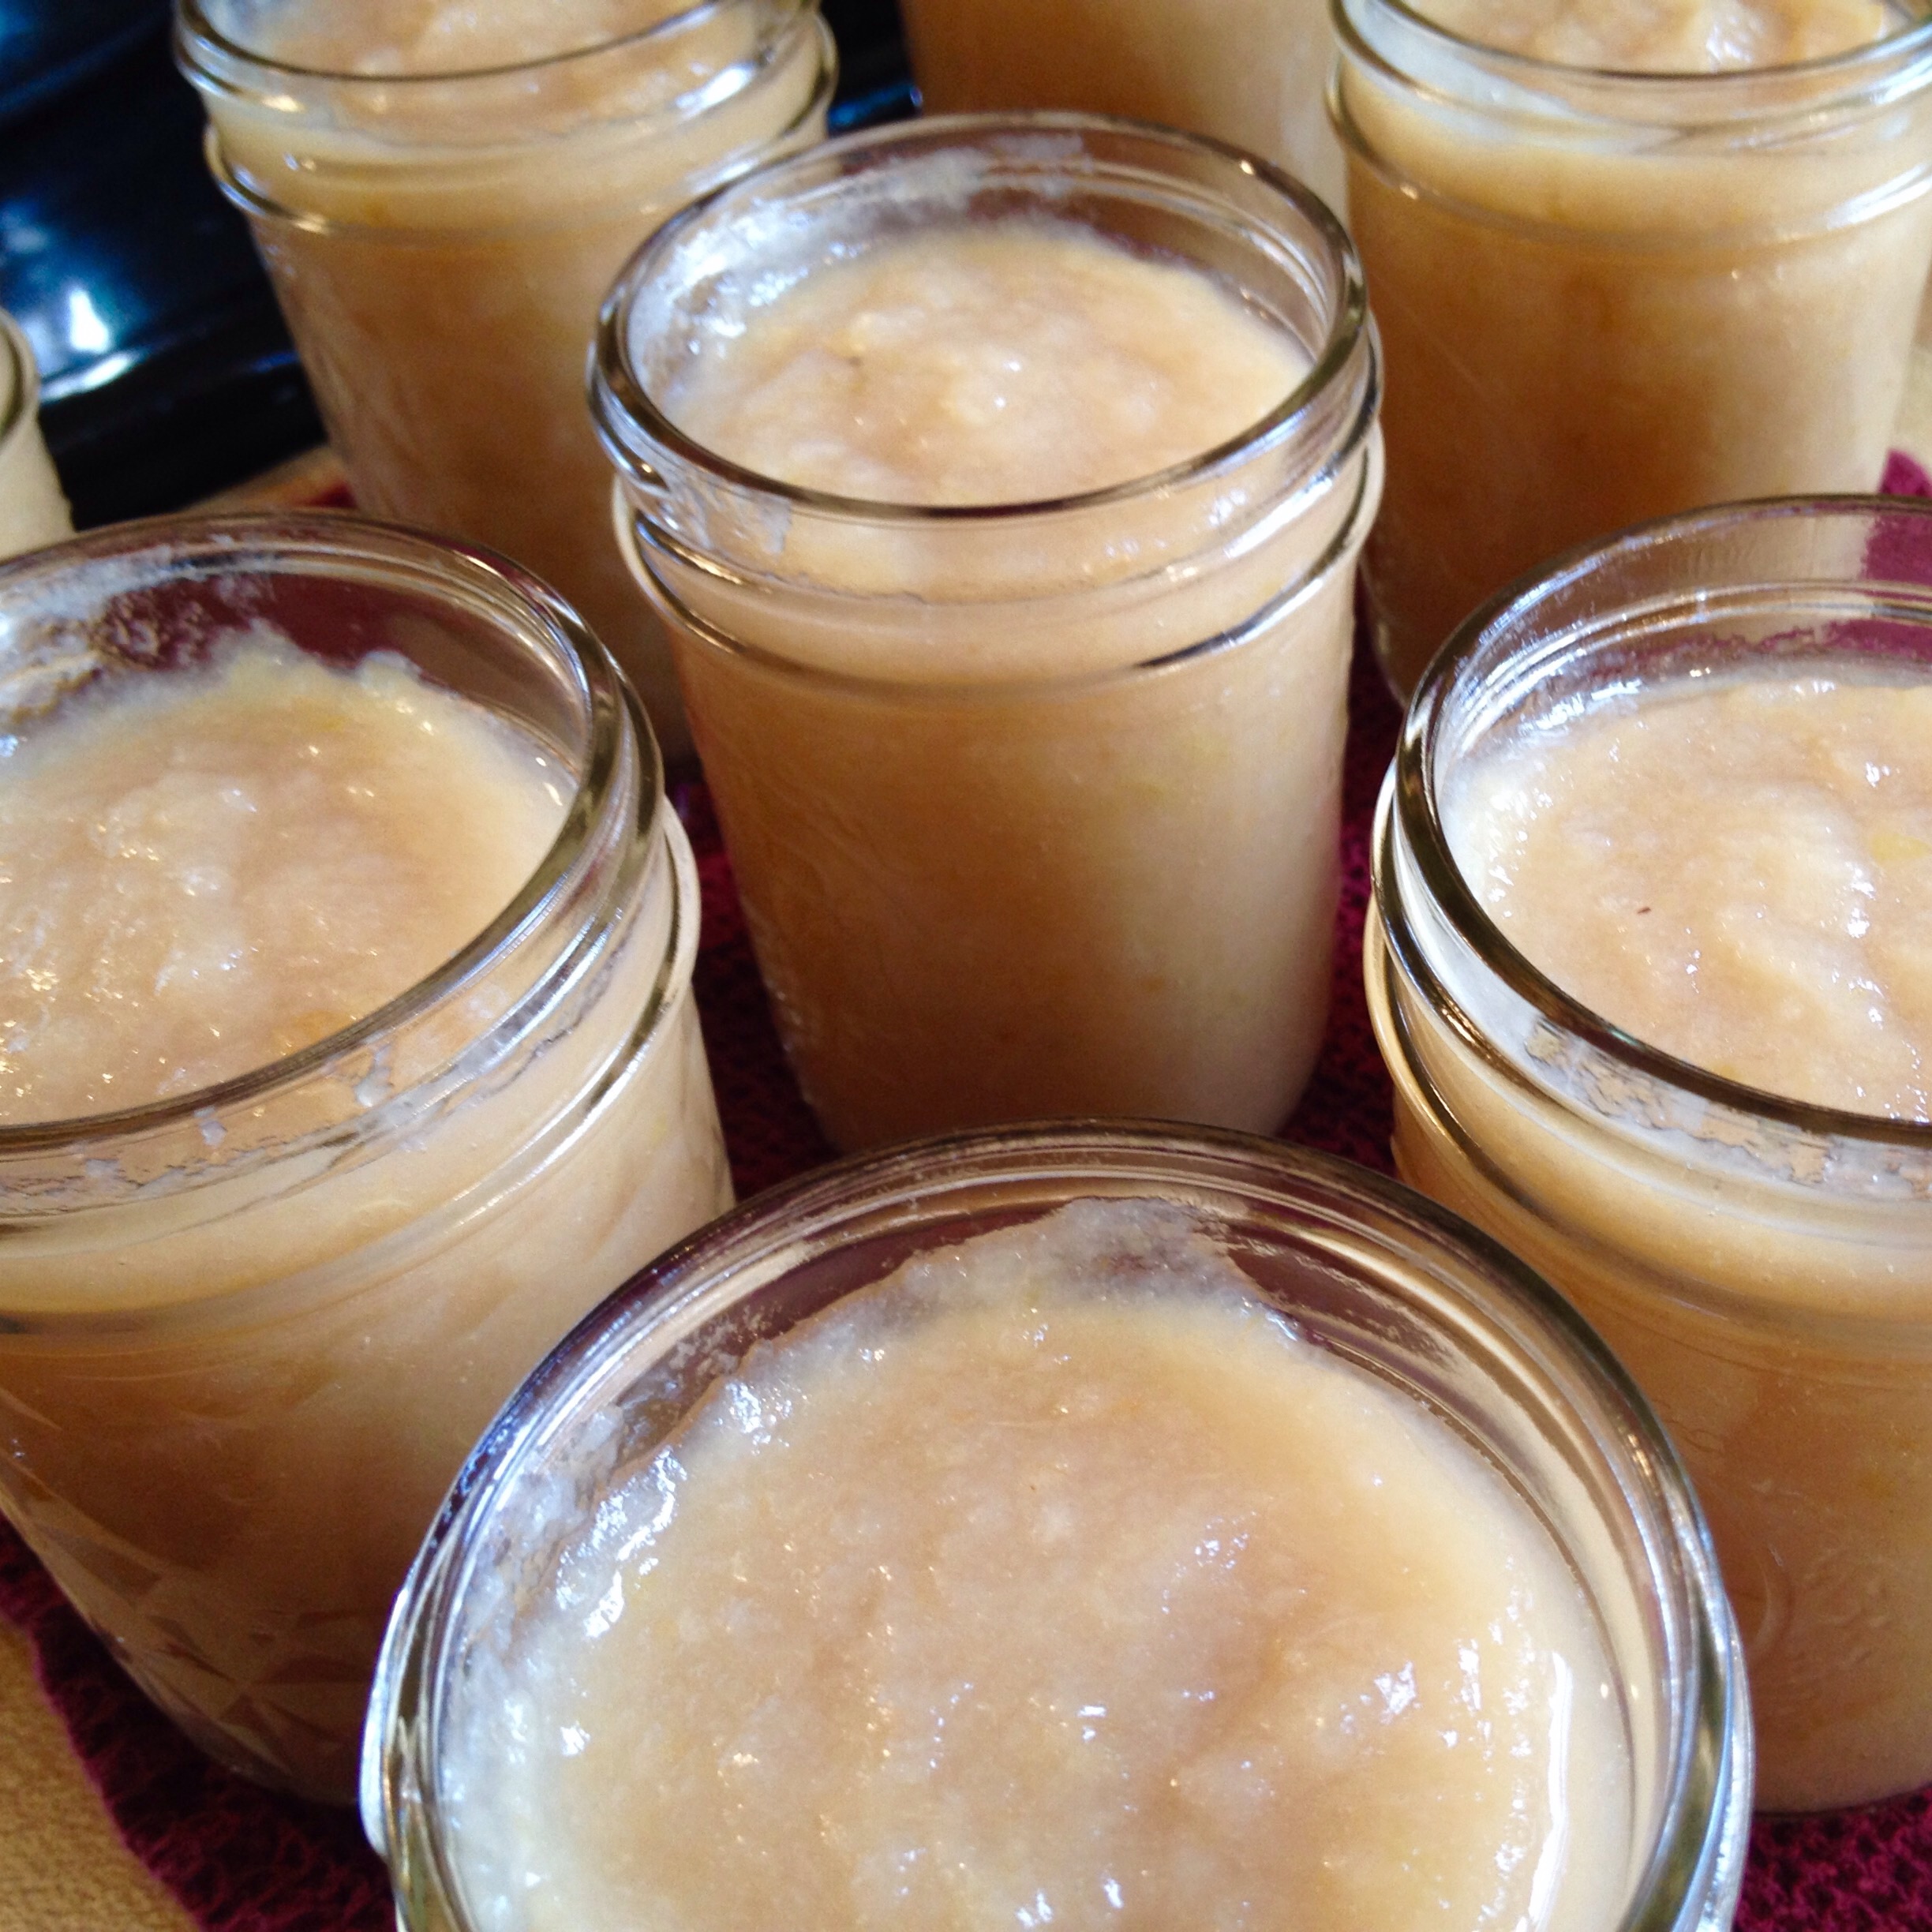
This variety of apple didn't make much of a pink sauce, but it's still so, so good. Now, where's my spoon...?







Natural Protection for the Outdoors
Herbal Bug Spray is a refreshing, herb-infused mist designed to keep your comfortable during your time outdoors. Made with thyme and other herbs grown on our farm, this formula is thoughtfully crafted to help you enjoy nature without unwatned distractions. Light and easy to apply, it is perfect for hikes, picnics, or any adventure under the open sky.
Best For: Outdoor Adventures, Hiking, Gardening, Camping
Not for use on pets.
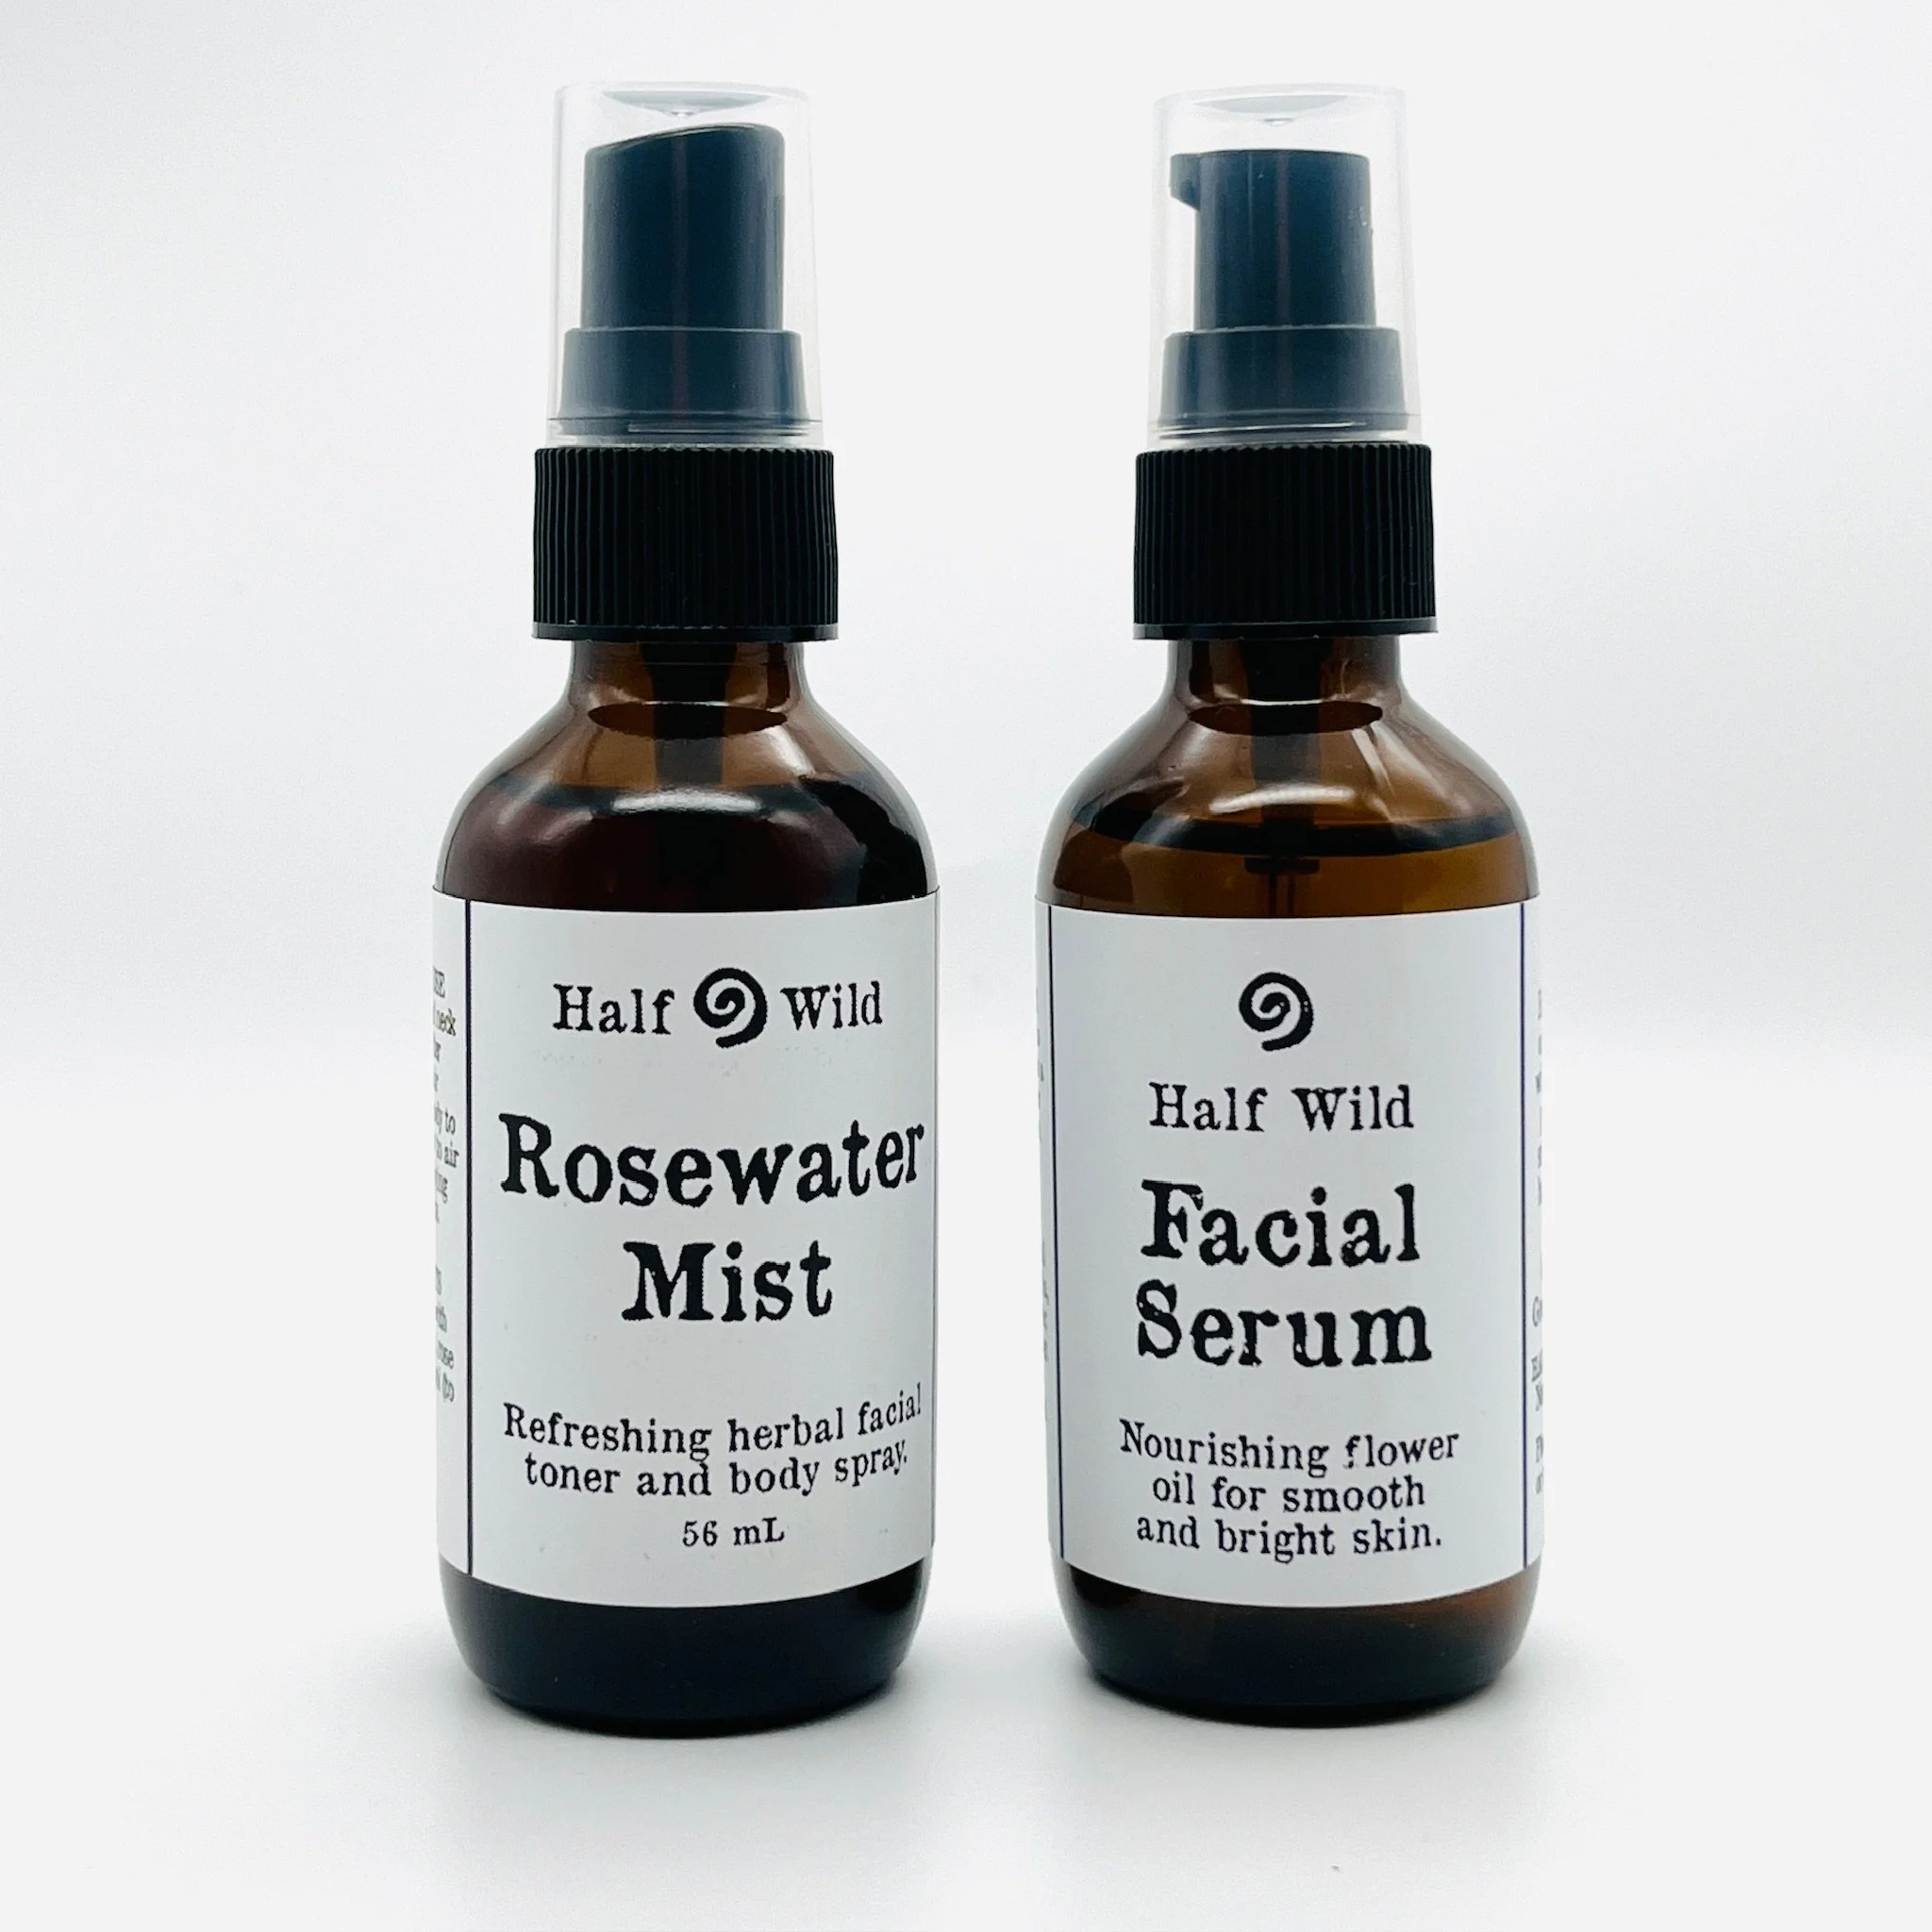
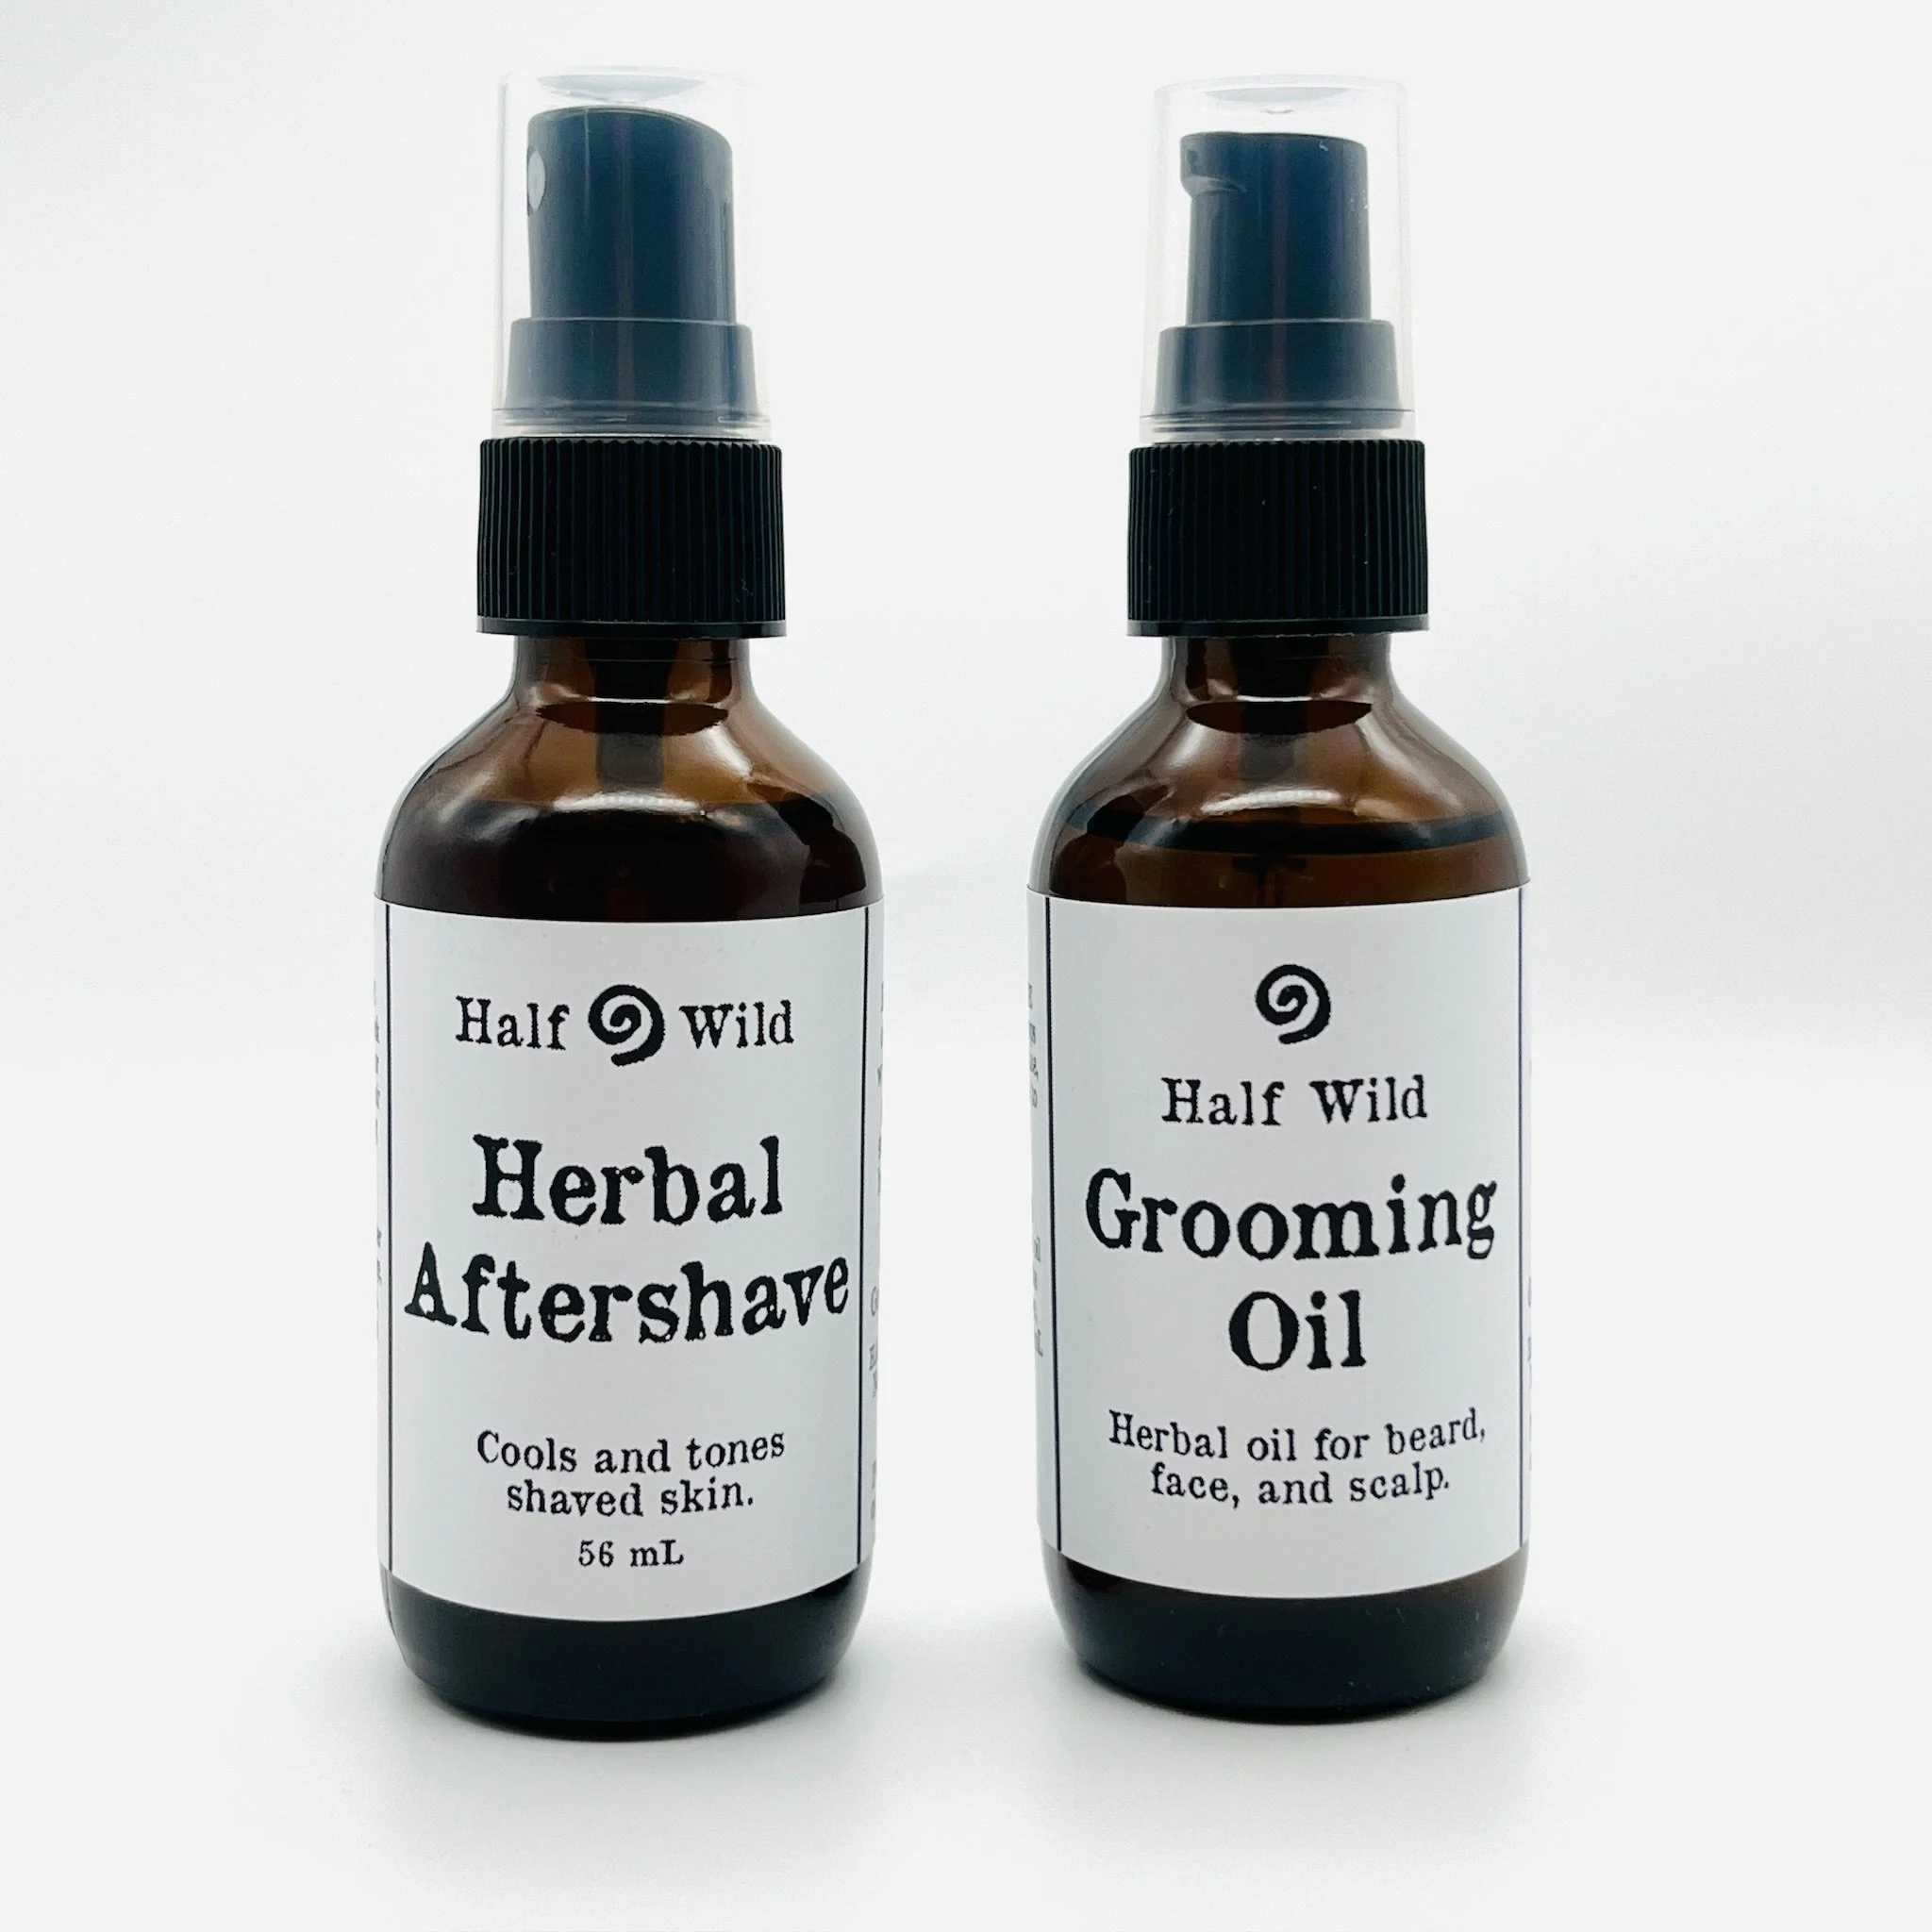
This 56 mL bottle comes with a treatment pump that can be refilled twice with our Herbal Bug Spray Refill.
We offer sliding scale prices. Please select an option below to support our small business at a price that matches your ability to pay.