
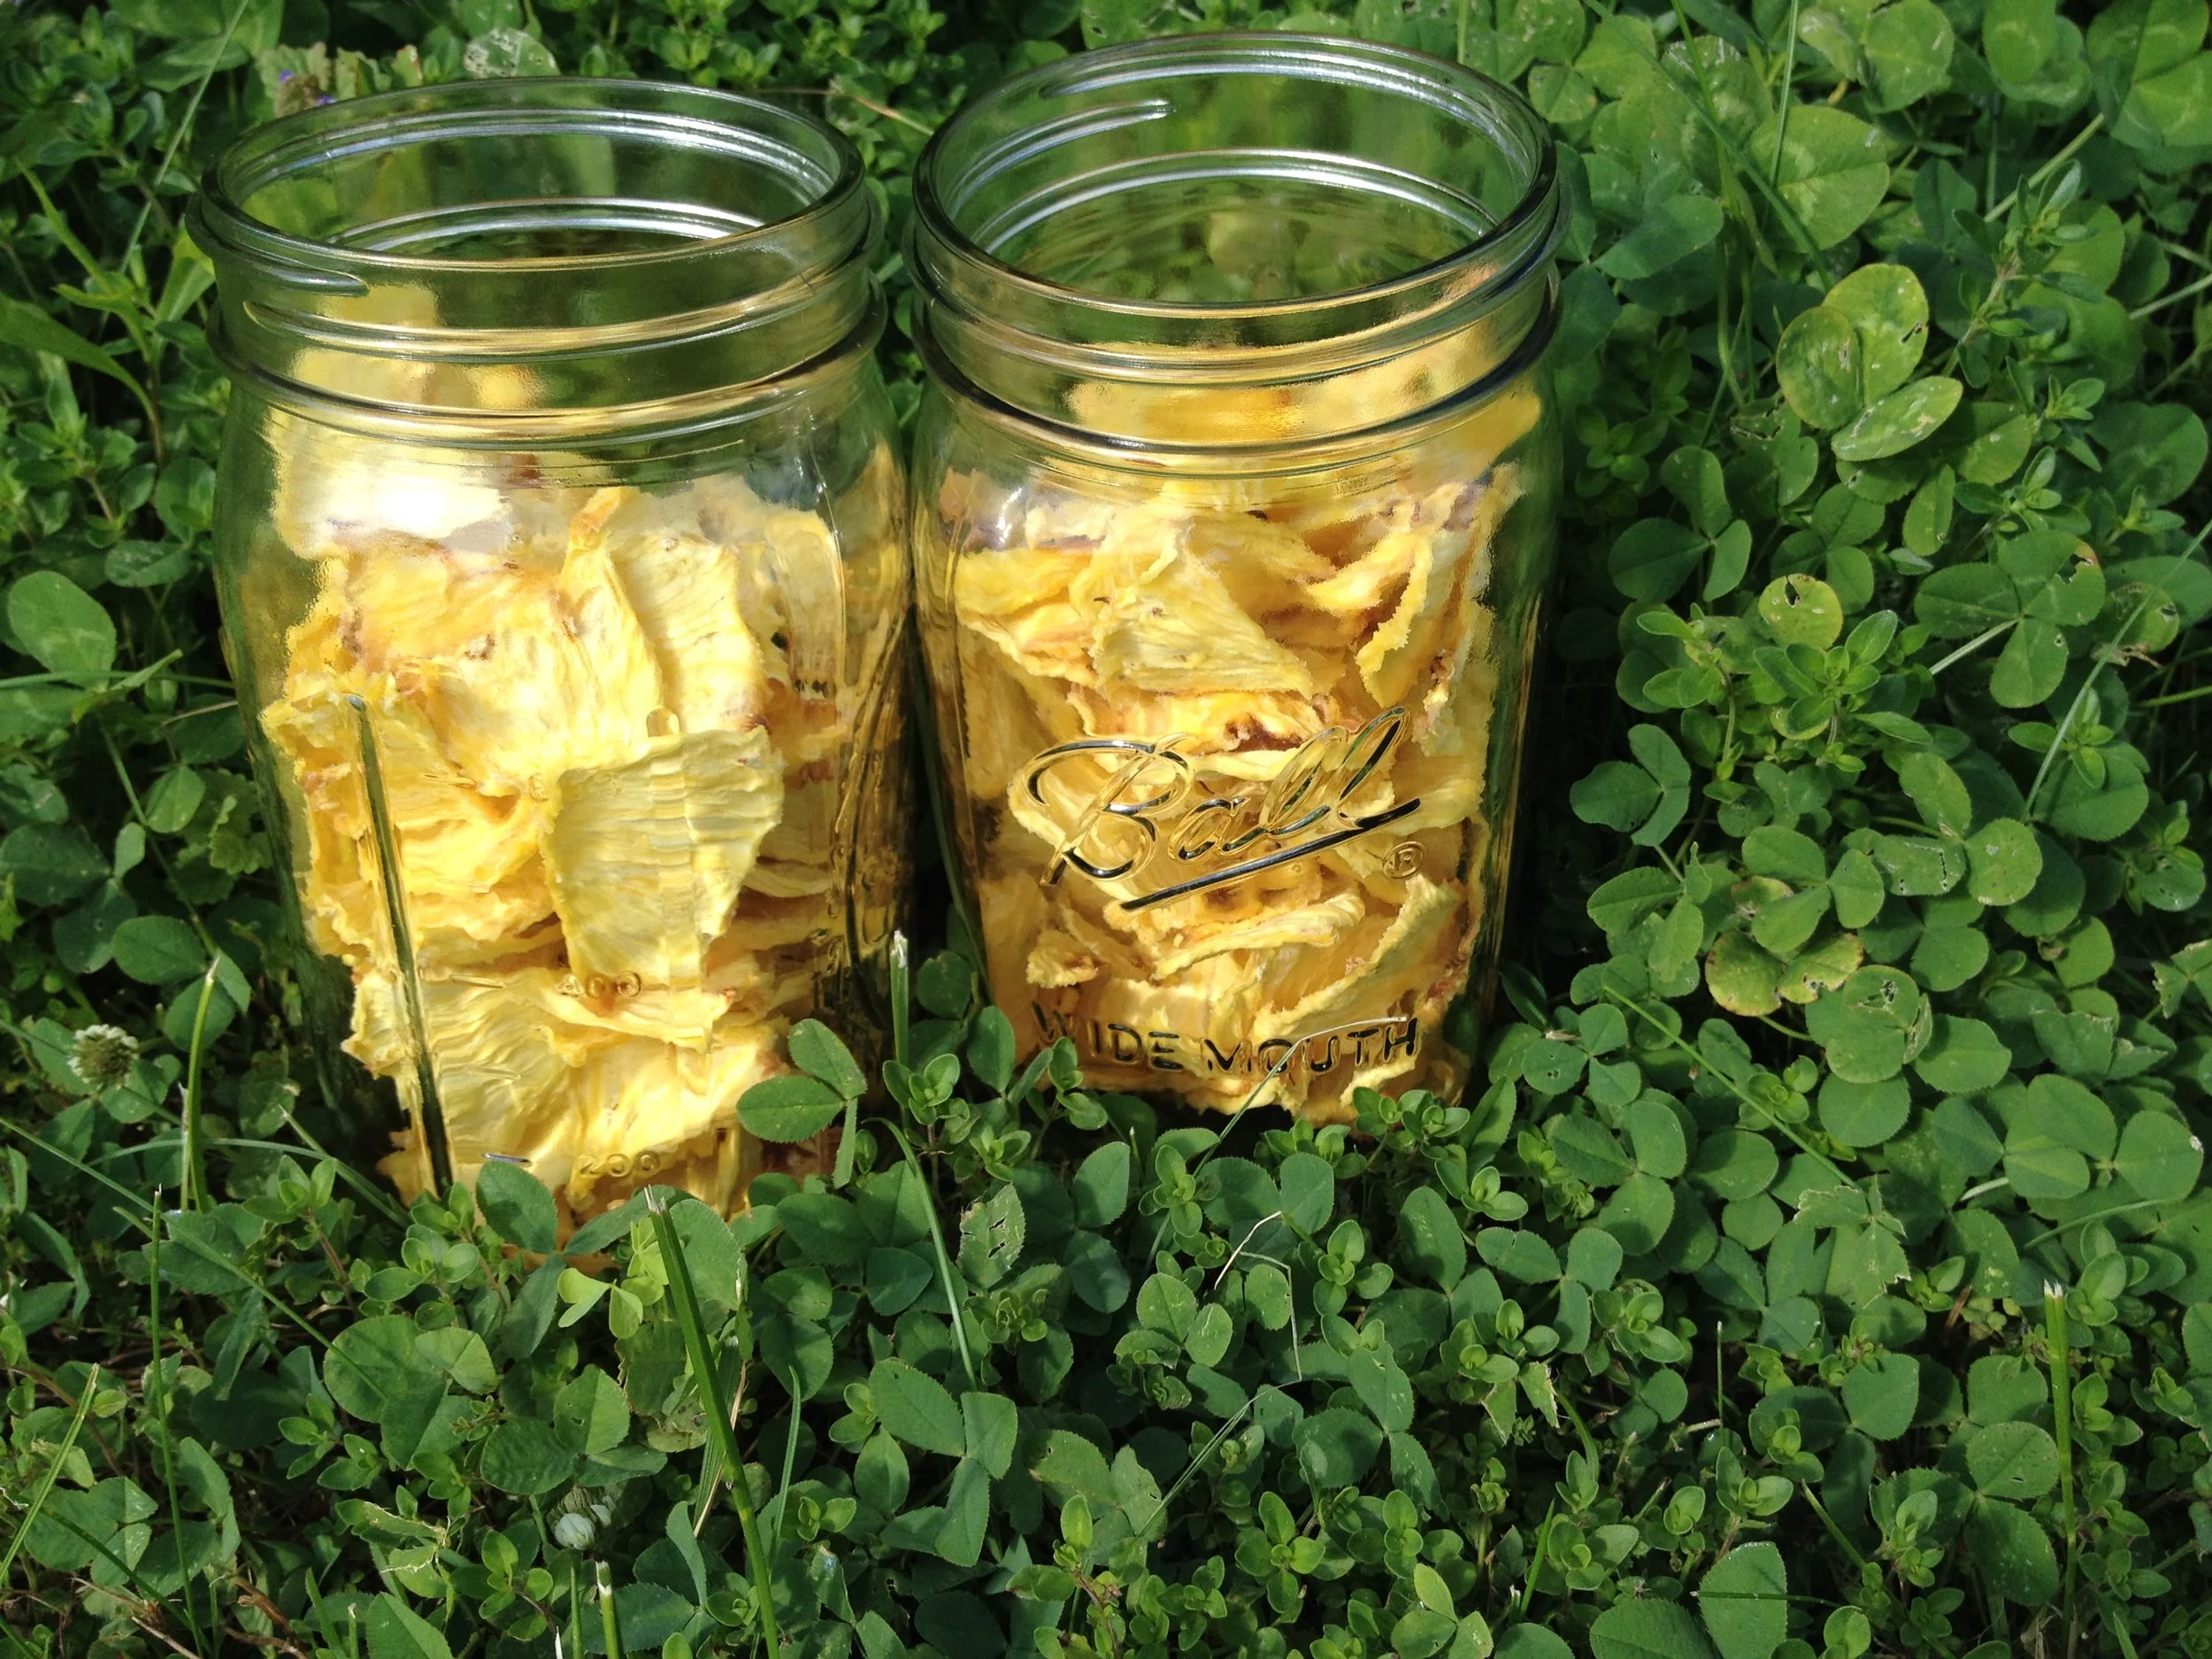
Dehydrated Pineapple Snacks You Won't Be Able to Resist
I find that I can’t eat a lot of fresh pineapple at once, so I’ve gotten into the routine of buying a few pineapples when they are on sale and dehydrating slices to snack on later. They are absolutely delicious — a real revelation in the world of dried fruits.
As a local food lover, I tend to stick with local fruits — gorging on them in season and preserving the rest for later. I eat bananas and oranges maybe twice per year, but I cannot resist a good pineapple! What a delight they are, bringing tropical breezes and palm trees right to my door. I find that I can’t eat a lot of fresh pineapple at once, so I’ve gotten into the routine of buying a few pineapples when they are on sale and dehydrating slices to snack on later. They are absolutely delicious — a real revelation in the world of dried fruits. One pineapple loosely fills a quart jar, but make extra — they go fast!
How to dehydrate pineapple:

Peel and core the pineapple(s), so you end up with roughy four lengthwise chunks of edible pineapple meat. Then cut each chunk crosswise into thin slices about 1/4-1/8 inch thick. Place the slices onto the trays of your dehydrator with space between the slices for air to circulate.

Dehydrate at 135F degrees for approximately 12 hours, or until the slices are pliable but have no wetness in them if you tear one in half. When you think the slices are fully dry, turn off your dehydrator and let them cool on the racks. They will become less pliable as they cool, so it is easier to gauge your final product when they are cool.

Pineapple retains a nice chewy texture when completely dry. When dry, remove slices from trays and store in an airtight jar. Check the jar after a few days. If there is condensation forming on the inside of the jar, the pineapple is not fully dry and must be returned to the dehydrator to avoid spoilage. If you prefer slices that are thicker and/or not fully dry, you can store them in the refrigerator after dehydrating.
A note about storing dried fruit:
When choosing your storage jars, it is always better to store dried fruit in multiple small jars instead of all in one big jar. If one piece wasn’t quite dry and spoils, you’ll only have to throw away one jar, not the whole batch. Smaller containers also protect your batch from the moisture in the air that enters the jar each time you open it to take out some of the dried fruit. A larger jar will absorb more moisture over time as you open and close the jar, so smaller is better.

Bet you can't eat just one!!
Nothing But Apple(sauce)
By March, storage apples are usually losing their vigor and very few varieties are still good for fresh eating. So, I was pleasantly surprised last week to see 25lb bags of apples for sale from our local orchard for $5.99. How could I resist?
I love apples. I LOVE apples. When I was a child, if you offered me either an apple or a cookie, I would choose the apple. I store them to eat fresh, I dry them to snack on, and I can applesauce. Usually, all of my apple preserving is done in the autumn, but last year, I ran out of time and was only able to make a small batch of applesauce from a neighbor's tree. I have been savoring each jar all winter.
By March, storage apples are usually losing their vigor and very few varieties are still good for fresh eating. So, I was pleasantly surprised last week to see 25lb bags of apples for sale from our local orchard for $5.99. How could I resist? As you can see from the picture, I also couldn't resist a new hatchet to tackle some small felling projects this spring.

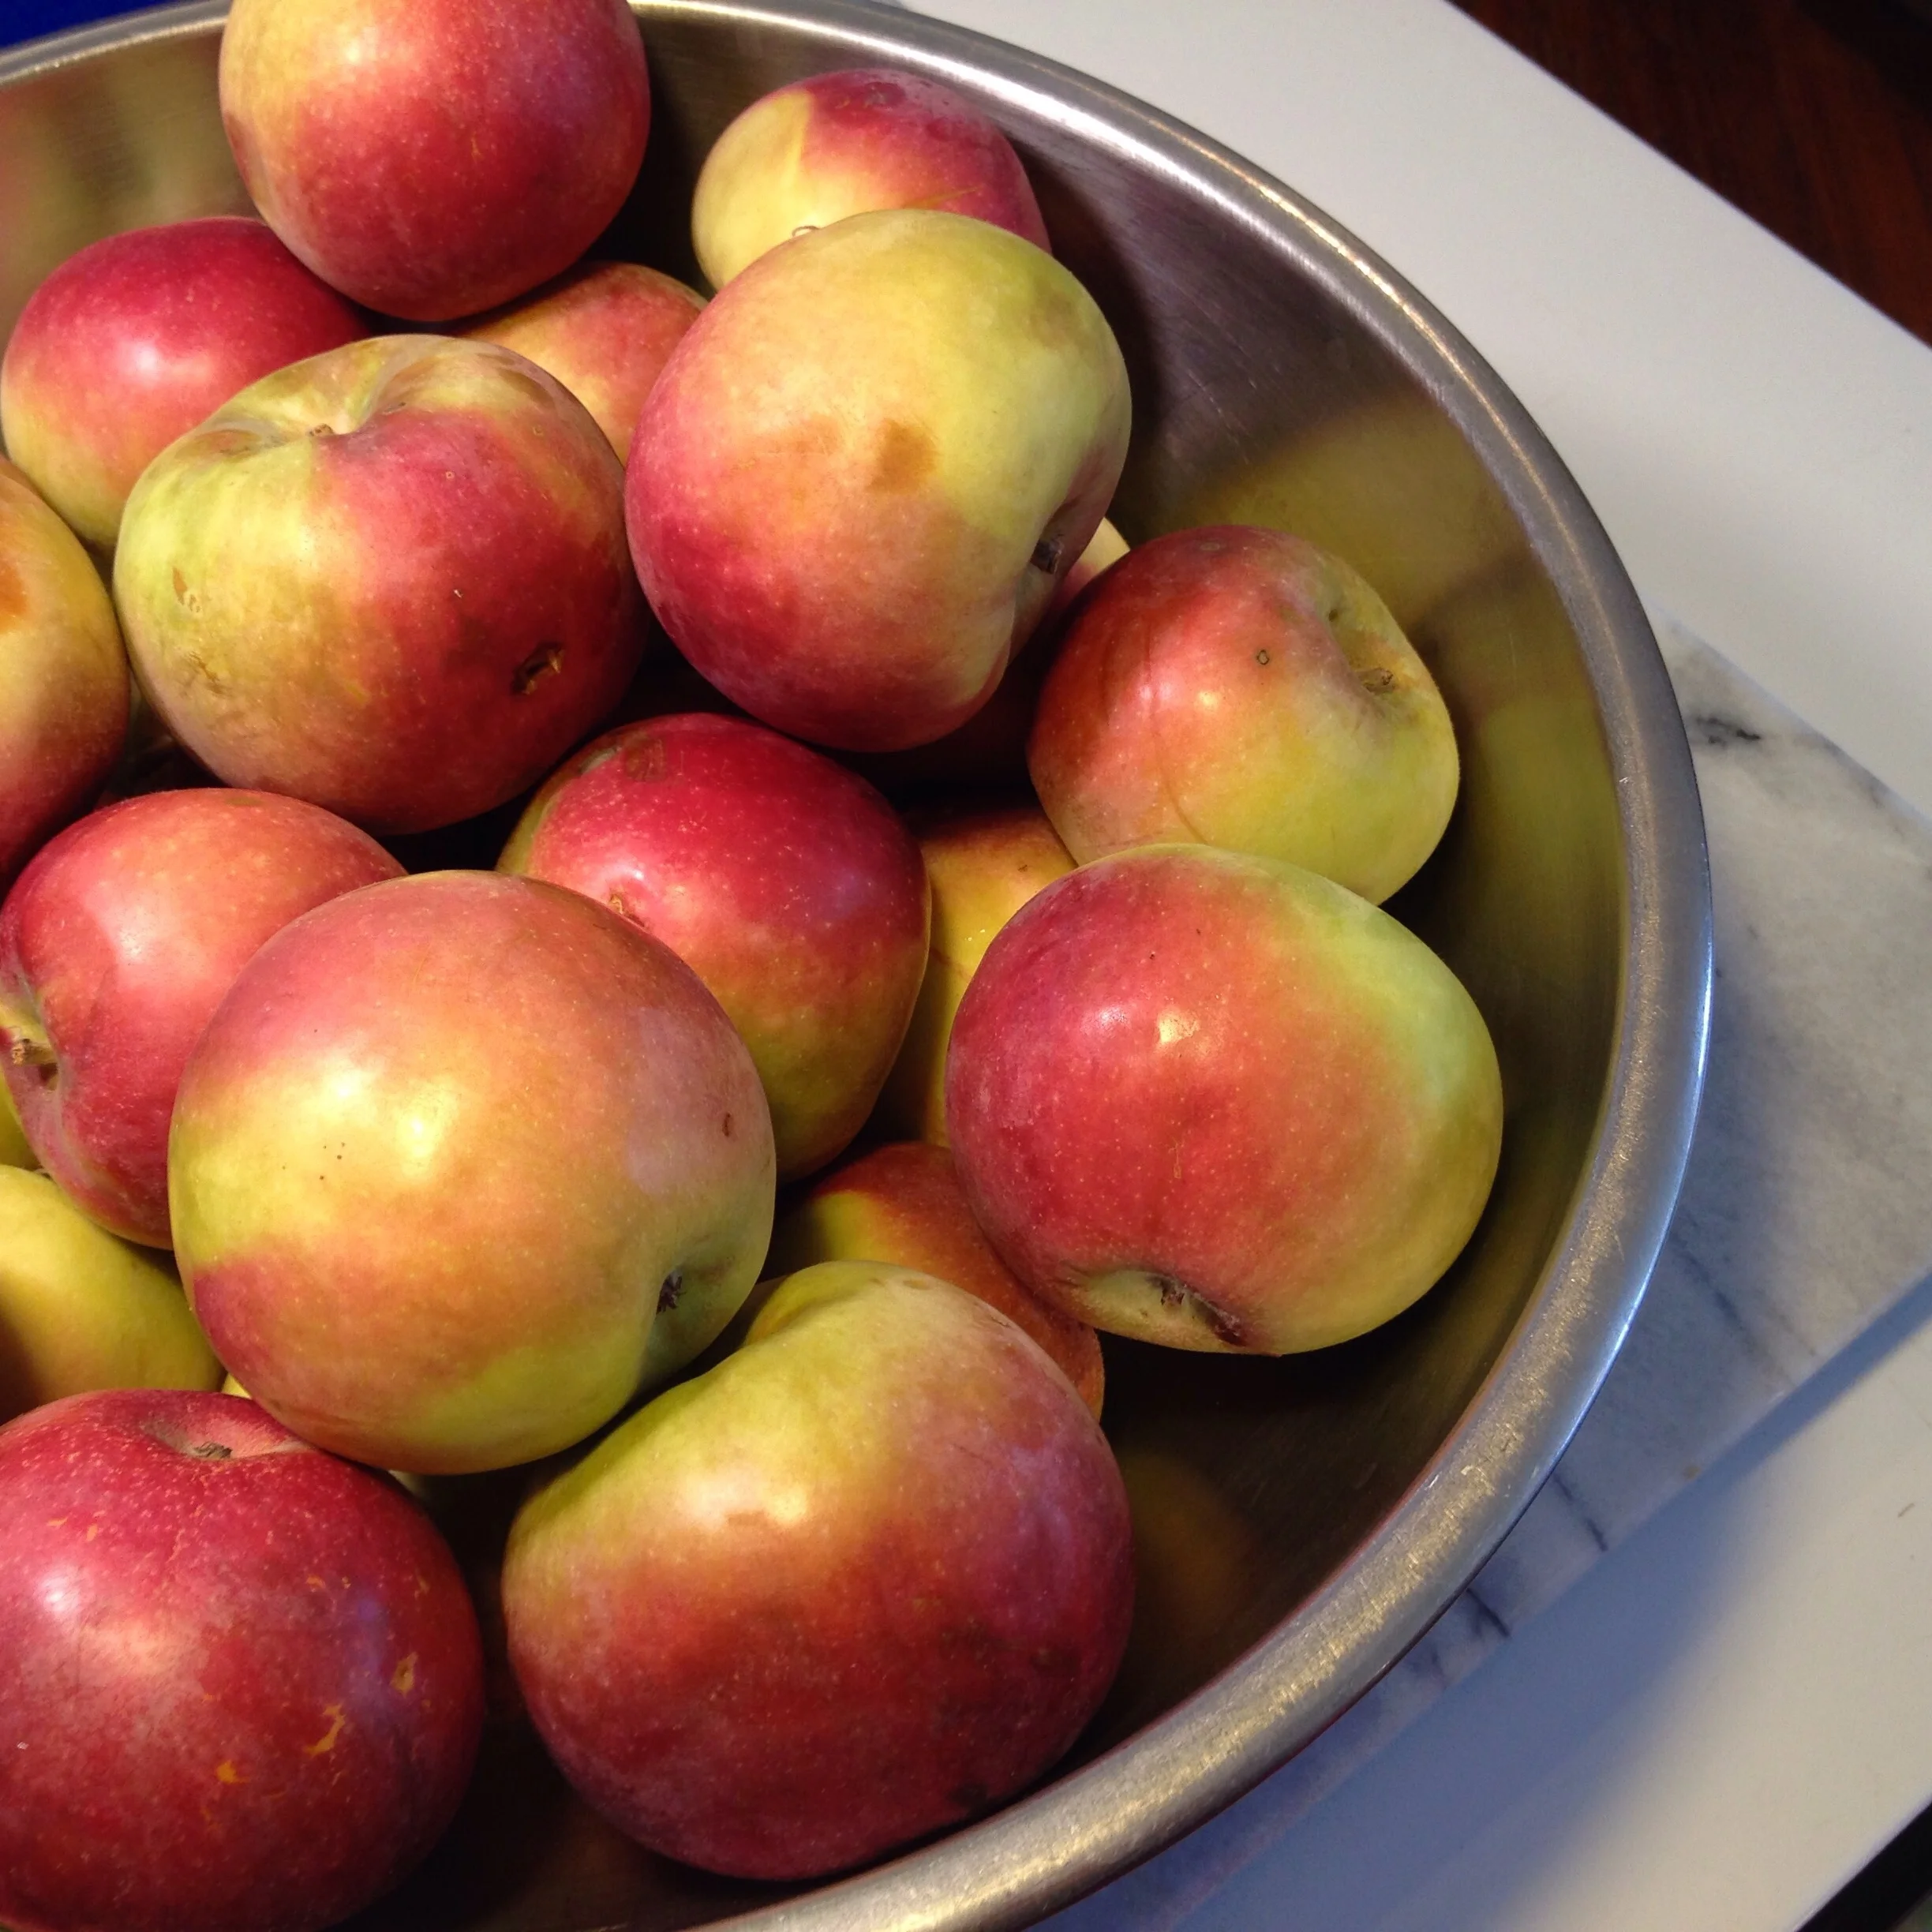
The apples themselves are battered and worn, but still firm and more than good enough for a few quick batches applesauce. Applesauce tastes the best when you use more than one variety of apple, and I prefer to use mostly red apples to get a pink sauce, but as long as the apples aren't rotten, you really can't go wrong. Here is a close-up of the apples I used this time:

To prep the apples, I soak them in water, then take one apple at a time, cut off any rotten or diseased parts, cut into eighths, and toss in a large pot. Into the pot I also put about a cup of water. The water helps to prevent the apples from burning as they soften. Working in 8lb batches, I filled my first pot. Be sure to leave enough space to stir the apples as they cook. I didn't leave quite enough space this time, so I covered the pot for the first 5 minutes of cooking and lowered the heat to prevent burning.
A note about prepping apples: I use a food mill to make applesauce. It separates skins and seeds from the cooked applesauce. If you do not have a food mill, you must peel, core, and slice your apples before heating them (try using an apple peeler/corer/slicer). If you have red apples and want a pink sauce, you can still put a few red skins back into the applesauce as it cooks, to color the sauce, and then just remove the skins by hand before filling the jars.

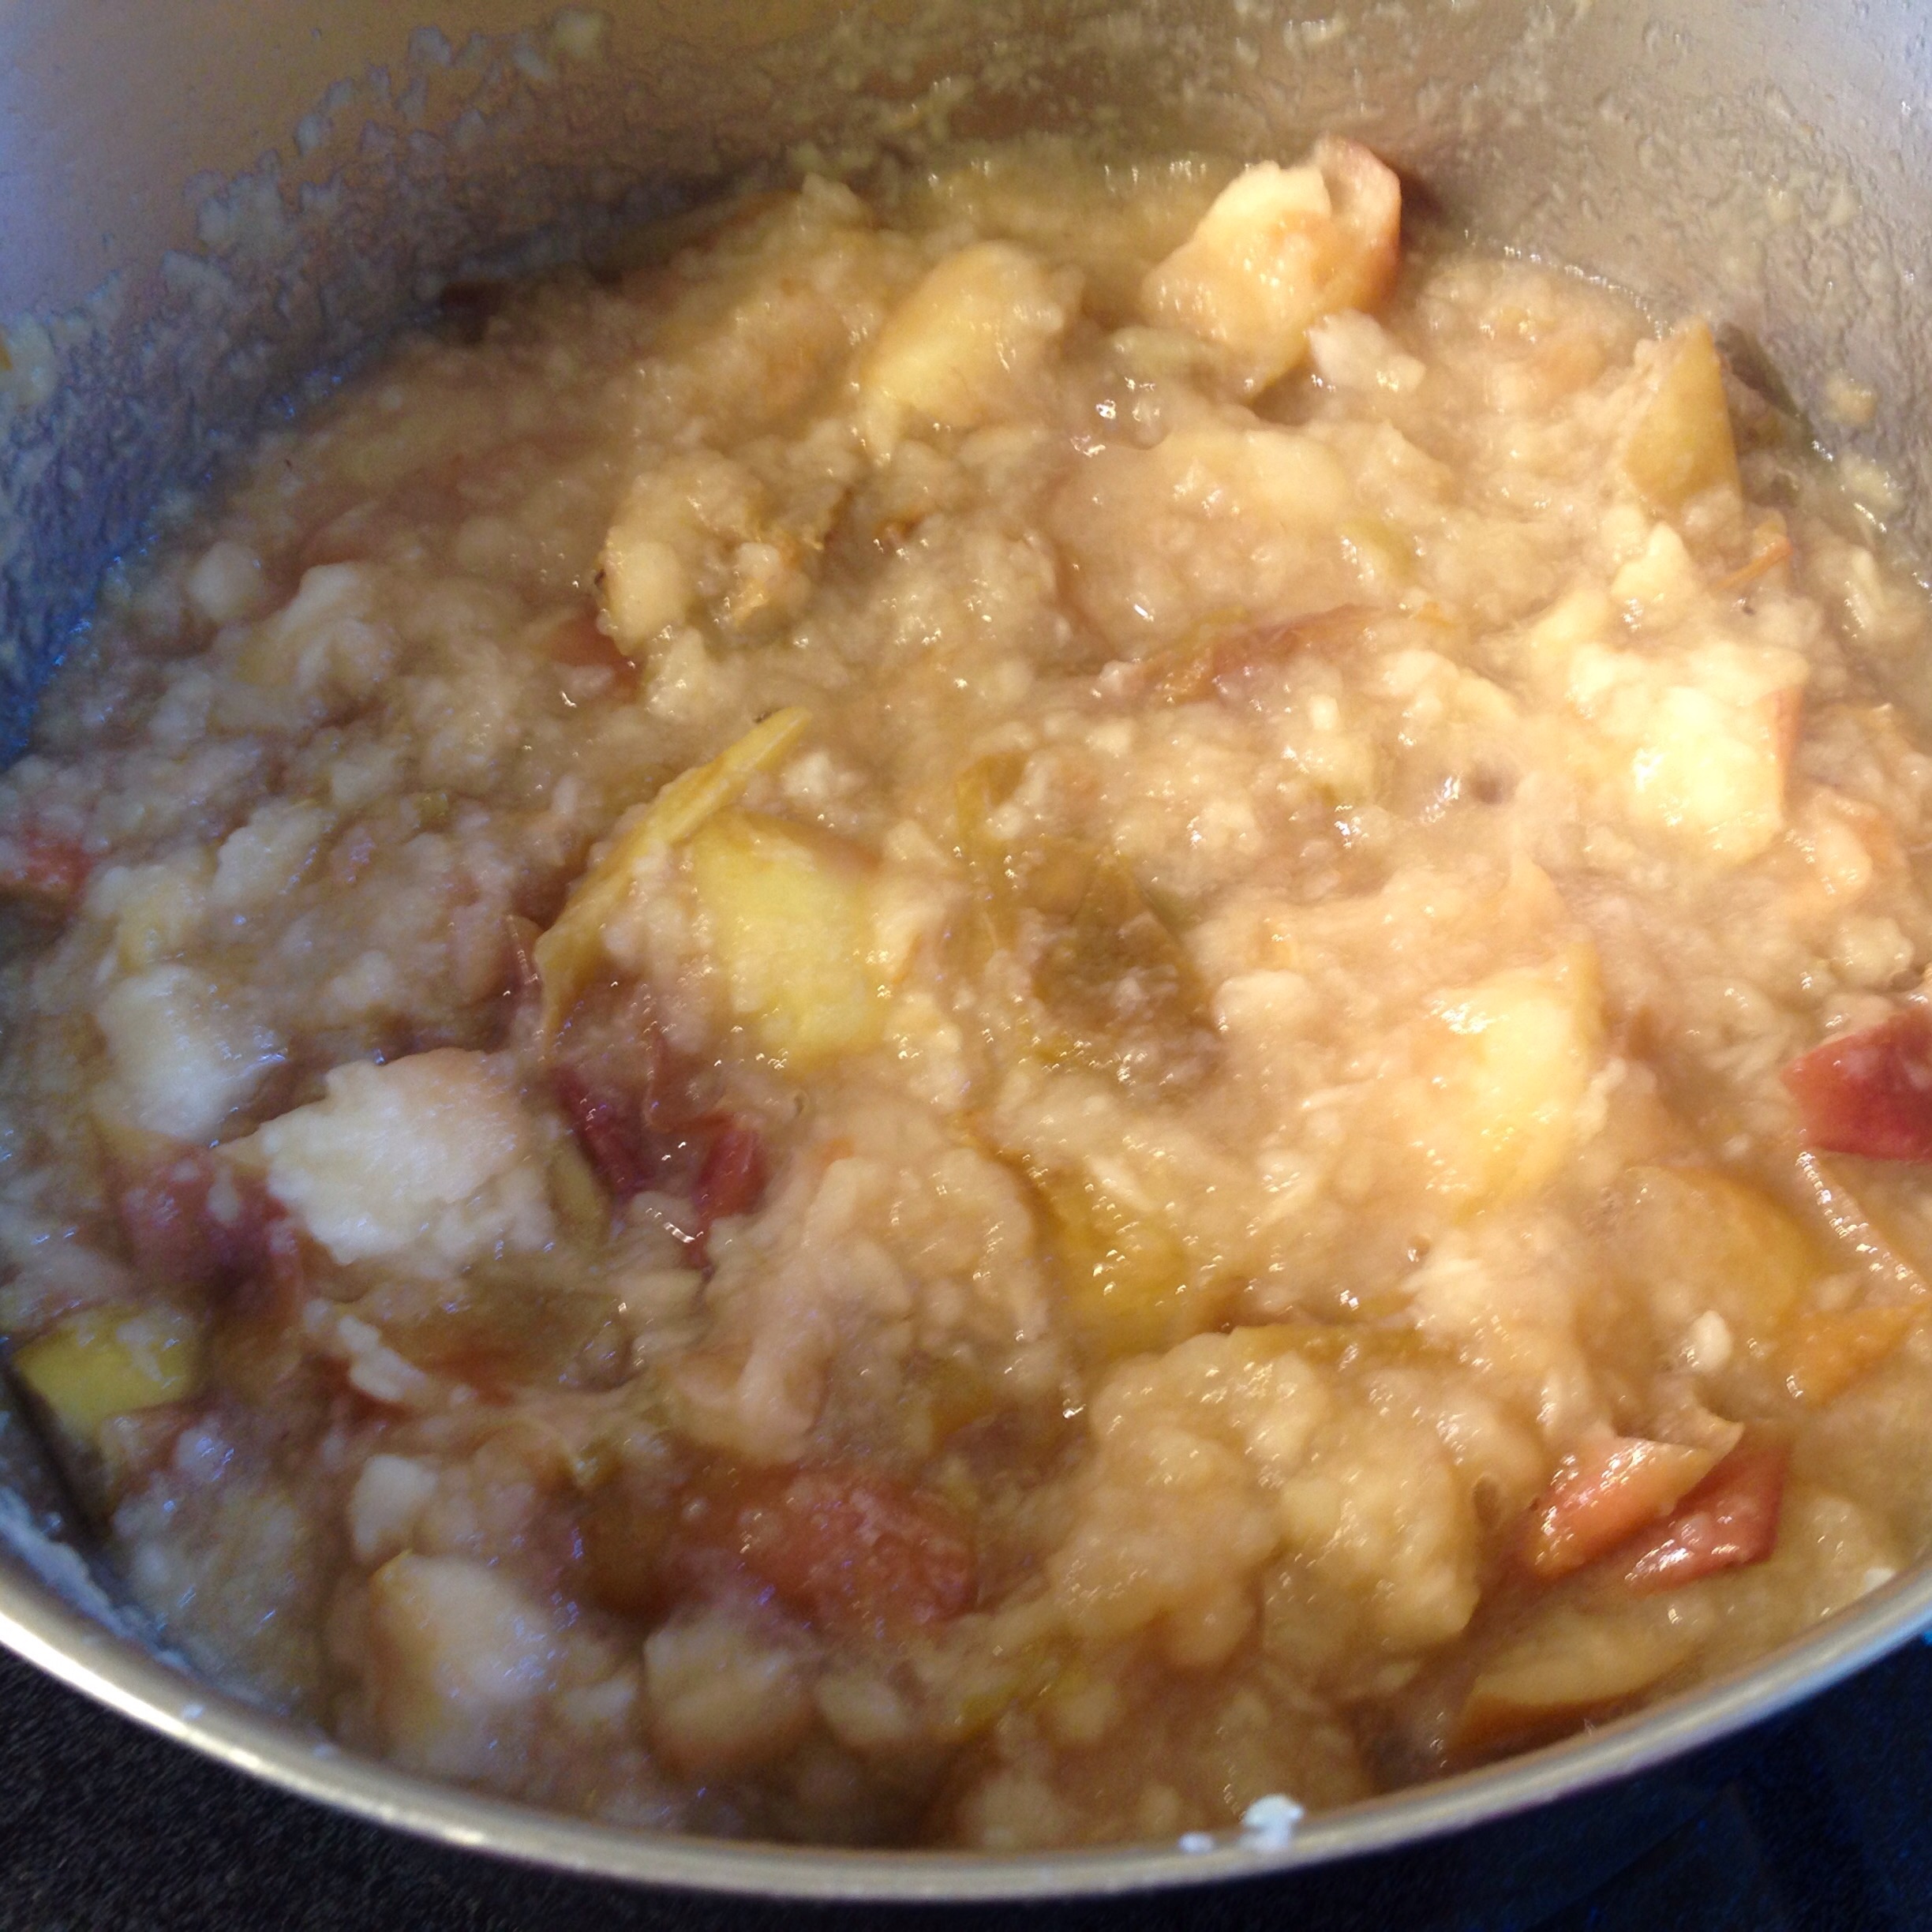
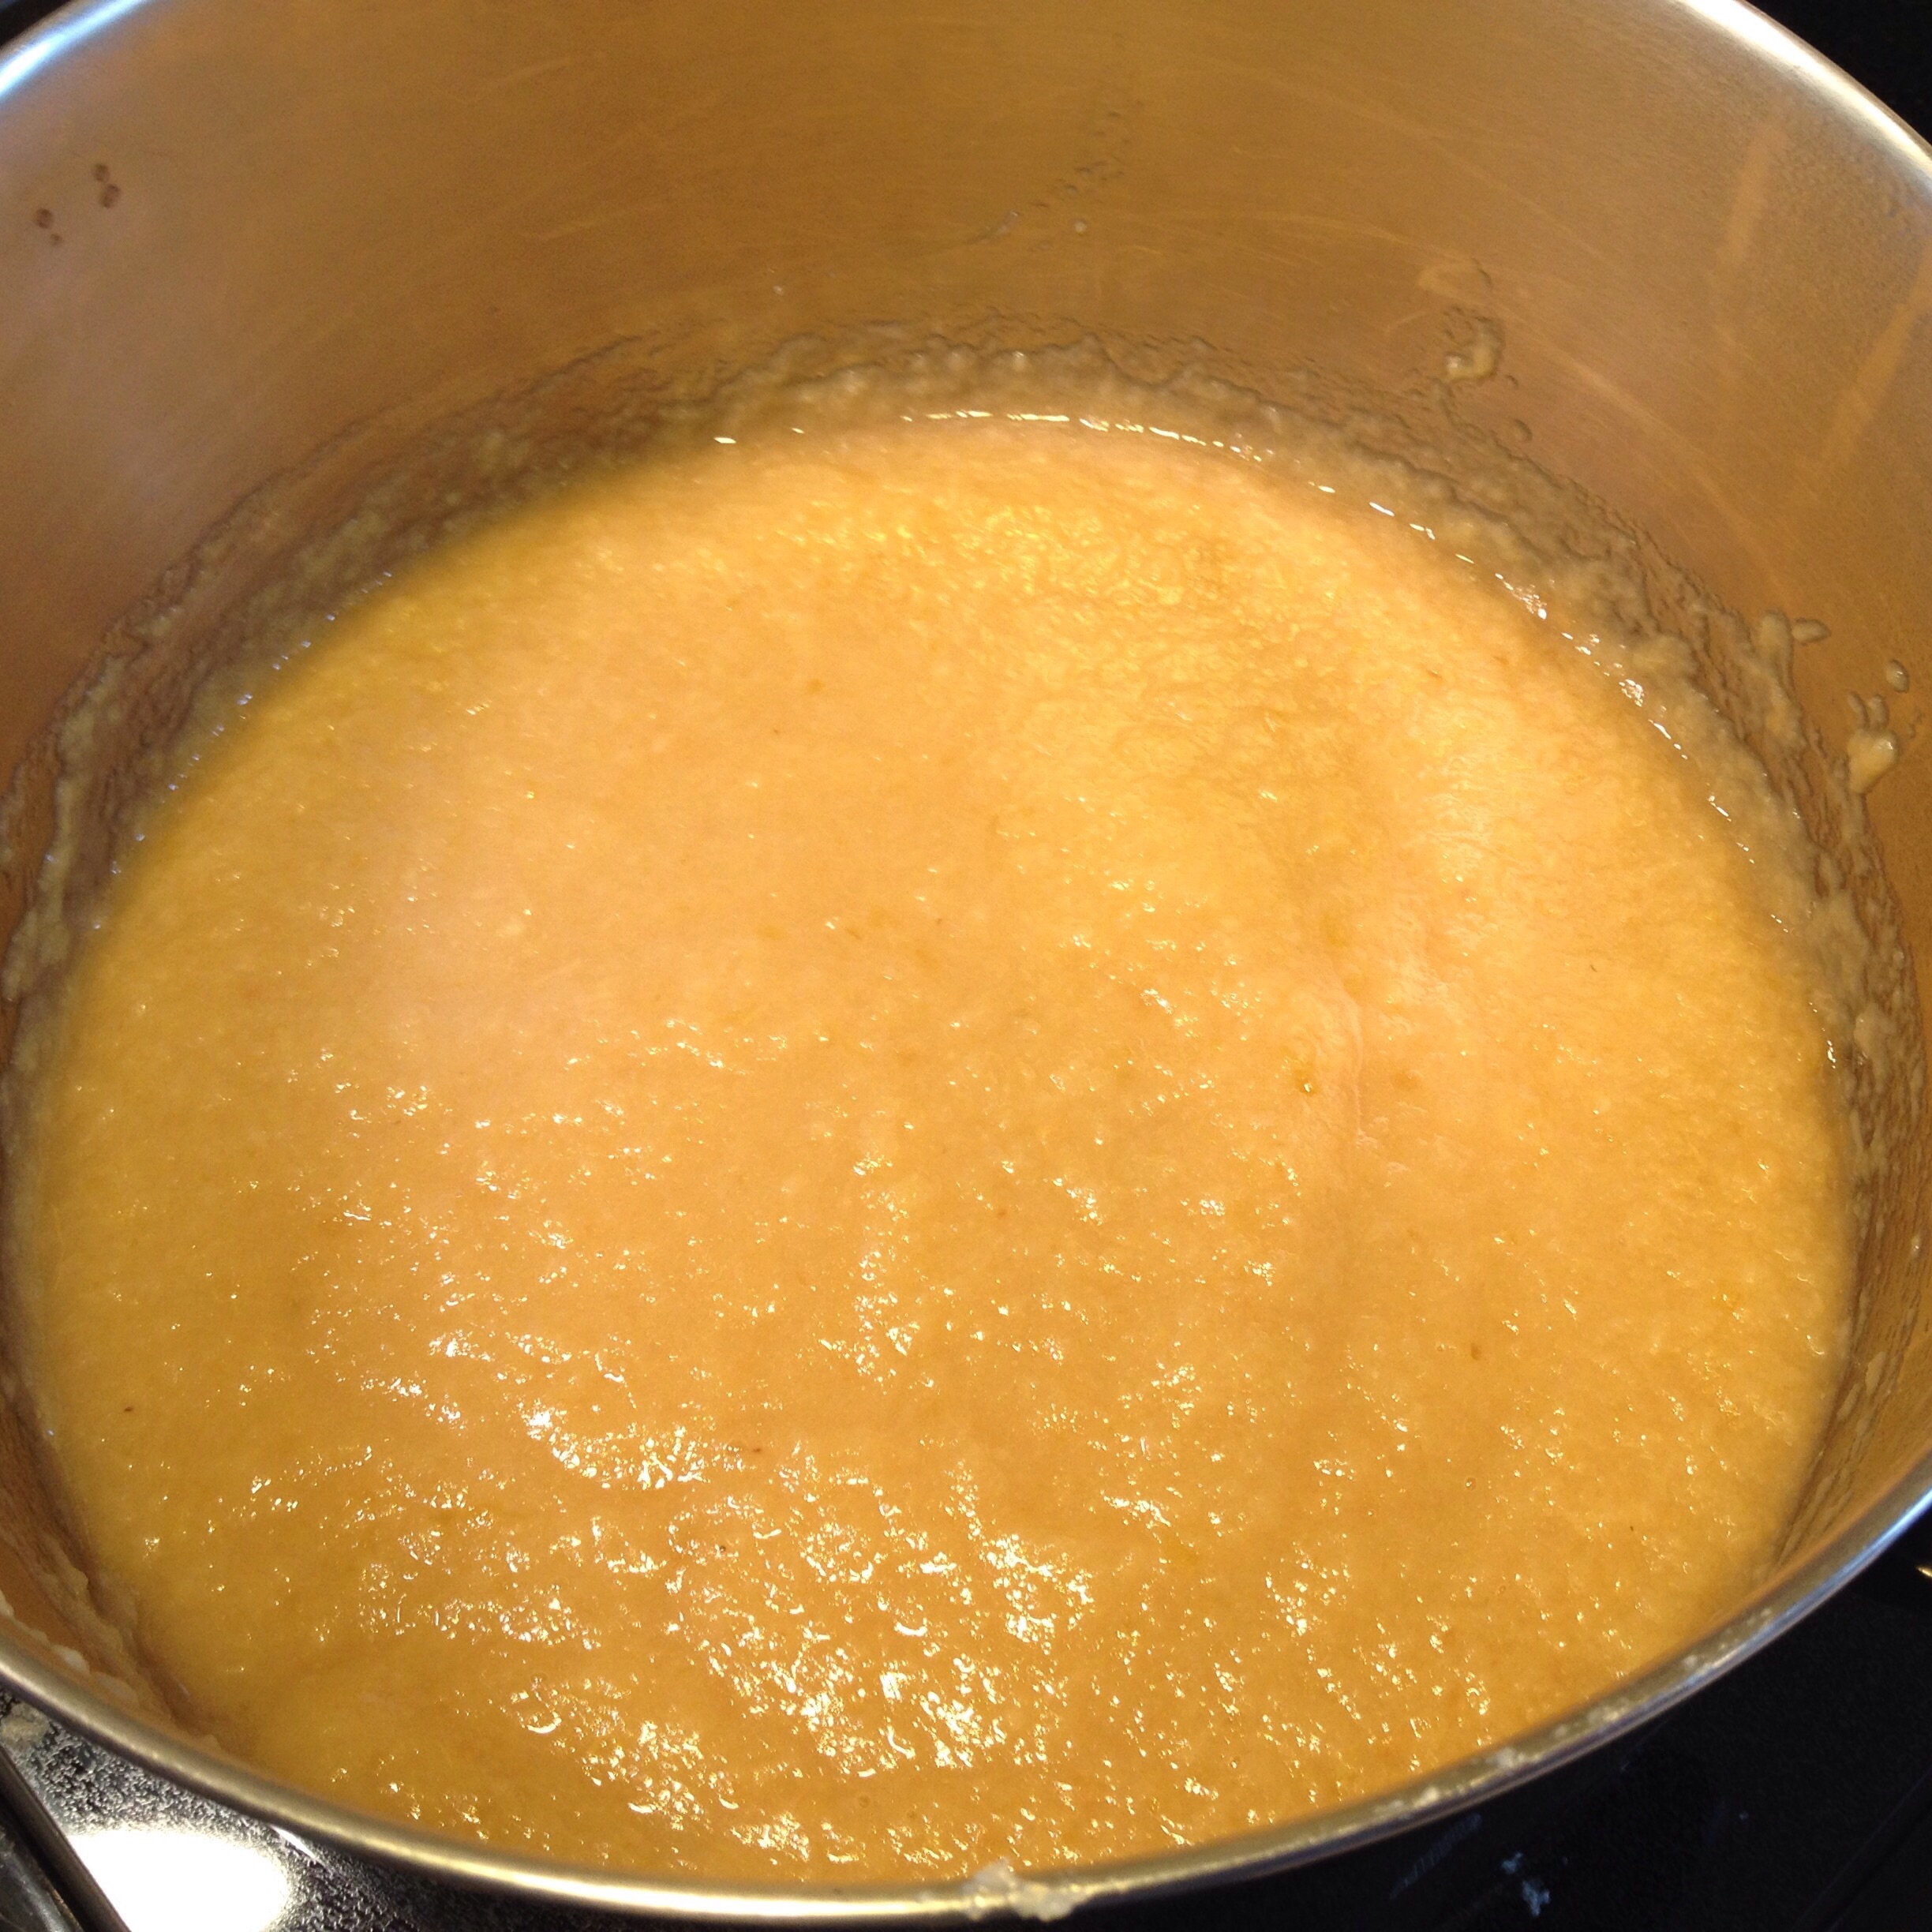
Once the apples soften slightly, stir them carefully every few minutes to prevent burning. I cannot stress this enough: you must stir. Apples have a lot of sugar in them, and they will burn if you turn your attention elsewhere for too long, and a burned apple ruins the whole pot! Here's a picture of the apples about halfway through cooking. They are soft and turning into applesauce. The house smells delicious now!
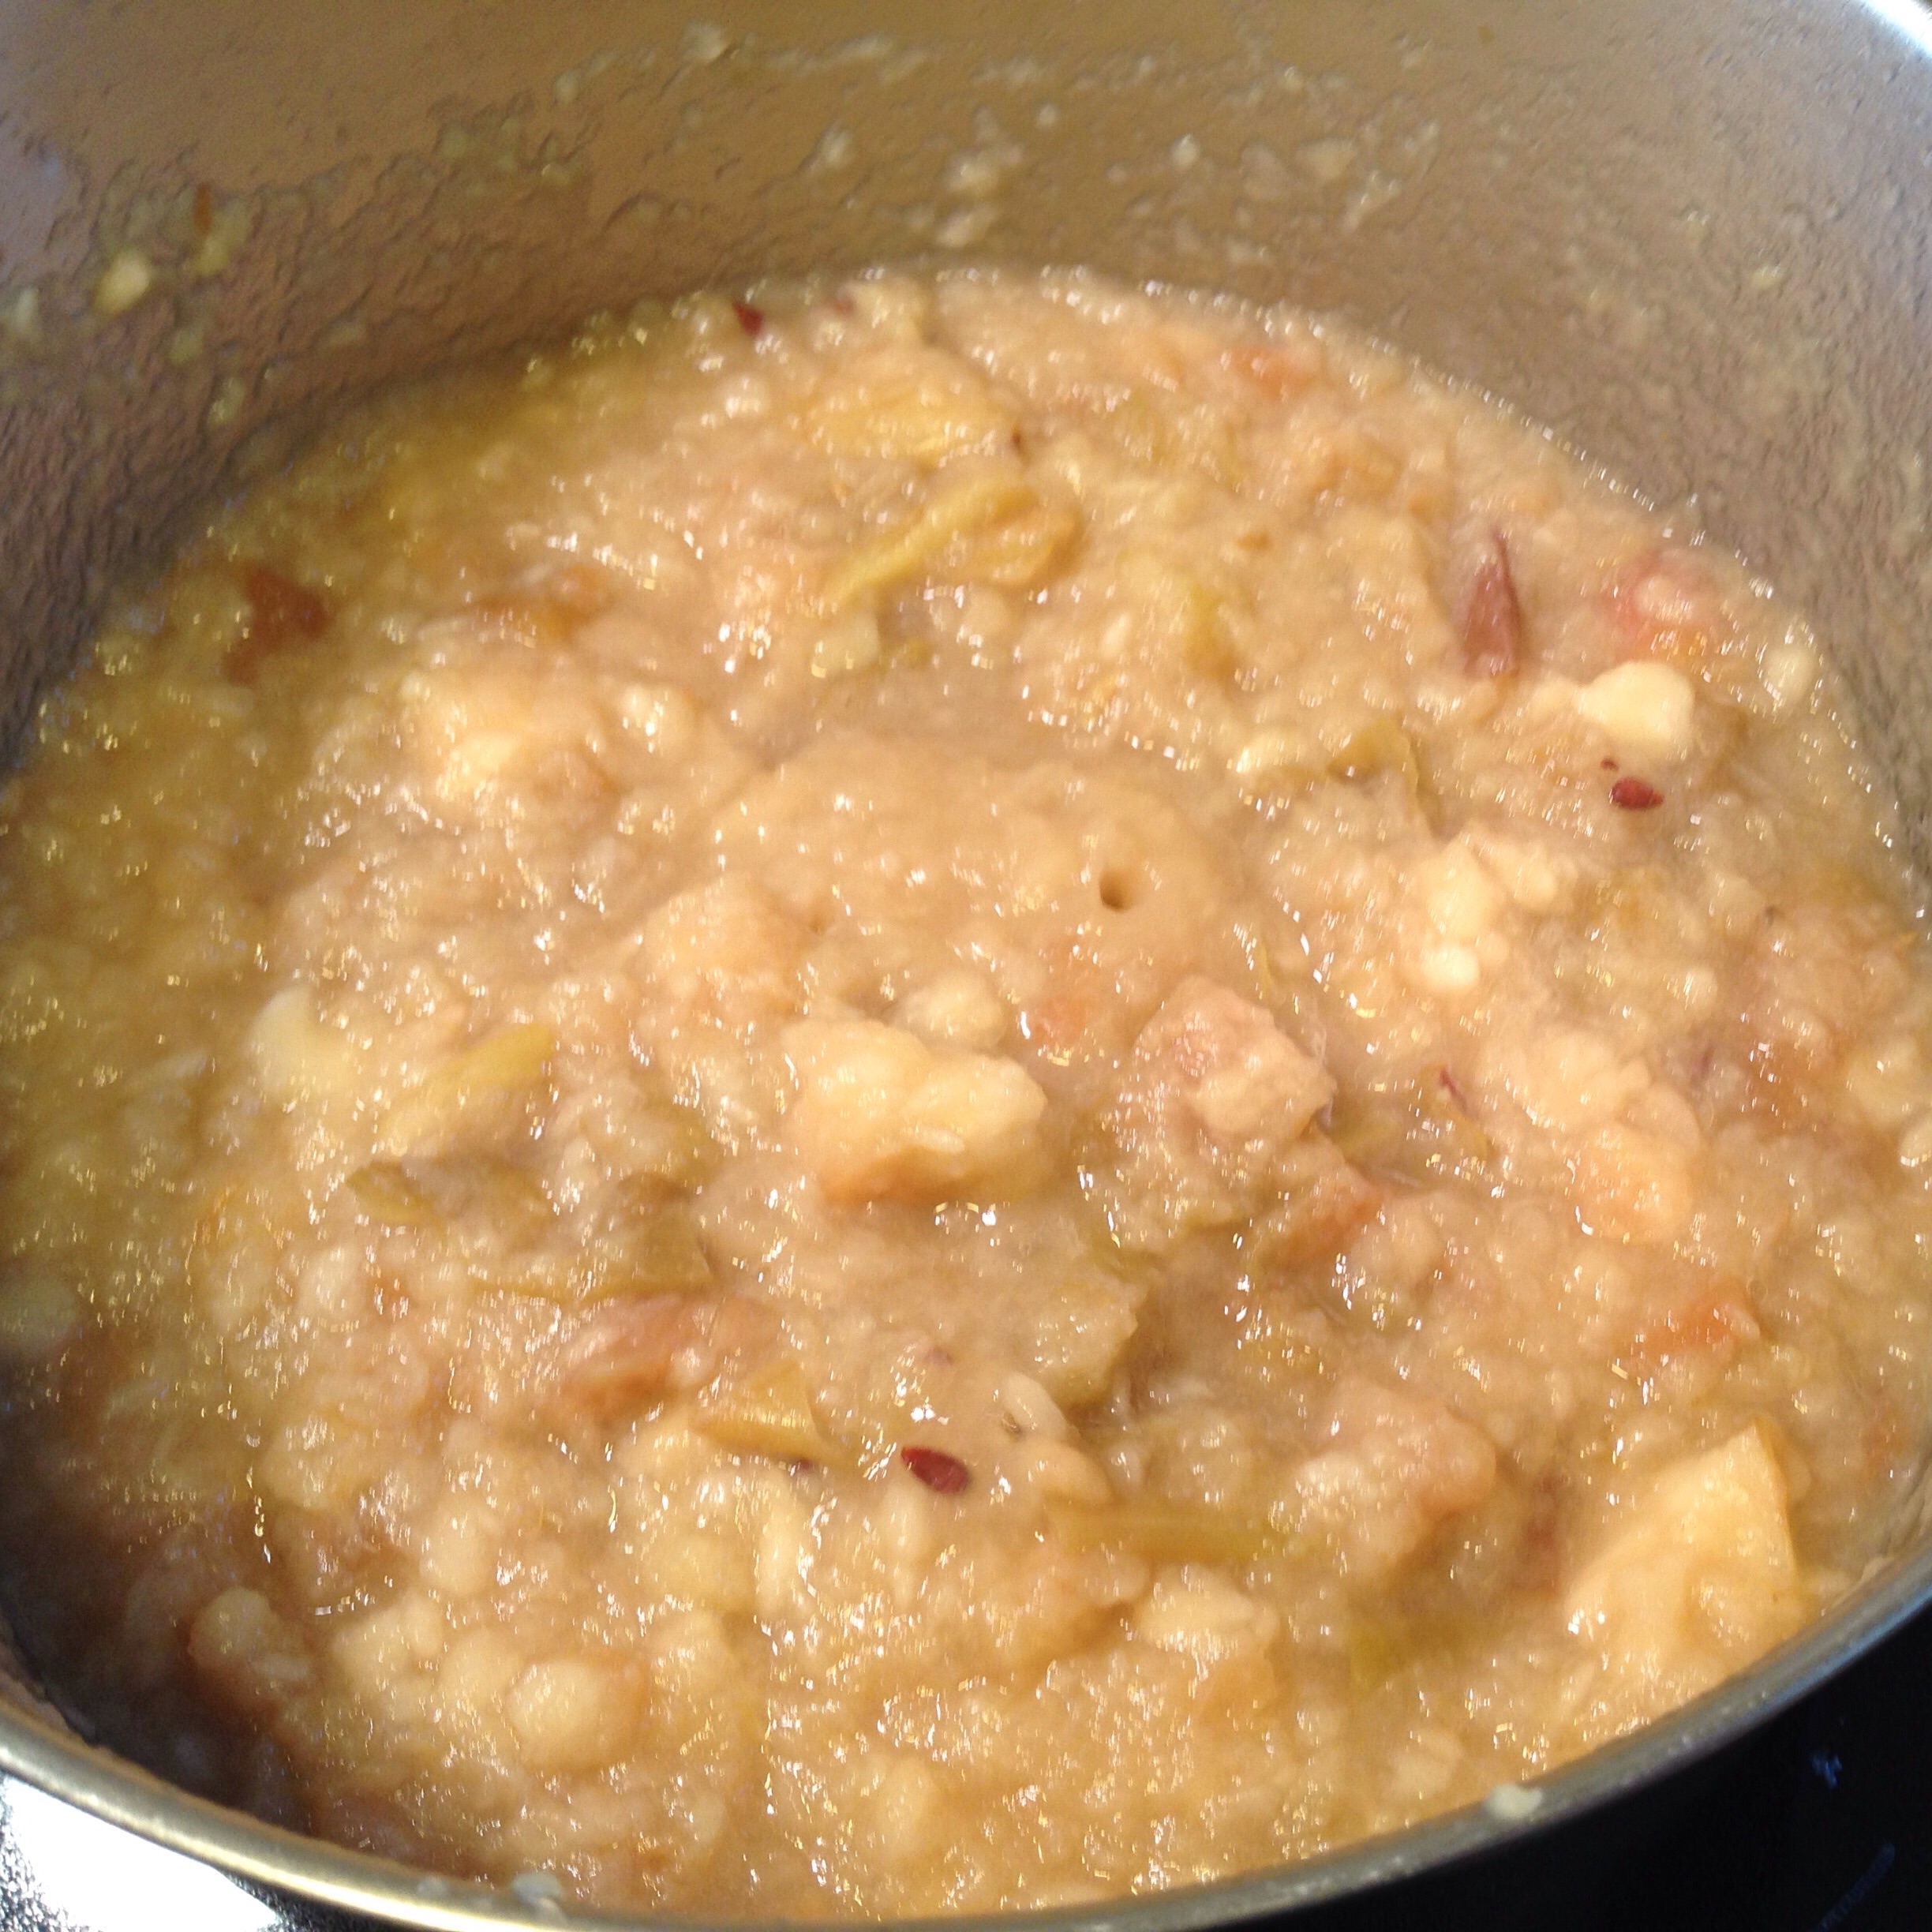
When the apples are all cooked down, and the pot looks like applesauce with skins in it, remove from heat and put through a food mill with the smaller holed disc. See how smooth and delicious the applesauce looks coming out the bottom of the food mill? Yum!

Once the applesauce has gone through the food mill, return it to the pot and bring to a boil before filling jars. At this point, some people also add sugar and spices to their applesauce. I never add sugar, as I've never had apples that need it, and I've found that I prefer canning plain applesauce. If I want cinnamon or other spices in my applesauce later, I can add it when I open the jar.
I preserve most of my applesauce in jelly jars because I love eating them in single servings for dessert or a snack. Ball recommends water bath canning applesauce in pints and quarts for 20 minutes. I process my jelly jars for 20 minutes as well, just to be safe. The extra cooking time doesn't effect the quality of the sauce because it has already cooked for so long before it is canned.
How much applesauce did I get from 25lbs of late-season apples? 30 jelly jars! Given the great price I got on the apples, each of these one-cup servings of applesauce cost just 20 cents. It doesn't get much better than that, and now I don't have to covet my few remaining jars from the fall. After this great experience, I plan to do all of my applesauce canning in the early spring with old storage apples. A great price and all the time in the world to make applesauce as I wait for the gardens to wake up!
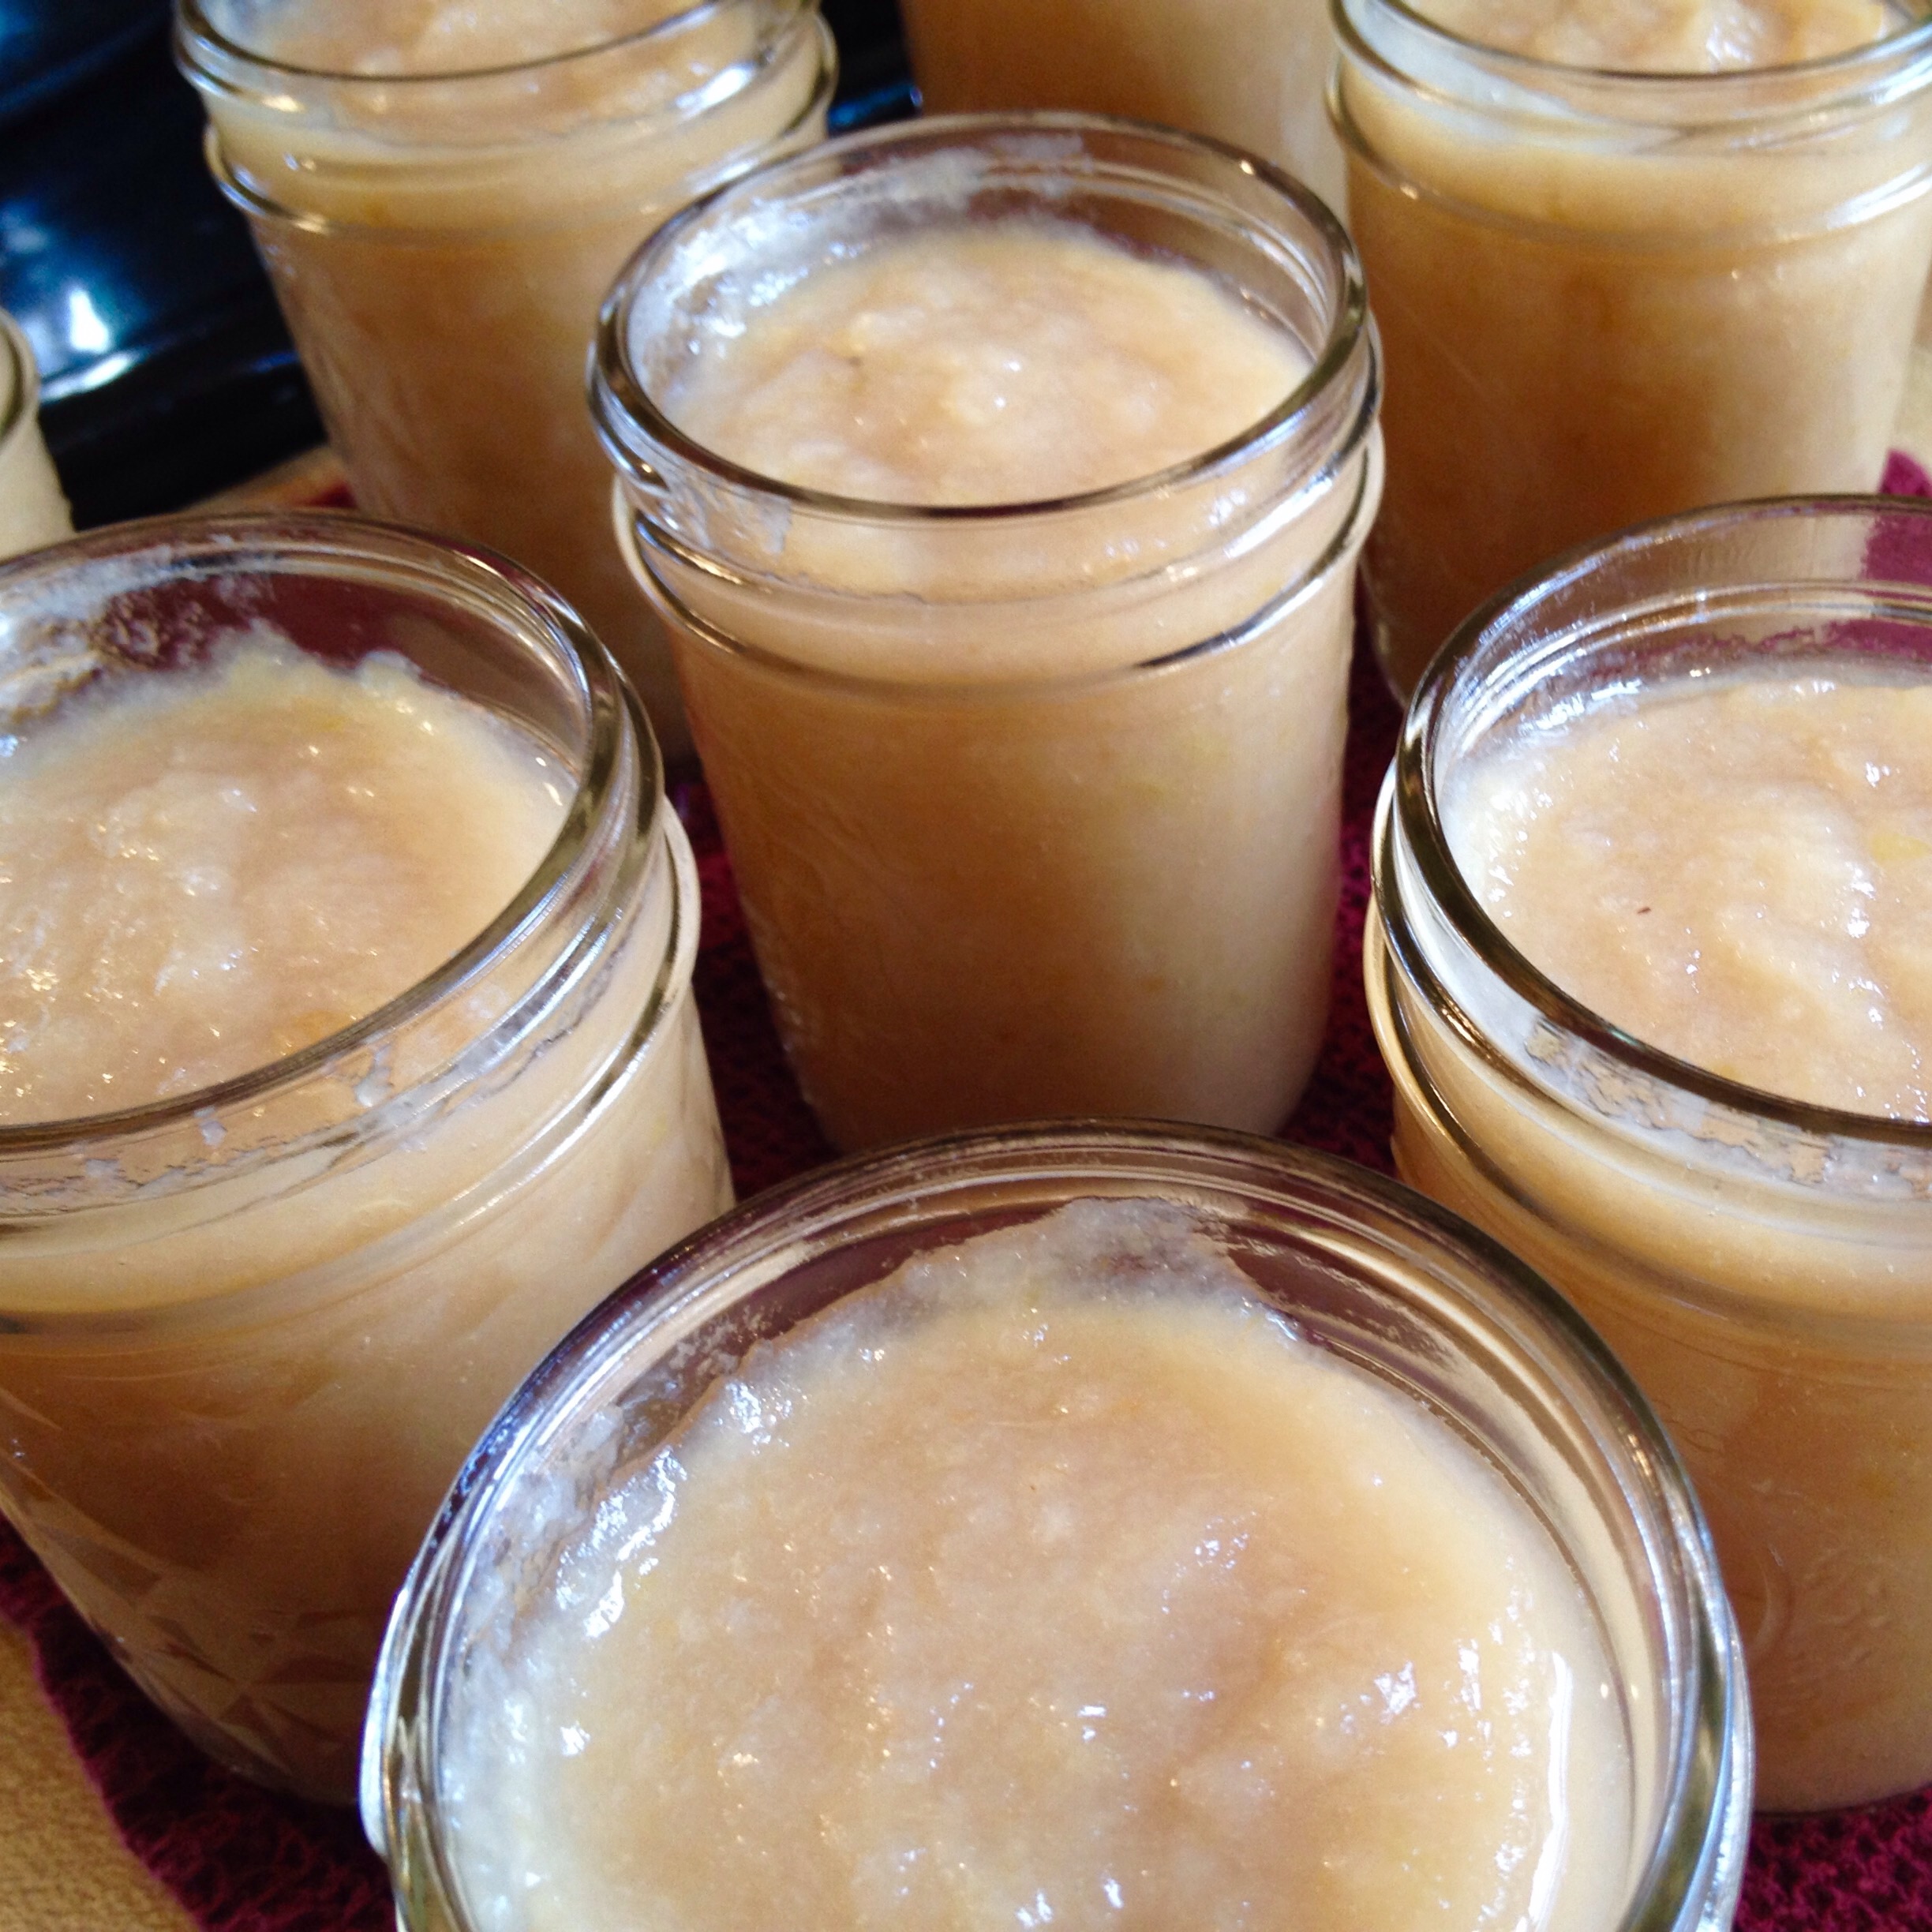
This variety of apple didn't make much of a pink sauce, but it's still so, so good. Now, where's my spoon...?







Natural Protection for the Outdoors
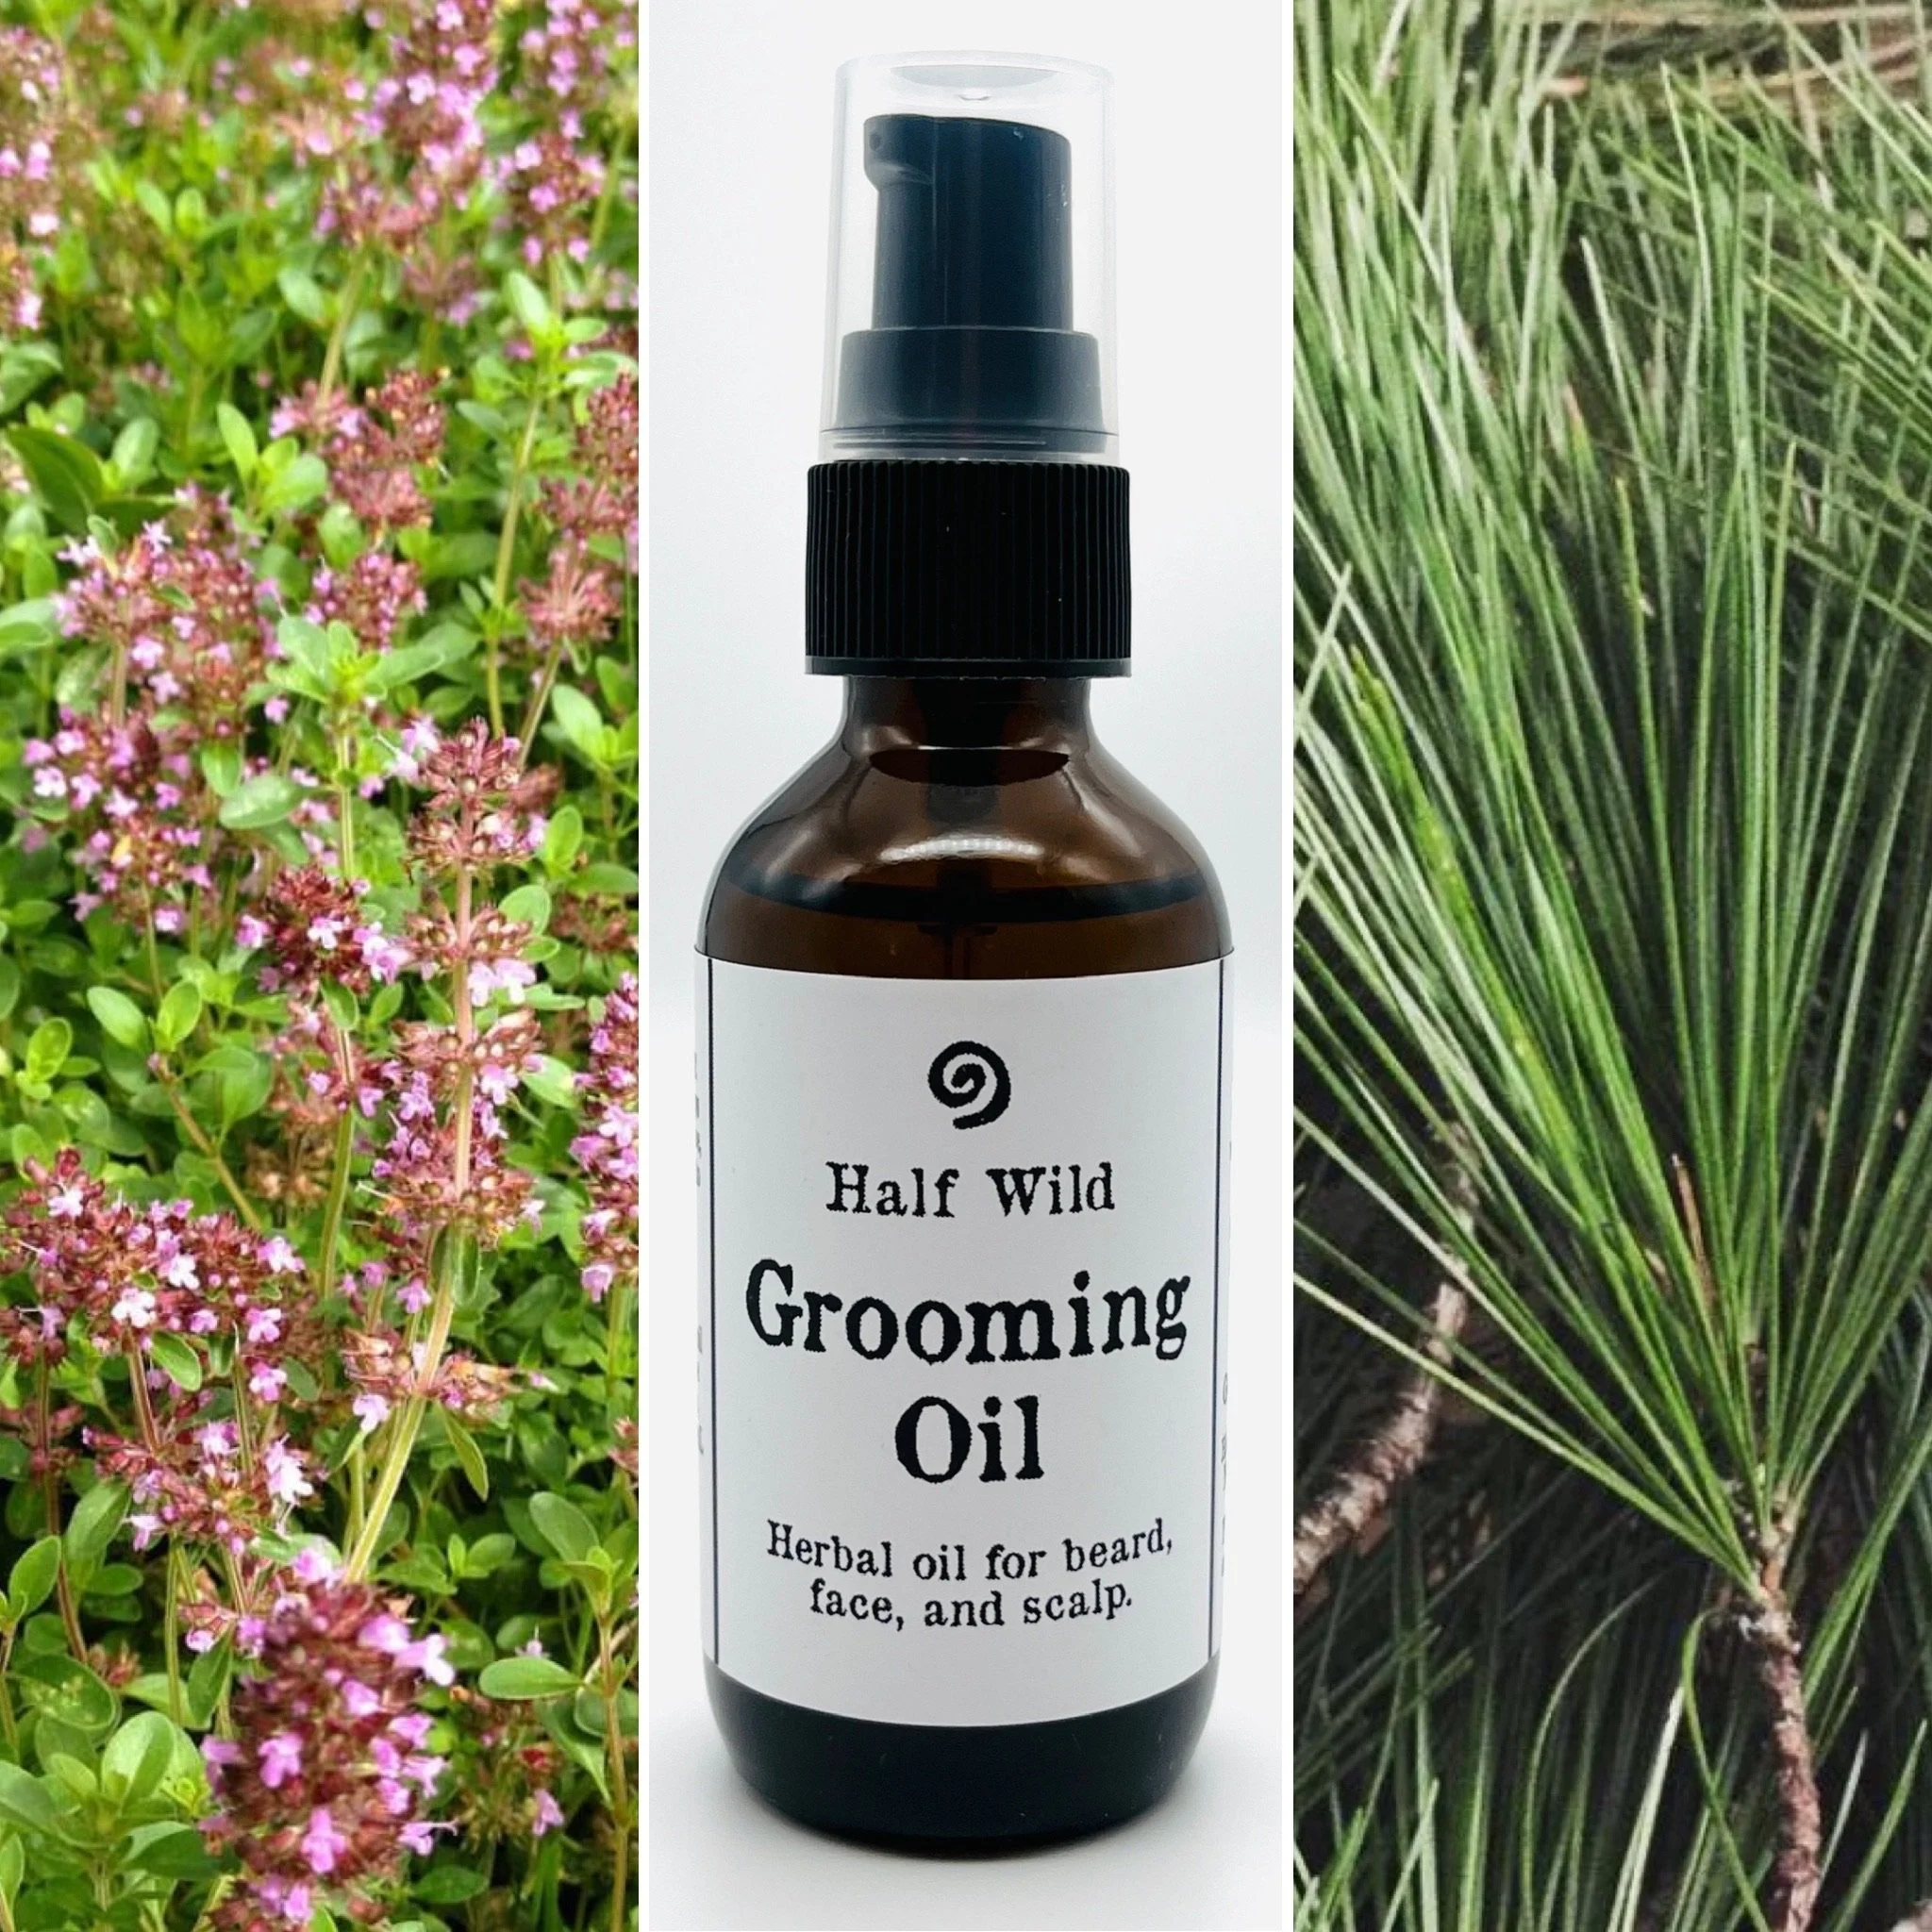
Herbal Bug Spray is a refreshing, herb-infused mist designed to keep your comfortable during your time outdoors. Made with thyme and other herbs grown on our farm, this formula is thoughtfully crafted to help you enjoy nature without unwatned distractions. Light and easy to apply, it is perfect for hikes, picnics, or any adventure under the open sky.
Best For: Outdoor Adventures, Hiking, Gardening, Camping
Not for use on pets.
This 56 mL bottle comes with a treatment pump that can be refilled twice with our Herbal Bug Spray Refill.
We offer sliding scale prices. Please select an option below to support our small business at a price that matches your ability to pay.