
Nothing But Apple(sauce)
By March, storage apples are usually losing their vigor and very few varieties are still good for fresh eating. So, I was pleasantly surprised last week to see 25lb bags of apples for sale from our local orchard for $5.99. How could I resist?
I love apples. I LOVE apples. When I was a child, if you offered me either an apple or a cookie, I would choose the apple. I store them to eat fresh, I dry them to snack on, and I can applesauce. Usually, all of my apple preserving is done in the autumn, but last year, I ran out of time and was only able to make a small batch of applesauce from a neighbor's tree. I have been savoring each jar all winter.
By March, storage apples are usually losing their vigor and very few varieties are still good for fresh eating. So, I was pleasantly surprised last week to see 25lb bags of apples for sale from our local orchard for $5.99. How could I resist? As you can see from the picture, I also couldn't resist a new hatchet to tackle some small felling projects this spring.

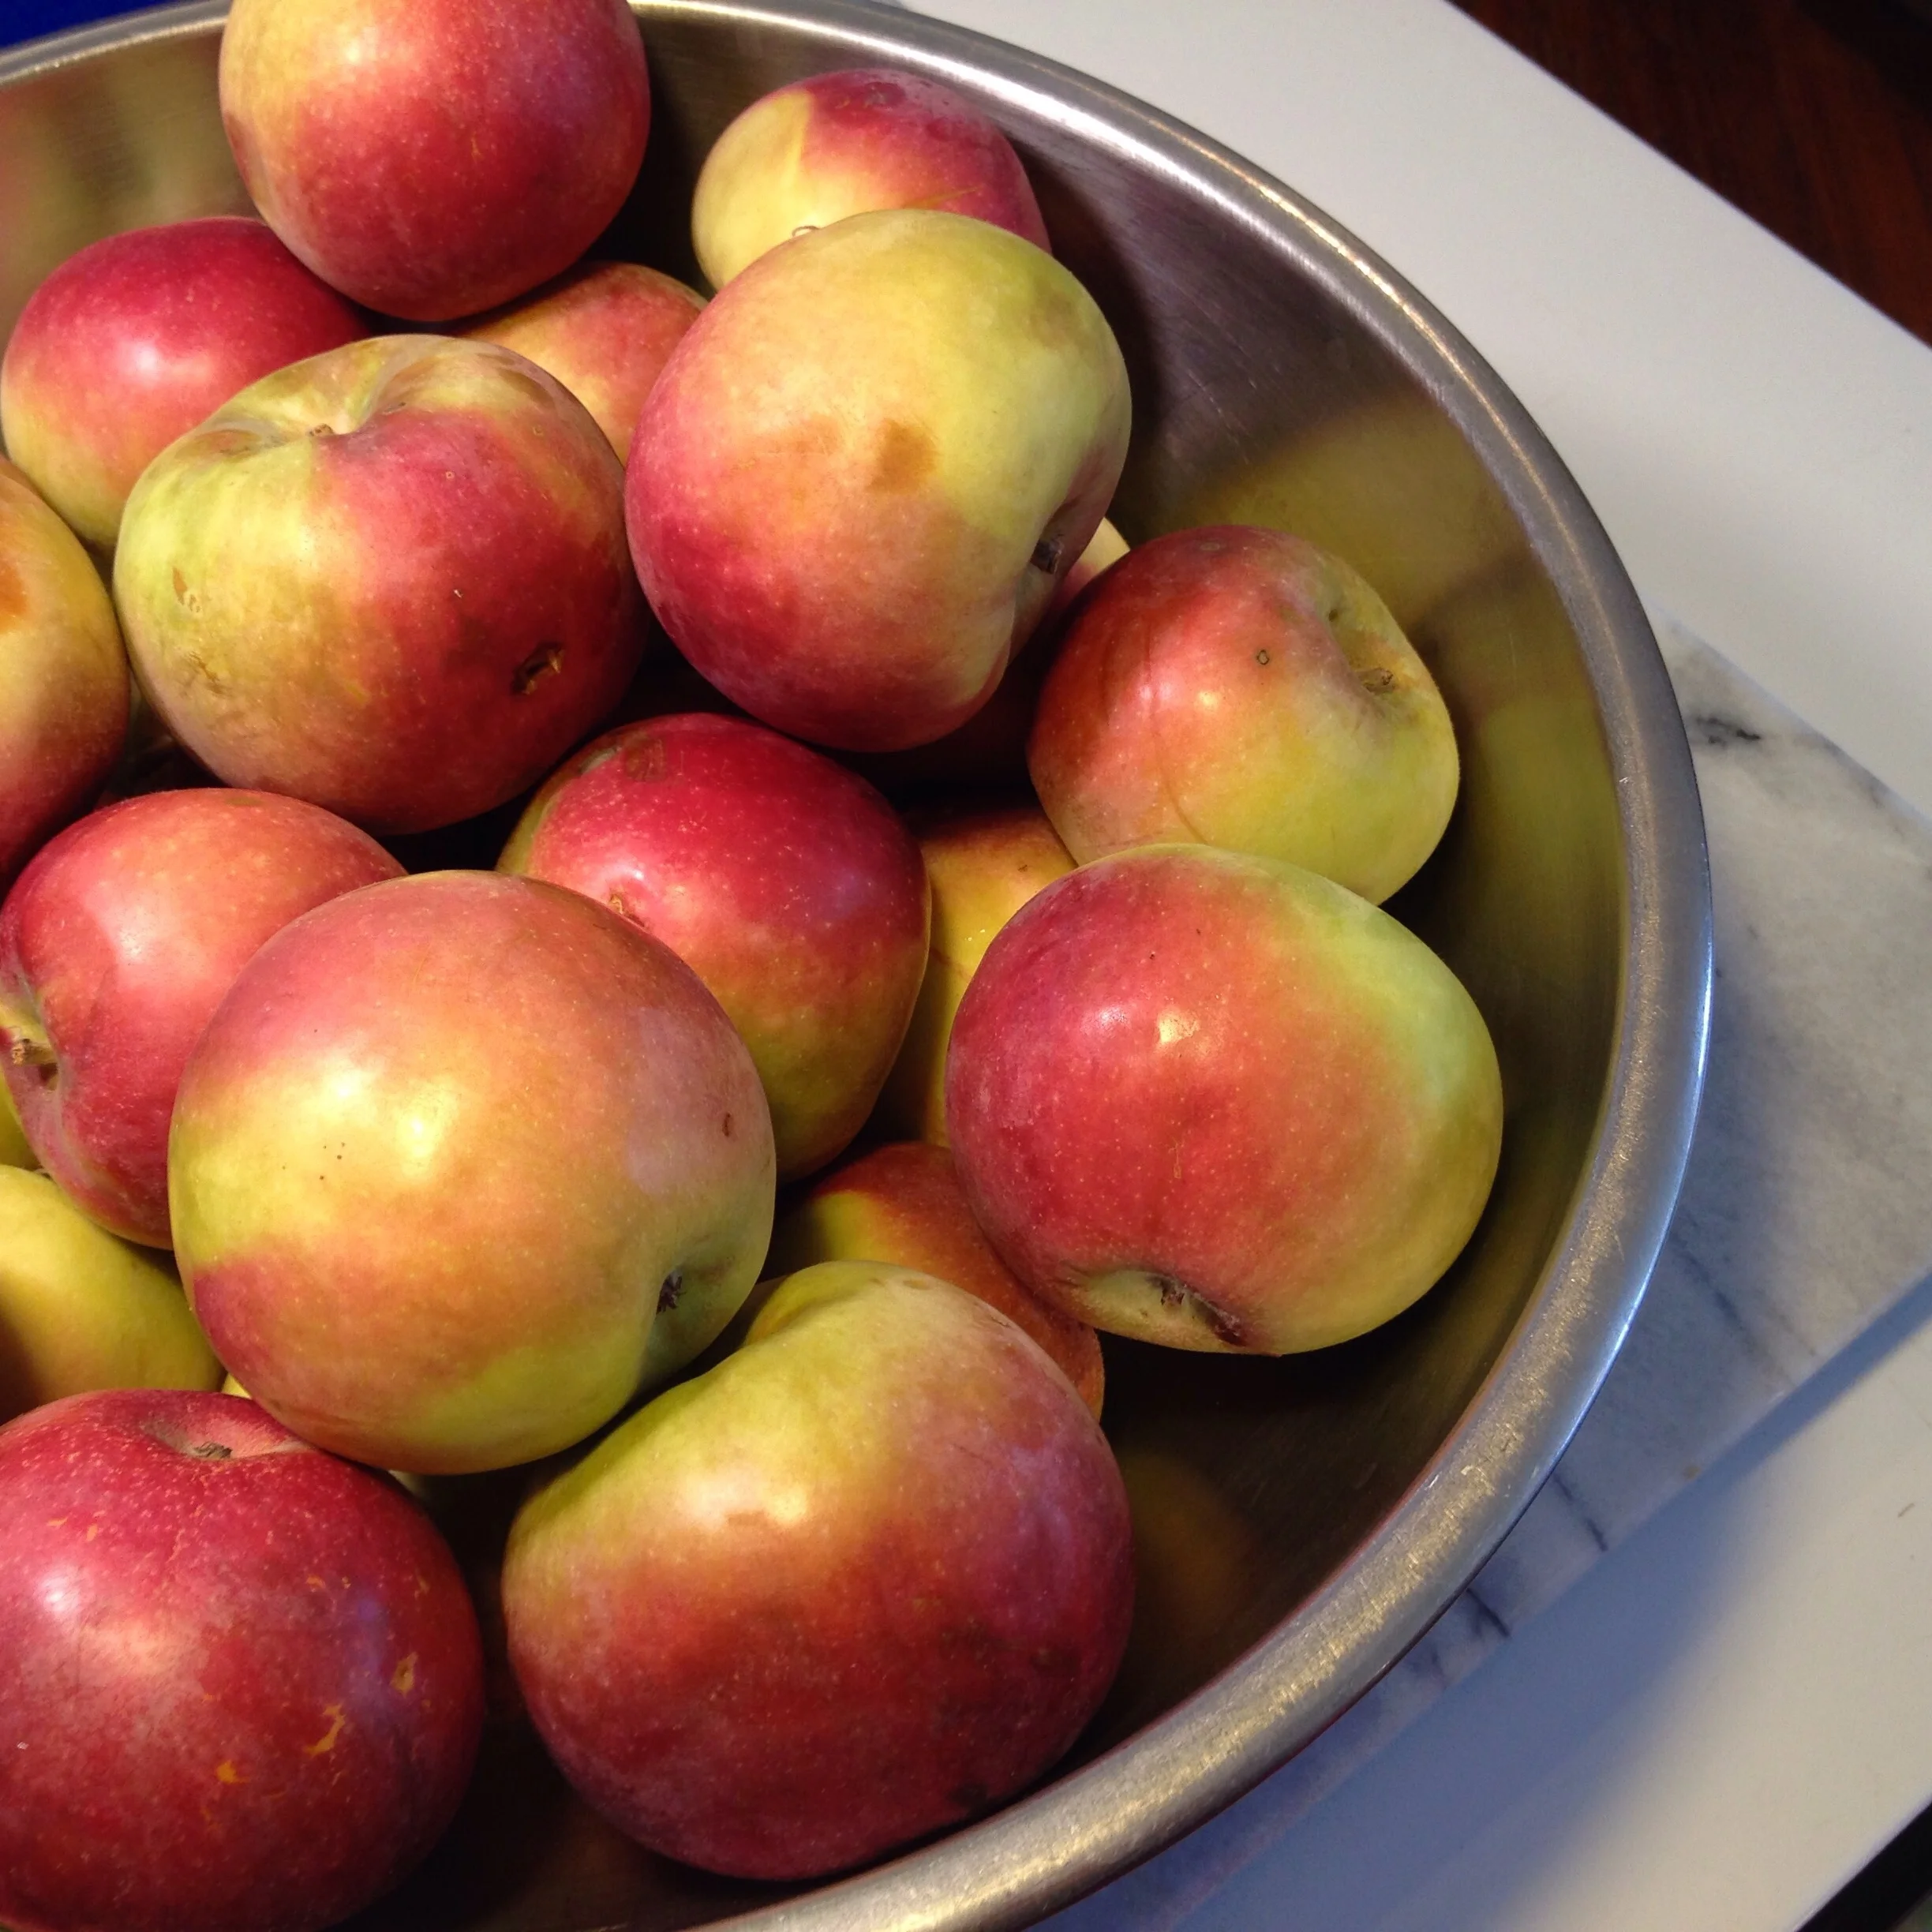
The apples themselves are battered and worn, but still firm and more than good enough for a few quick batches applesauce. Applesauce tastes the best when you use more than one variety of apple, and I prefer to use mostly red apples to get a pink sauce, but as long as the apples aren't rotten, you really can't go wrong. Here is a close-up of the apples I used this time:

To prep the apples, I soak them in water, then take one apple at a time, cut off any rotten or diseased parts, cut into eighths, and toss in a large pot. Into the pot I also put about a cup of water. The water helps to prevent the apples from burning as they soften. Working in 8lb batches, I filled my first pot. Be sure to leave enough space to stir the apples as they cook. I didn't leave quite enough space this time, so I covered the pot for the first 5 minutes of cooking and lowered the heat to prevent burning.
A note about prepping apples: I use a food mill to make applesauce. It separates skins and seeds from the cooked applesauce. If you do not have a food mill, you must peel, core, and slice your apples before heating them (try using an apple peeler/corer/slicer). If you have red apples and want a pink sauce, you can still put a few red skins back into the applesauce as it cooks, to color the sauce, and then just remove the skins by hand before filling the jars.

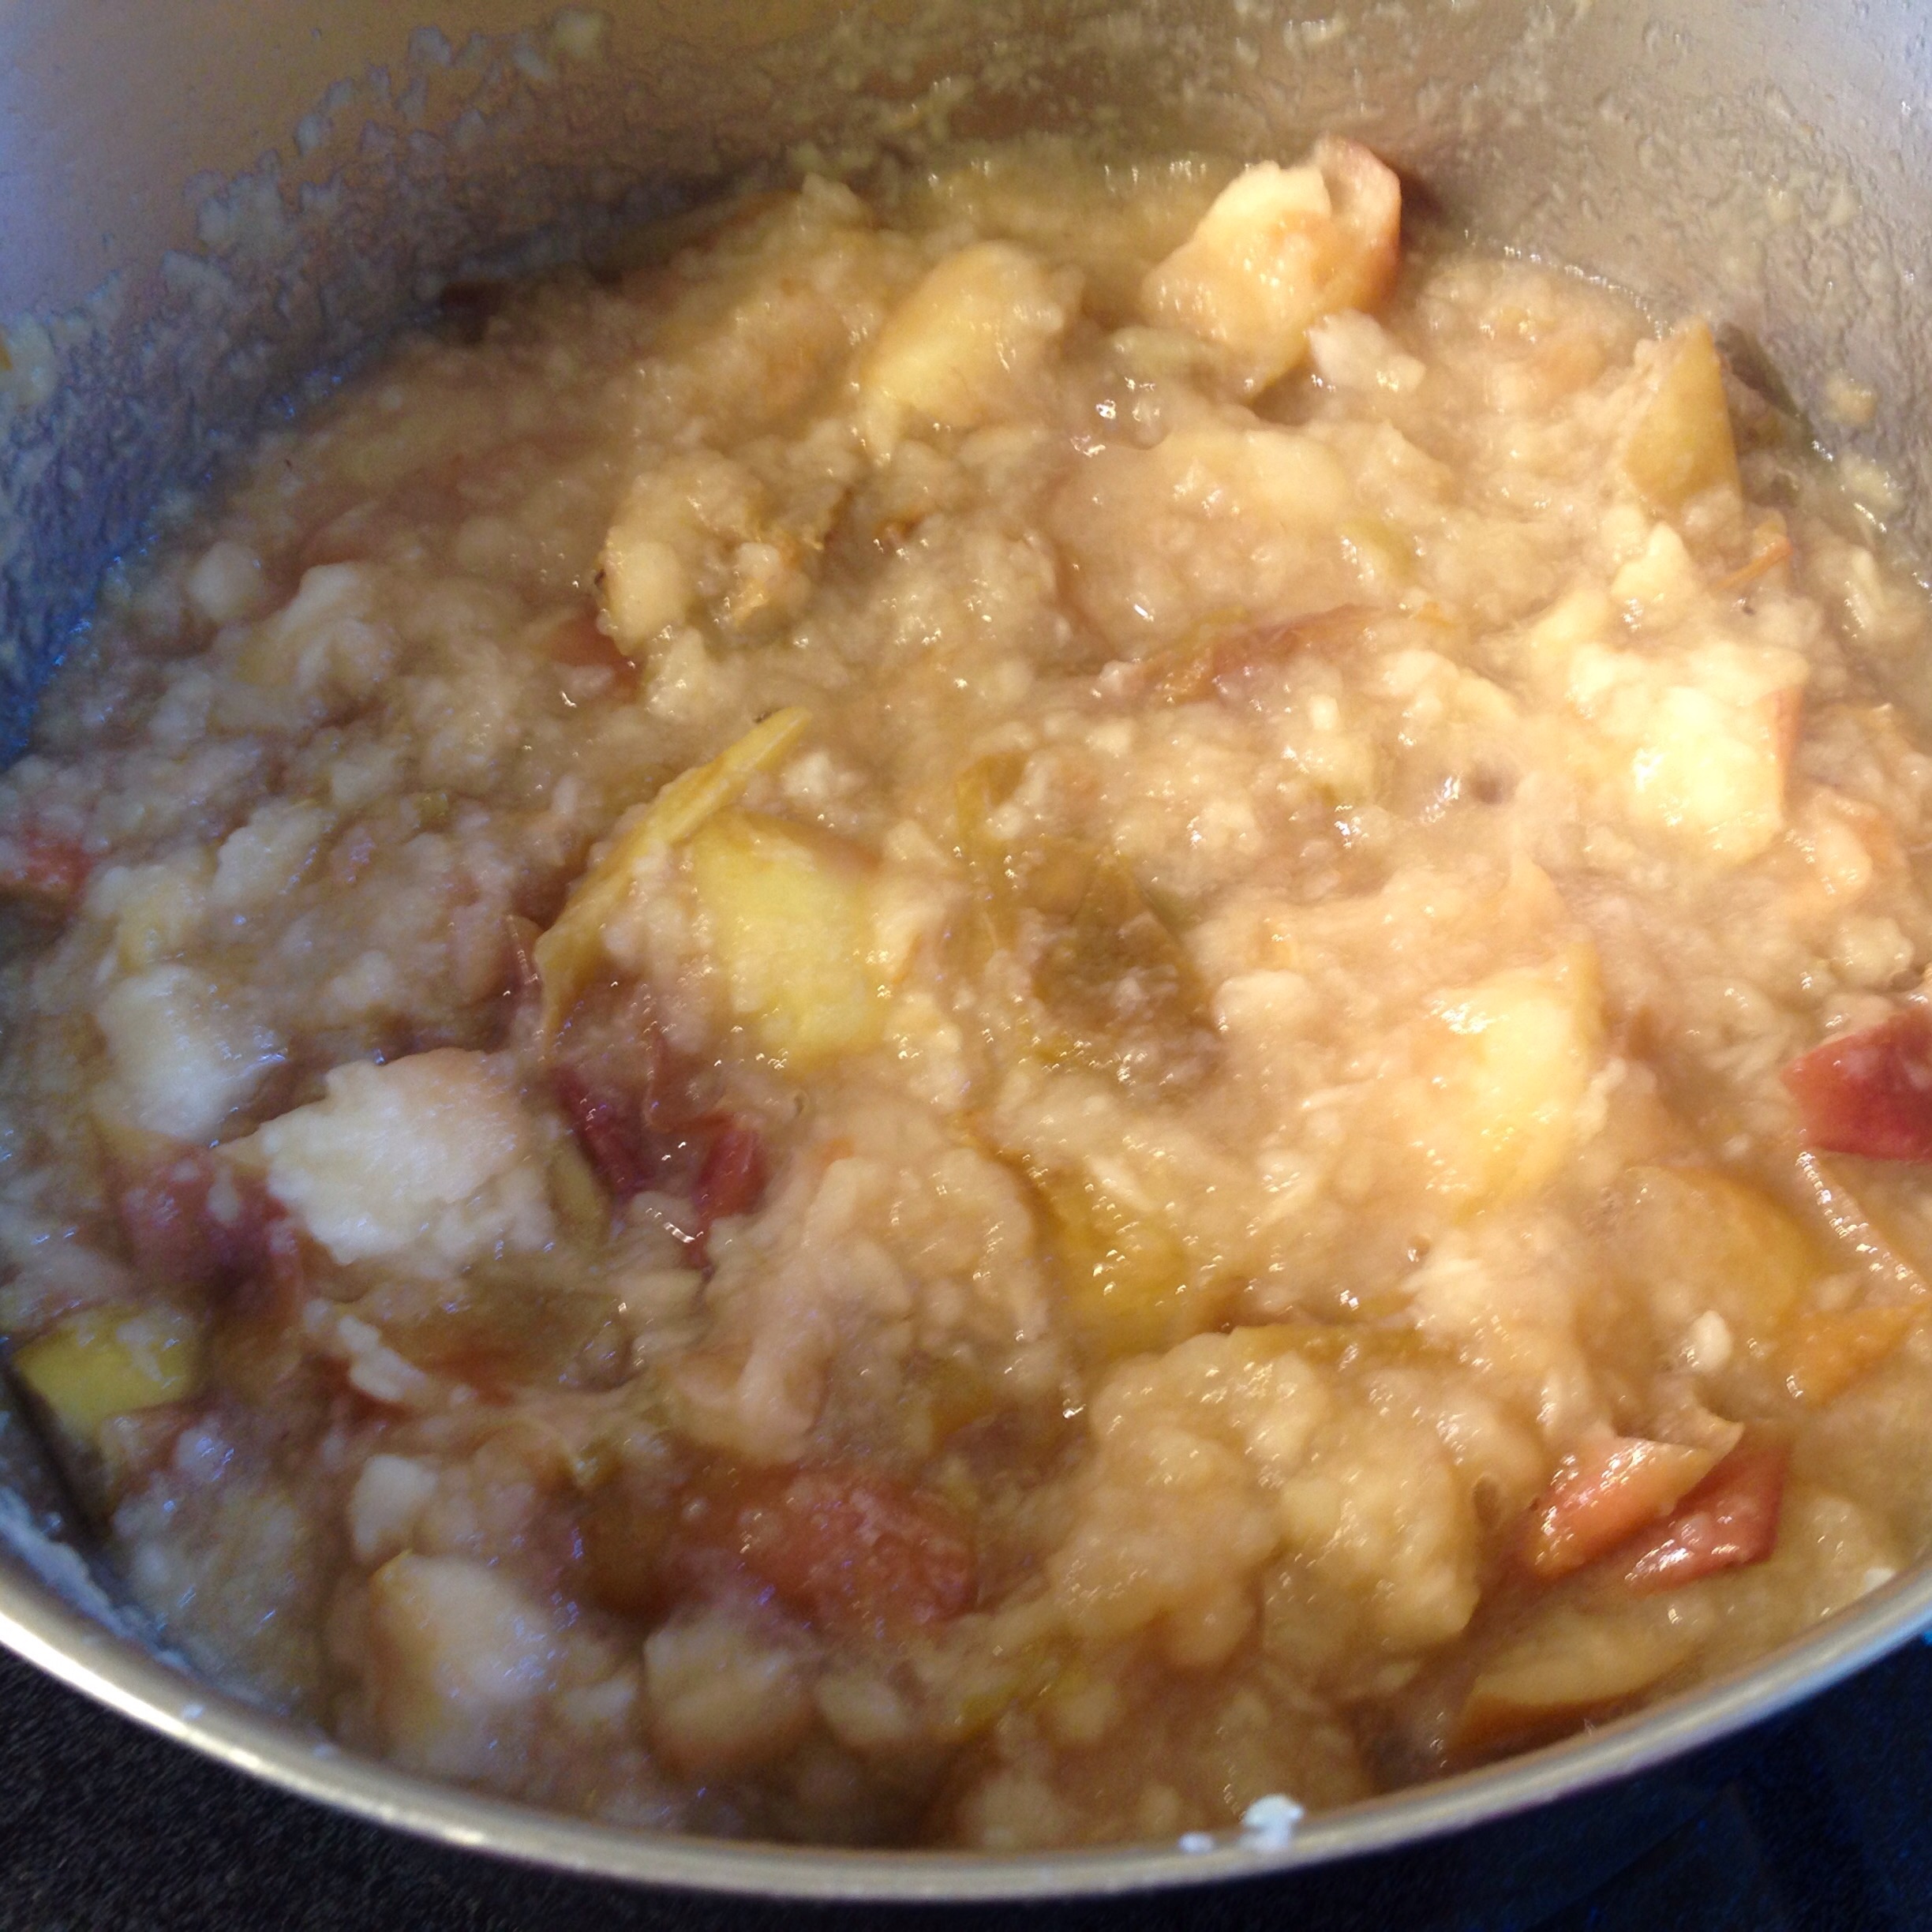
Once the apples soften slightly, stir them carefully every few minutes to prevent burning. I cannot stress this enough: you must stir. Apples have a lot of sugar in them, and they will burn if you turn your attention elsewhere for too long, and a burned apple ruins the whole pot! Here's a picture of the apples about halfway through cooking. They are soft and turning into applesauce. The house smells delicious now!
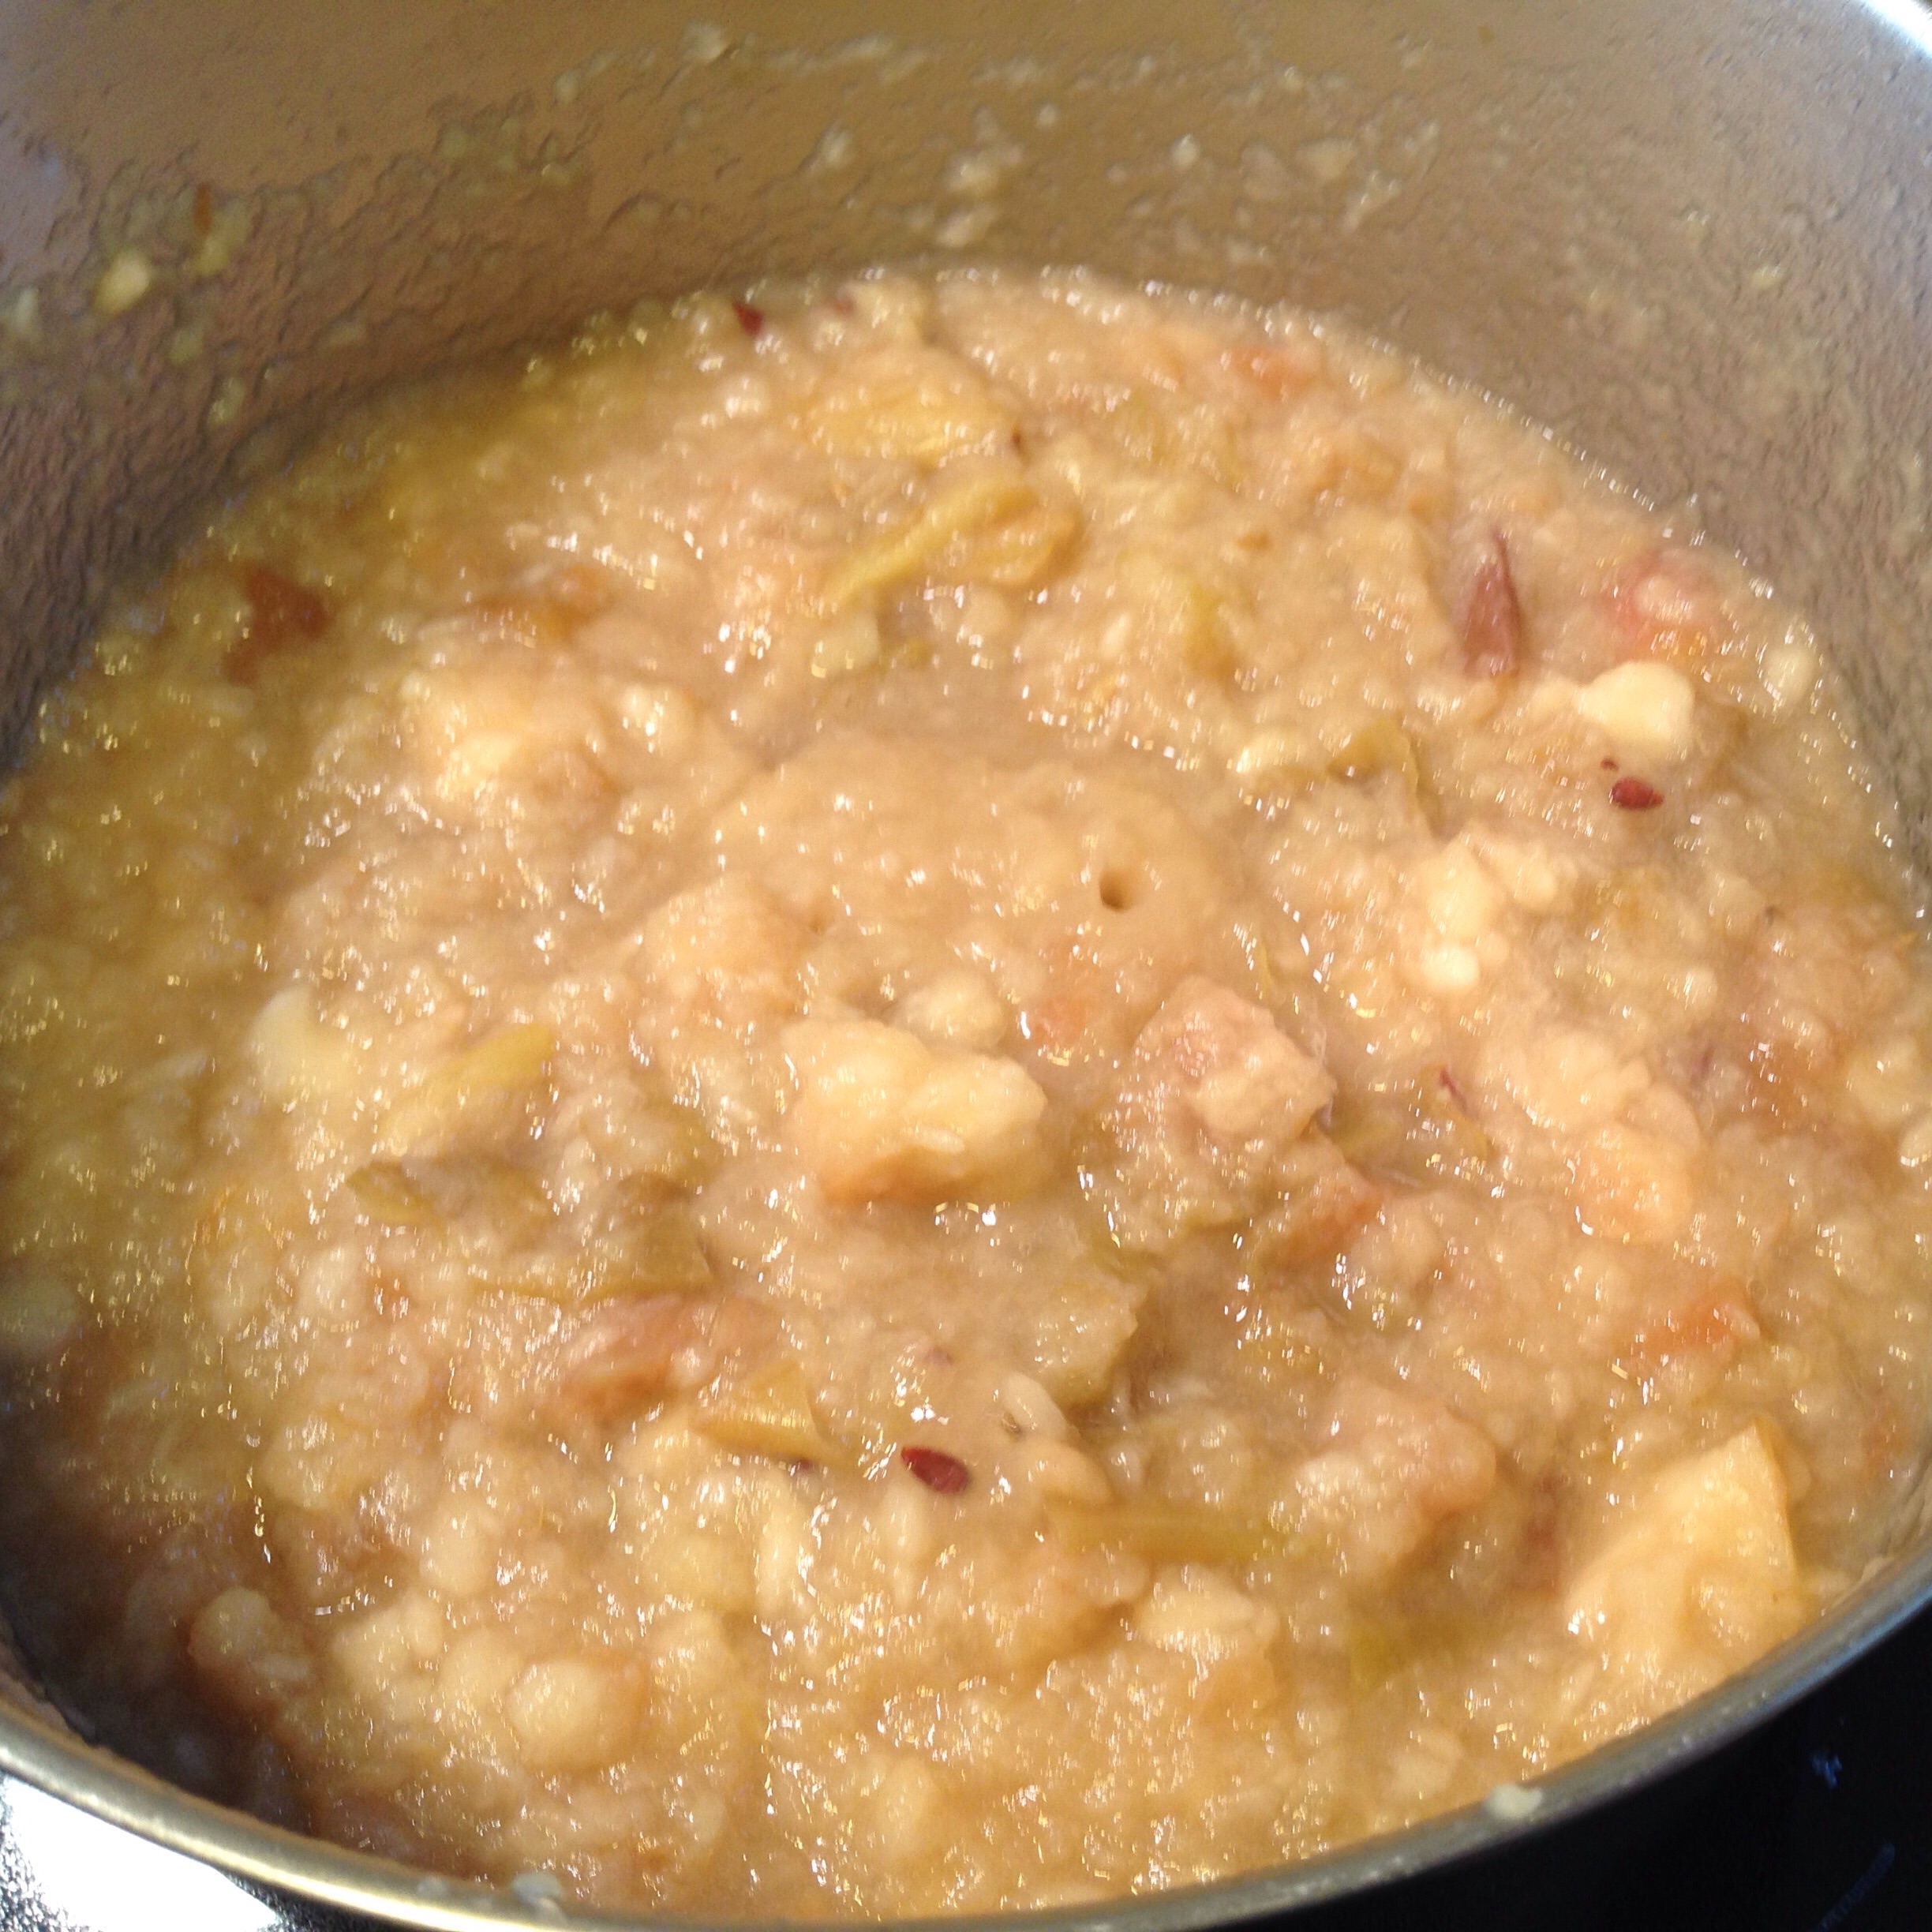
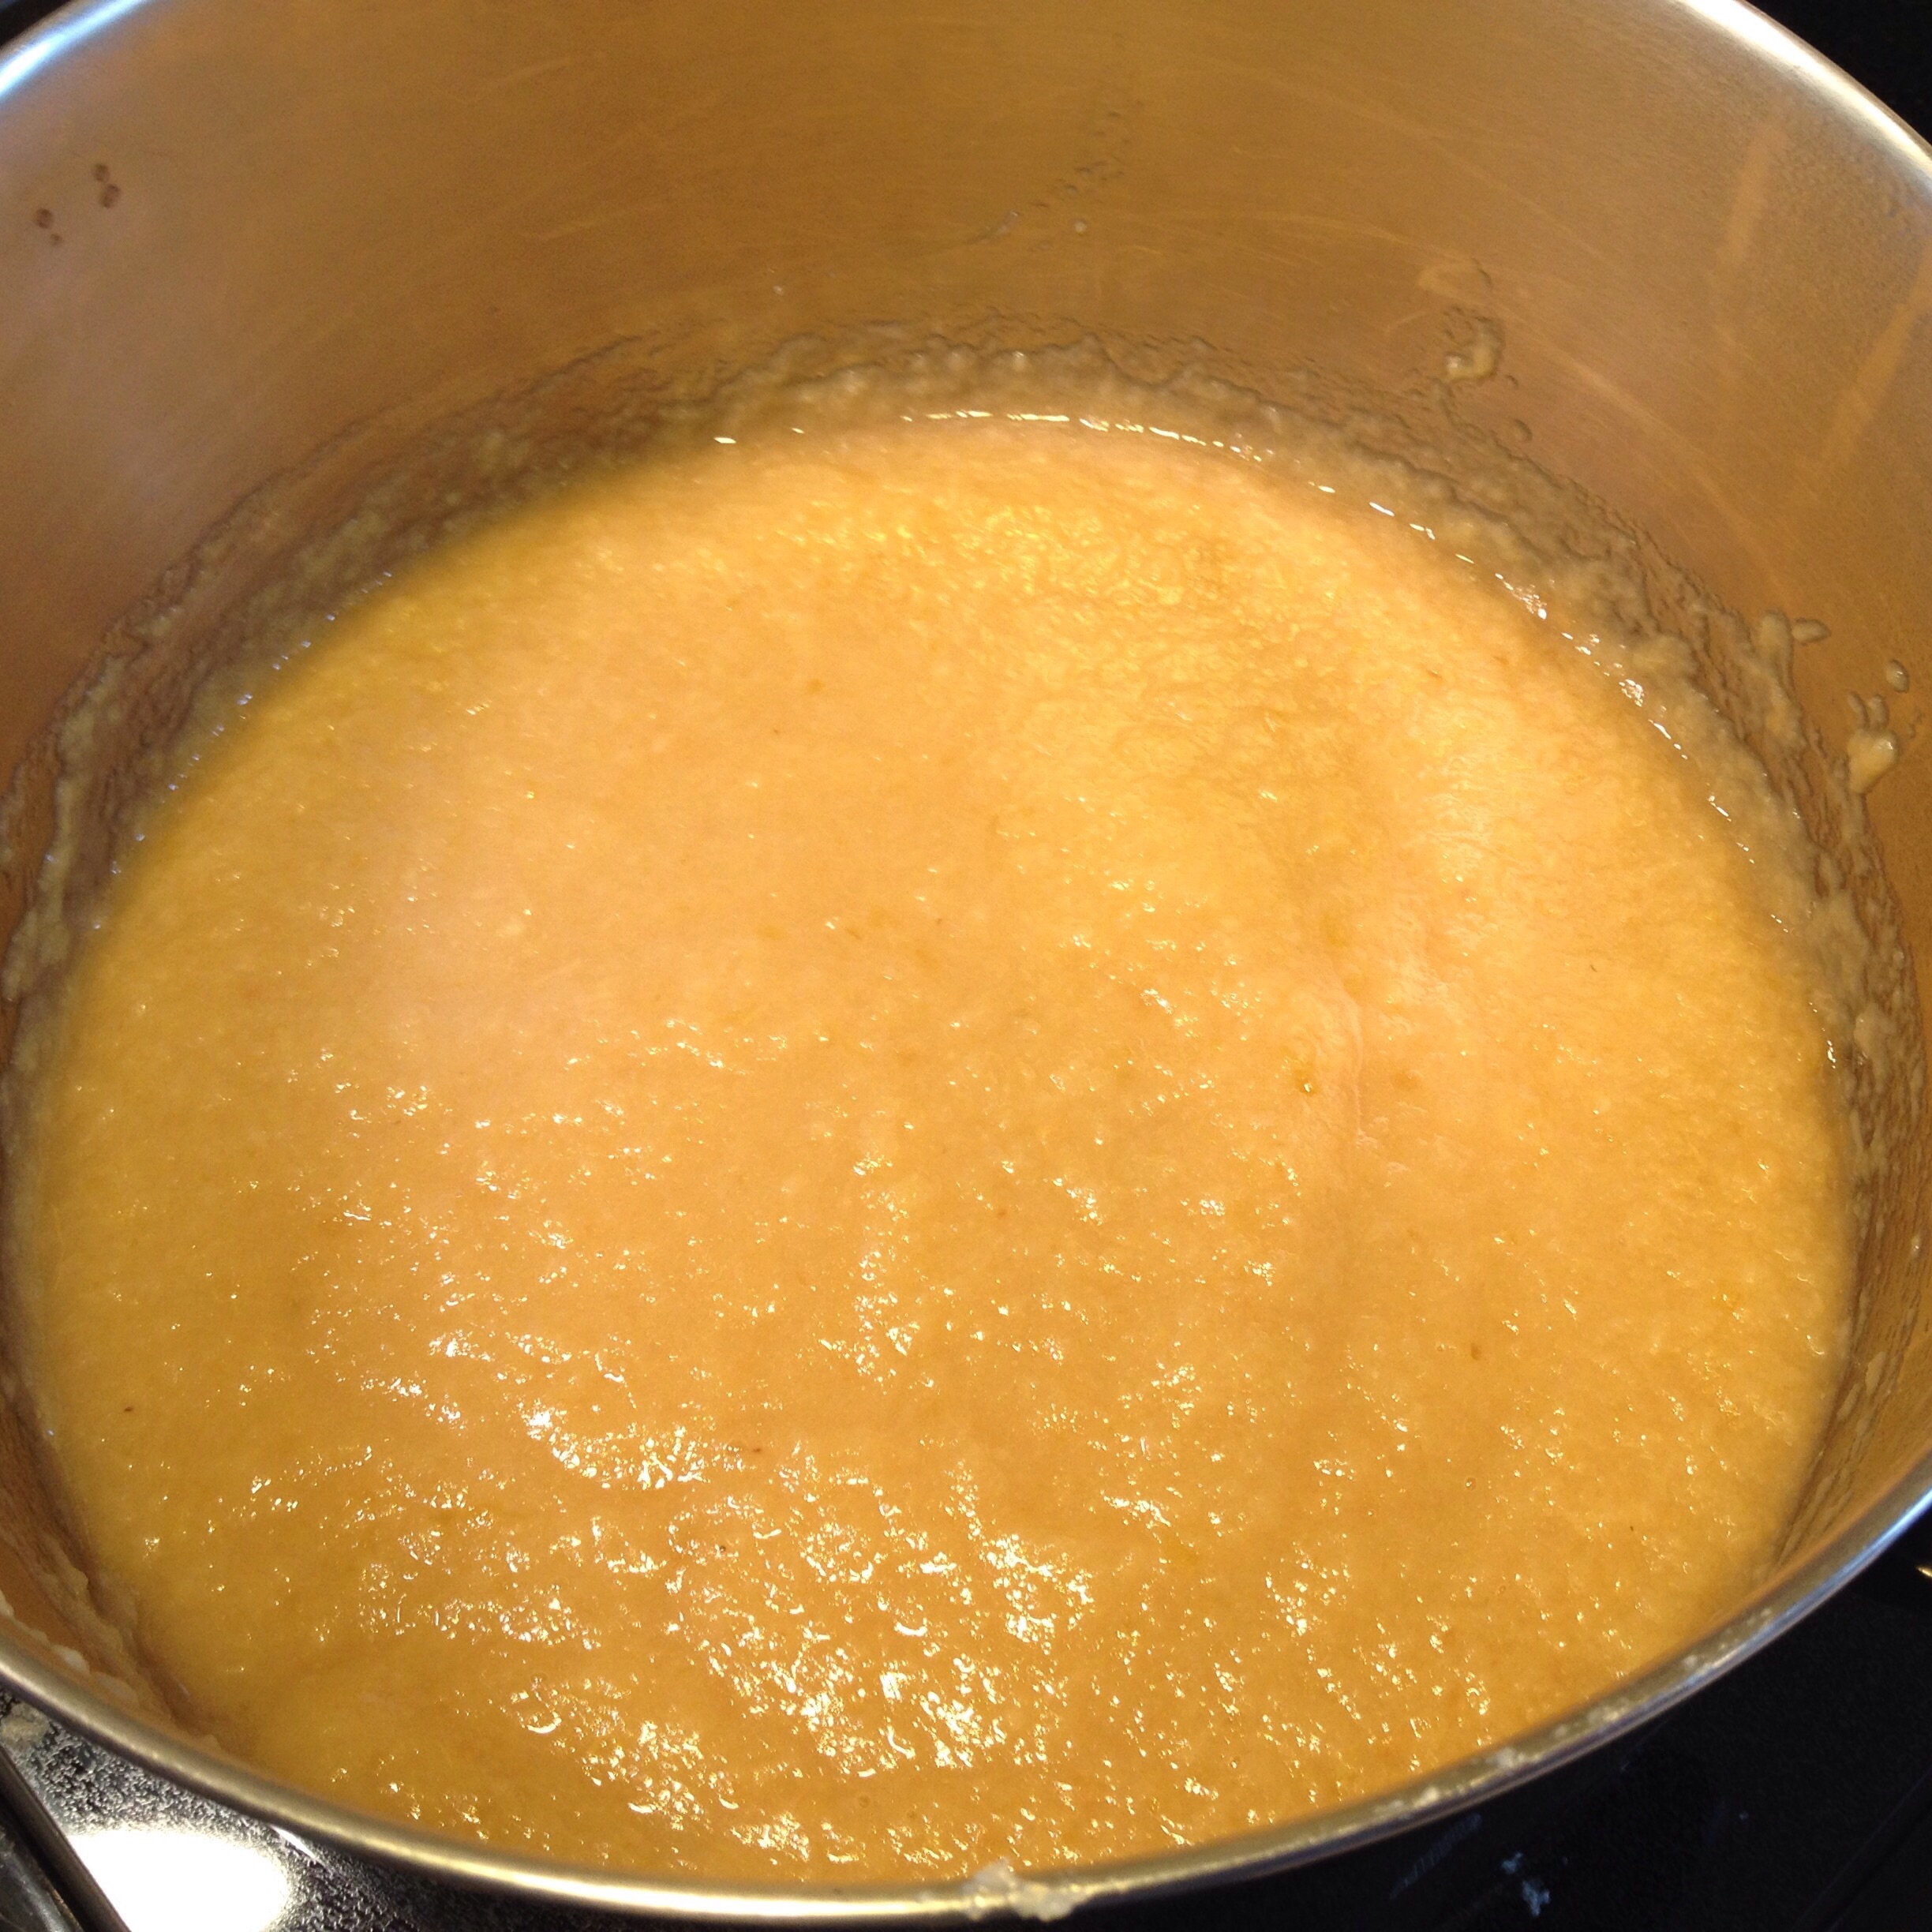
When the apples are all cooked down, and the pot looks like applesauce with skins in it, remove from heat and put through a food mill with the smaller holed disc. See how smooth and delicious the applesauce looks coming out the bottom of the food mill? Yum!

Once the applesauce has gone through the food mill, return it to the pot and bring to a boil before filling jars. At this point, some people also add sugar and spices to their applesauce. I never add sugar, as I've never had apples that need it, and I've found that I prefer canning plain applesauce. If I want cinnamon or other spices in my applesauce later, I can add it when I open the jar.
I preserve most of my applesauce in jelly jars because I love eating them in single servings for dessert or a snack. Ball recommends water bath canning applesauce in pints and quarts for 20 minutes. I process my jelly jars for 20 minutes as well, just to be safe. The extra cooking time doesn't effect the quality of the sauce because it has already cooked for so long before it is canned.
How much applesauce did I get from 25lbs of late-season apples? 30 jelly jars! Given the great price I got on the apples, each of these one-cup servings of applesauce cost just 20 cents. It doesn't get much better than that, and now I don't have to covet my few remaining jars from the fall. After this great experience, I plan to do all of my applesauce canning in the early spring with old storage apples. A great price and all the time in the world to make applesauce as I wait for the gardens to wake up!
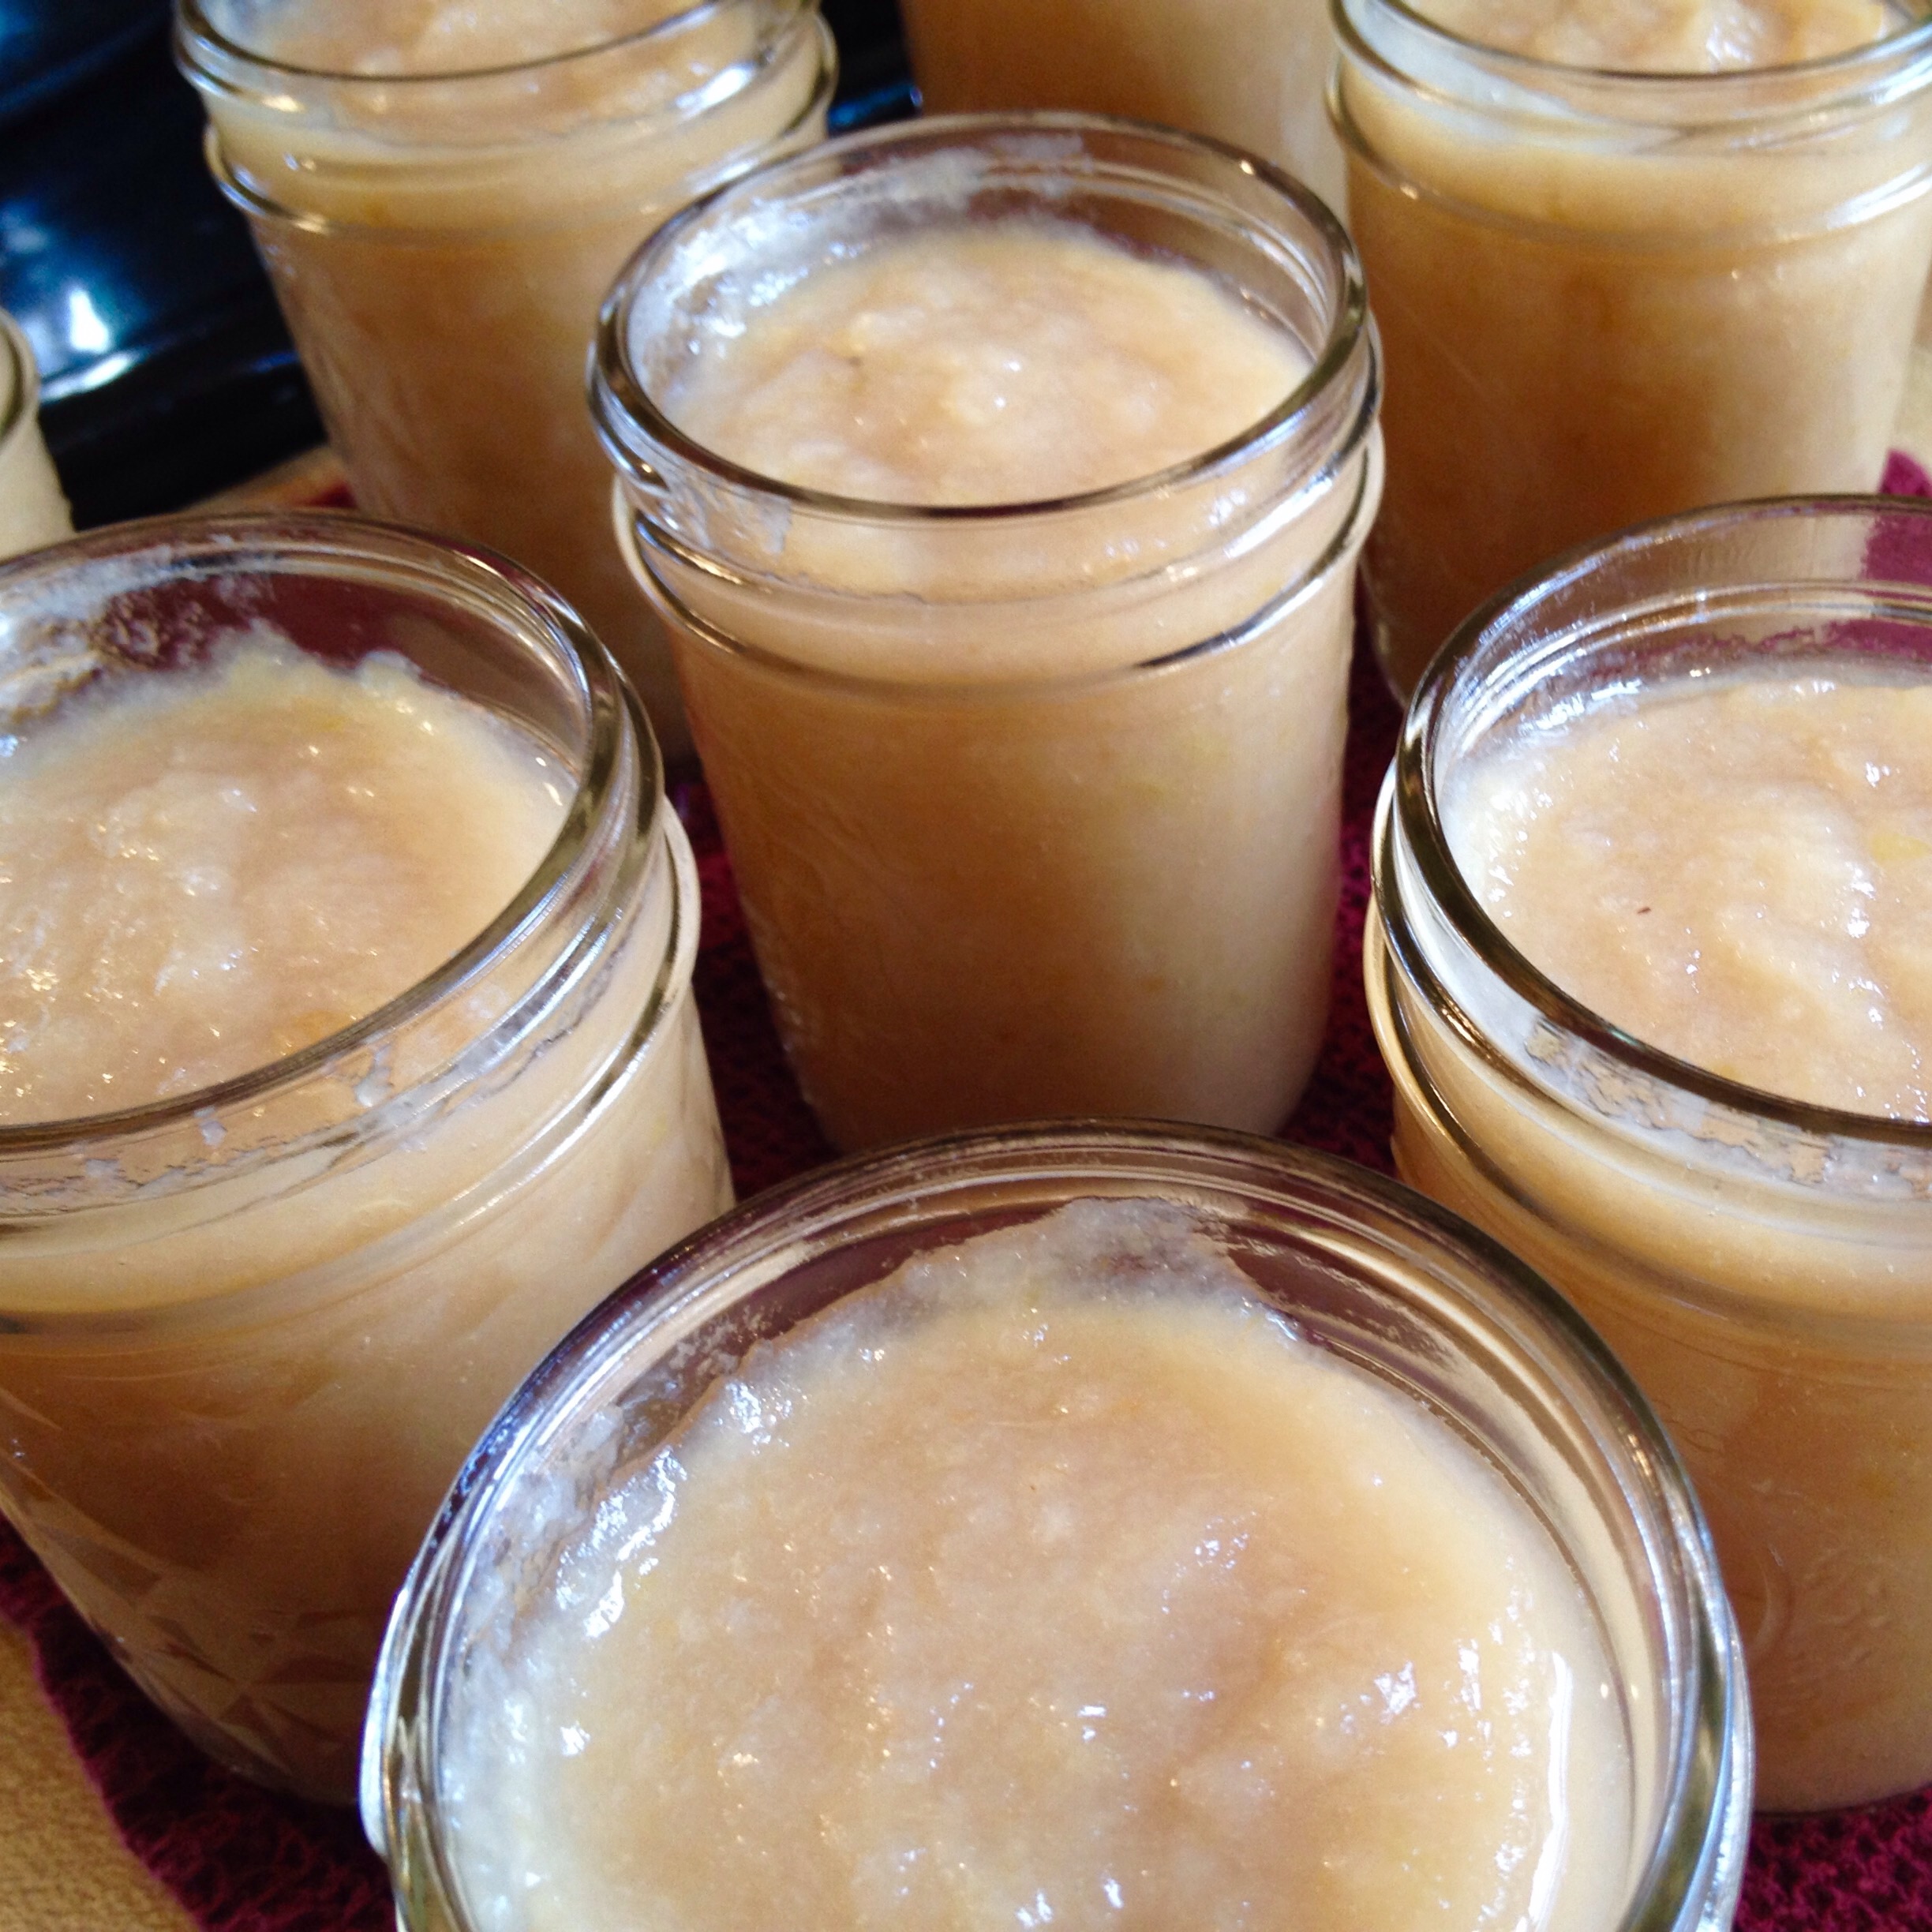
This variety of apple didn't make much of a pink sauce, but it's still so, so good. Now, where's my spoon...?
Pickle That Garlic Before it Goes Bad
Is your garlic looking a little worse for wear this time of year? Before nature turns your precious stash of garlic gold into paper husks, try making these easy refrigerator pickled garlic cloves.
Is your garlic looking a little worse for wear this time of year? Garlic bulbs know that spring is right around the corner, and even those stored in a cool, dry place might be starting to sprout, mold, or turn to dust. Before nature turns your precious stash of garlic gold into paper husks, try making these easy refrigerator pickles. That way, you can enjoy fresh garlic through the spring as you wait for the new crop to be ready.
The most time-consuming part of pickling garlic cloves is peeling all of that garlic at once. If you're fast with a knife, you can peel each clove individually. Otherwise, I recommend trying the Martha Stewart method, which is to separate the cloves, put them in a metal bowl, invert another metal bowl on top of the first, and shake the heck out of the cloves. After 10 seconds of shaking, the cloves should slip easily from the peels. I find that this method works better with large cloves, like she uses in the video, and not so well for small home-grown garlic cloves. Try it and see how you fare.

the smallest of our homegrown garlic
Pickled Garlic Ingredients:
garlic cloves
apple cider vinegar
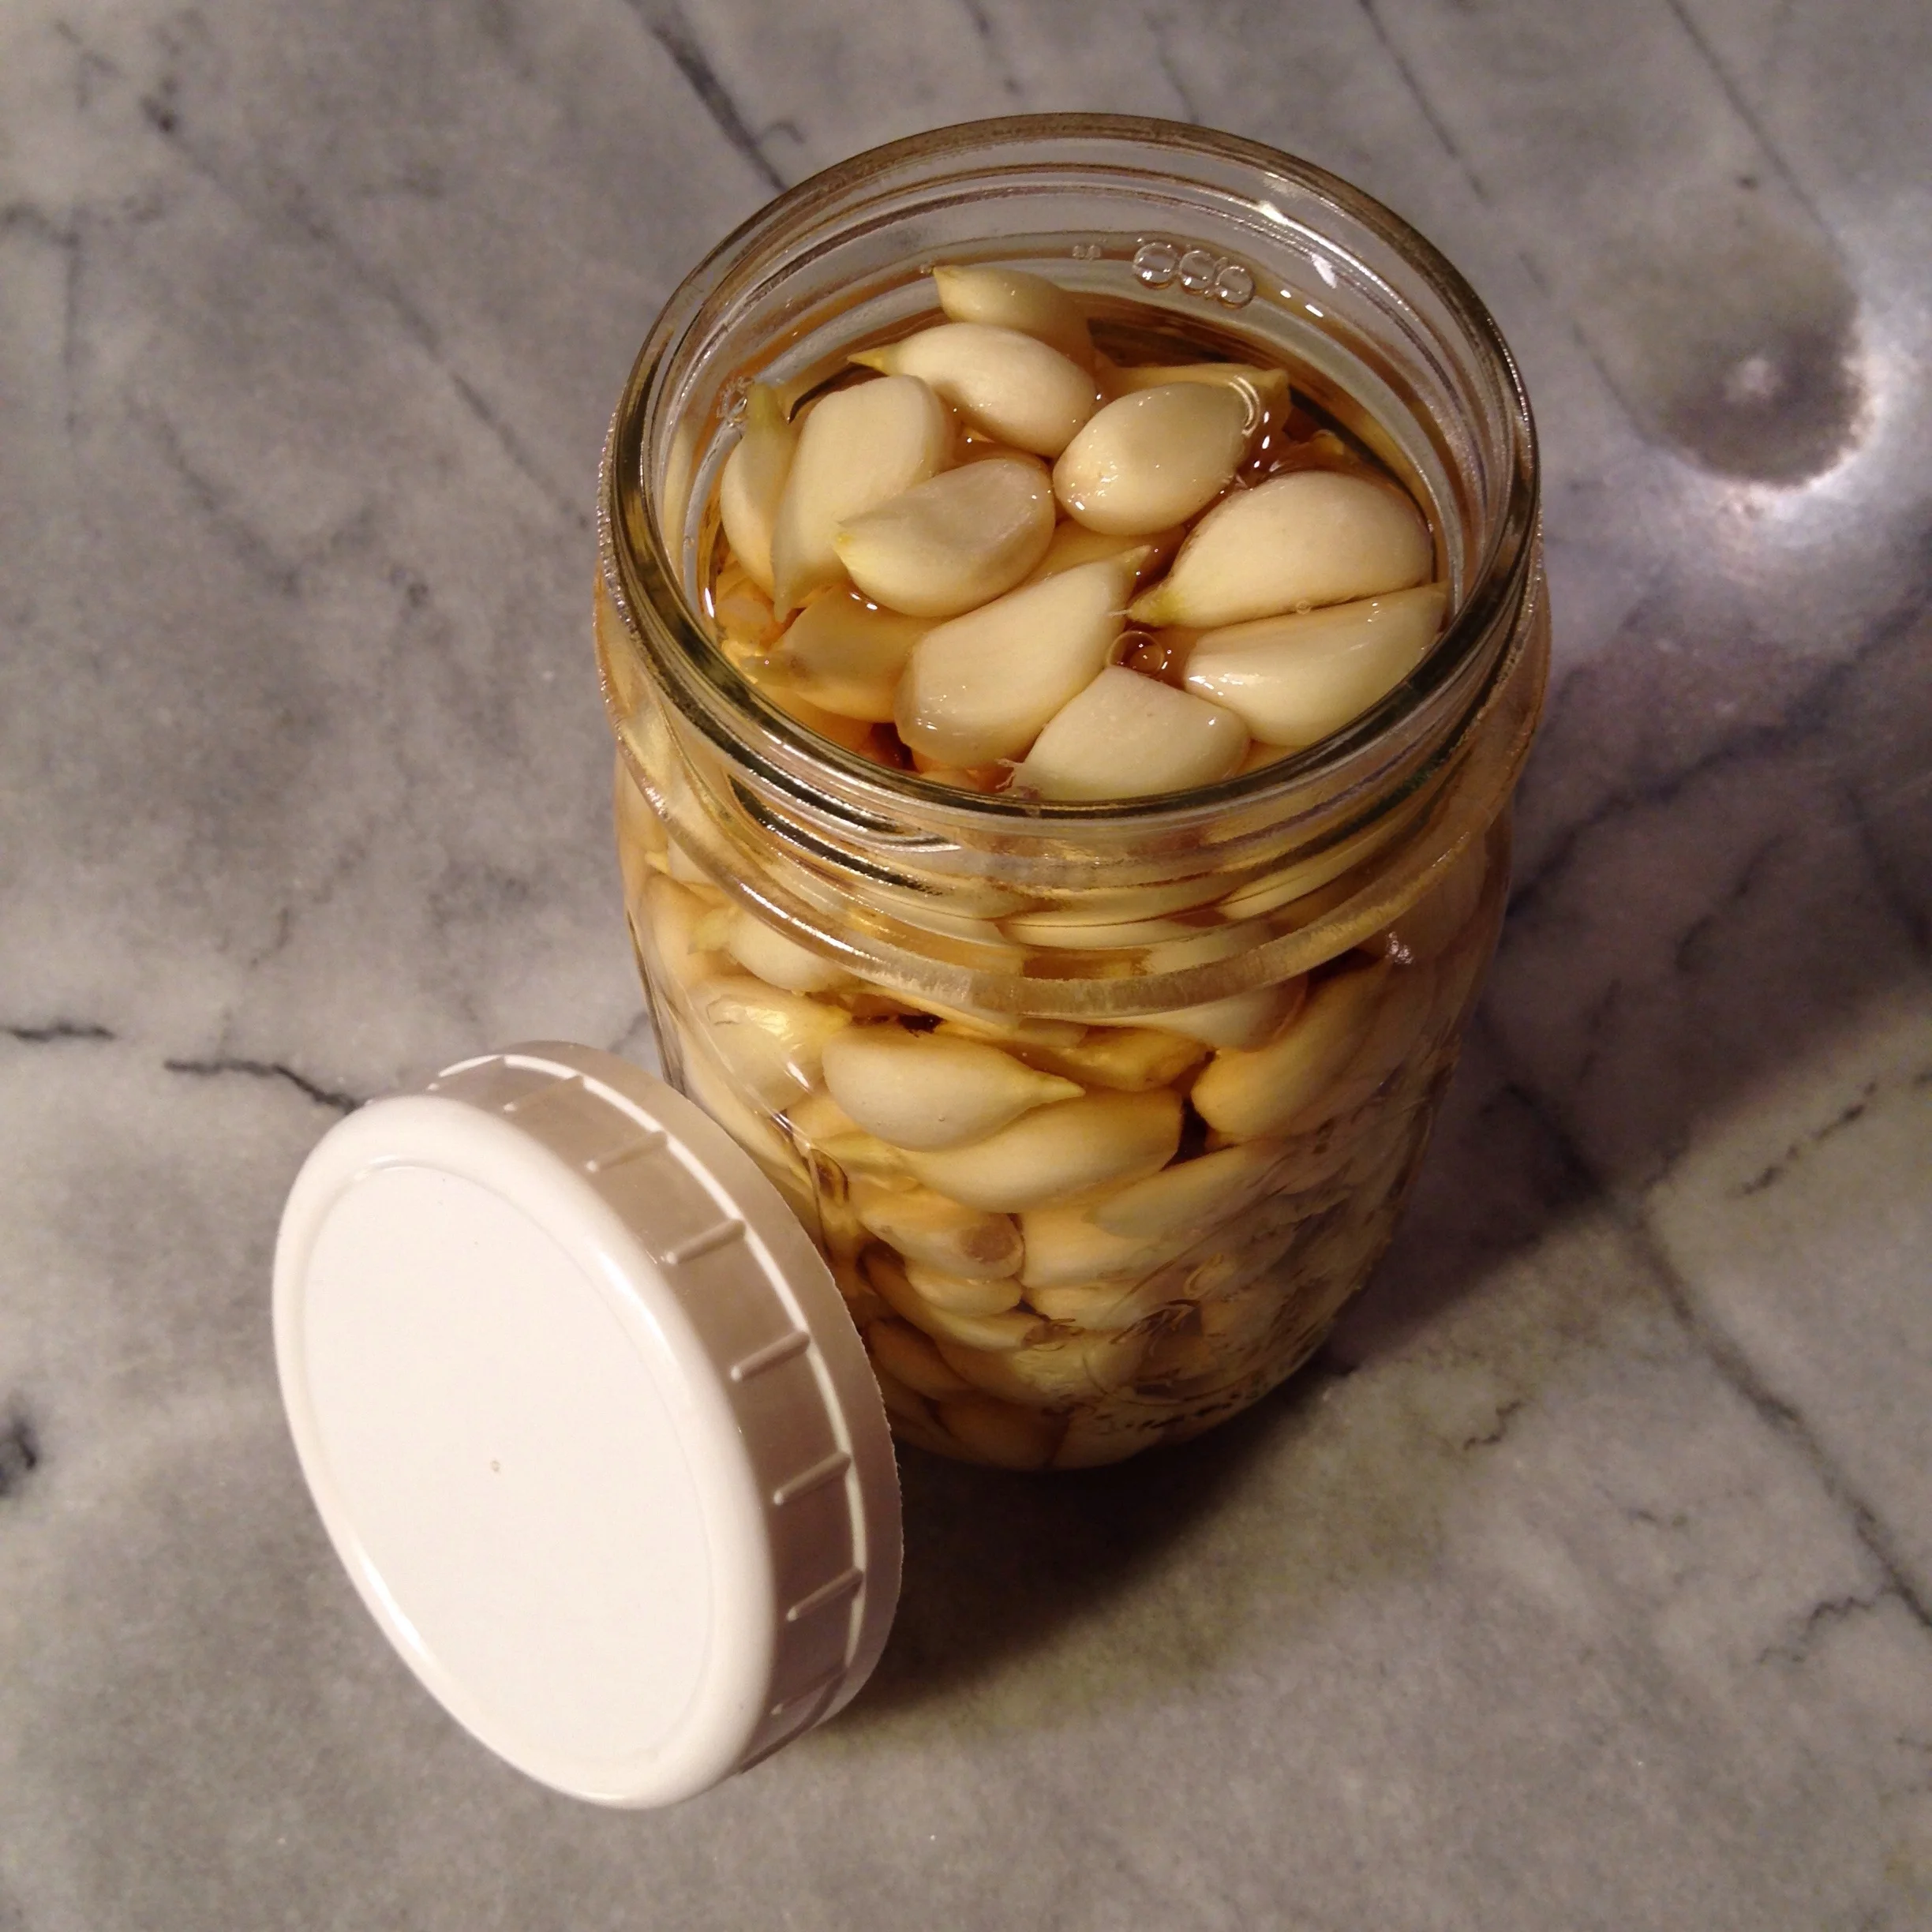
Once the cloves are peeled, fill a glass jar with the garlic. Then pour apple cider vinegar over the cloves, filling the jar. Cover the jar with a non-metallic lid (I use plastic Ball lids). Store pickled garlic in the fridge, or follow the Ball Blue Book recipe to water bath can pickled garlic.

all the tiny cloves are peeled
The cloves can be used immediately, though they keep for at least a year in the fridge, their taste mellowing with time. The vinegar itself is delicious after a few weeks and can be added to salads, cooked greens, or any meal that benefits from a pungent garlic flavored vinegar.

ready to go in the fridge
This is also the method I used to preserve a pint of wild ramps that I was given by a friend last spring. It worked beautifully, and I am still savoring the last of the small bulbs in special meals.
Unfed Sourdough Pizza Crust
So, you've got a sourdough starter in the fridge. Now what?
So, you've got a sourdough starter in the fridge. Now what? My favorite way to use starter is to add unfed starter to baking recipes such as pancakes, pretzels, and pizza dough. What is unfed sourdough? It is the cup of starter that you remove BEFORE each time you feed your starter, hence the name "unfed." Using unfed starter gives your recipes a boost of yeast and a ton of flavor.

Here is the recipe I use to make an easy pizza crust in my bread machine:
1 cup unfed sourdough starter
1/2 cup lukewarm water
2 1/2 cups unbleached white flour
1 tsp. salt
1/2 tsp. yeast
Directions: Add all ingredients to your bread machine. The list above is in the order that my bread machine requires; adjust accordingly if your bread machine works better with a different order of ingredients. Run your bread machine on the Dough cycle. When the dough is finished in the bread machine, remove and shape into two pizza crusts (or one VERY thick crust). Cover crusts and allow to rest for 15 minutes. Prick the top of each crust in multiple places with a fork. Bake at 450 degrees F for 8 minutes, remove crusts from oven and add pizza toppings, then return pizza to the oven to finish baking for 10 minutes more. Keep an eye on the pizza until you get a feel for the temperature of your oven, as they can burn quickly at 450 degrees, and adjust cooking time accordingly.

Remove 1 cup of unfed sourdough starter as the basis of this recipe..

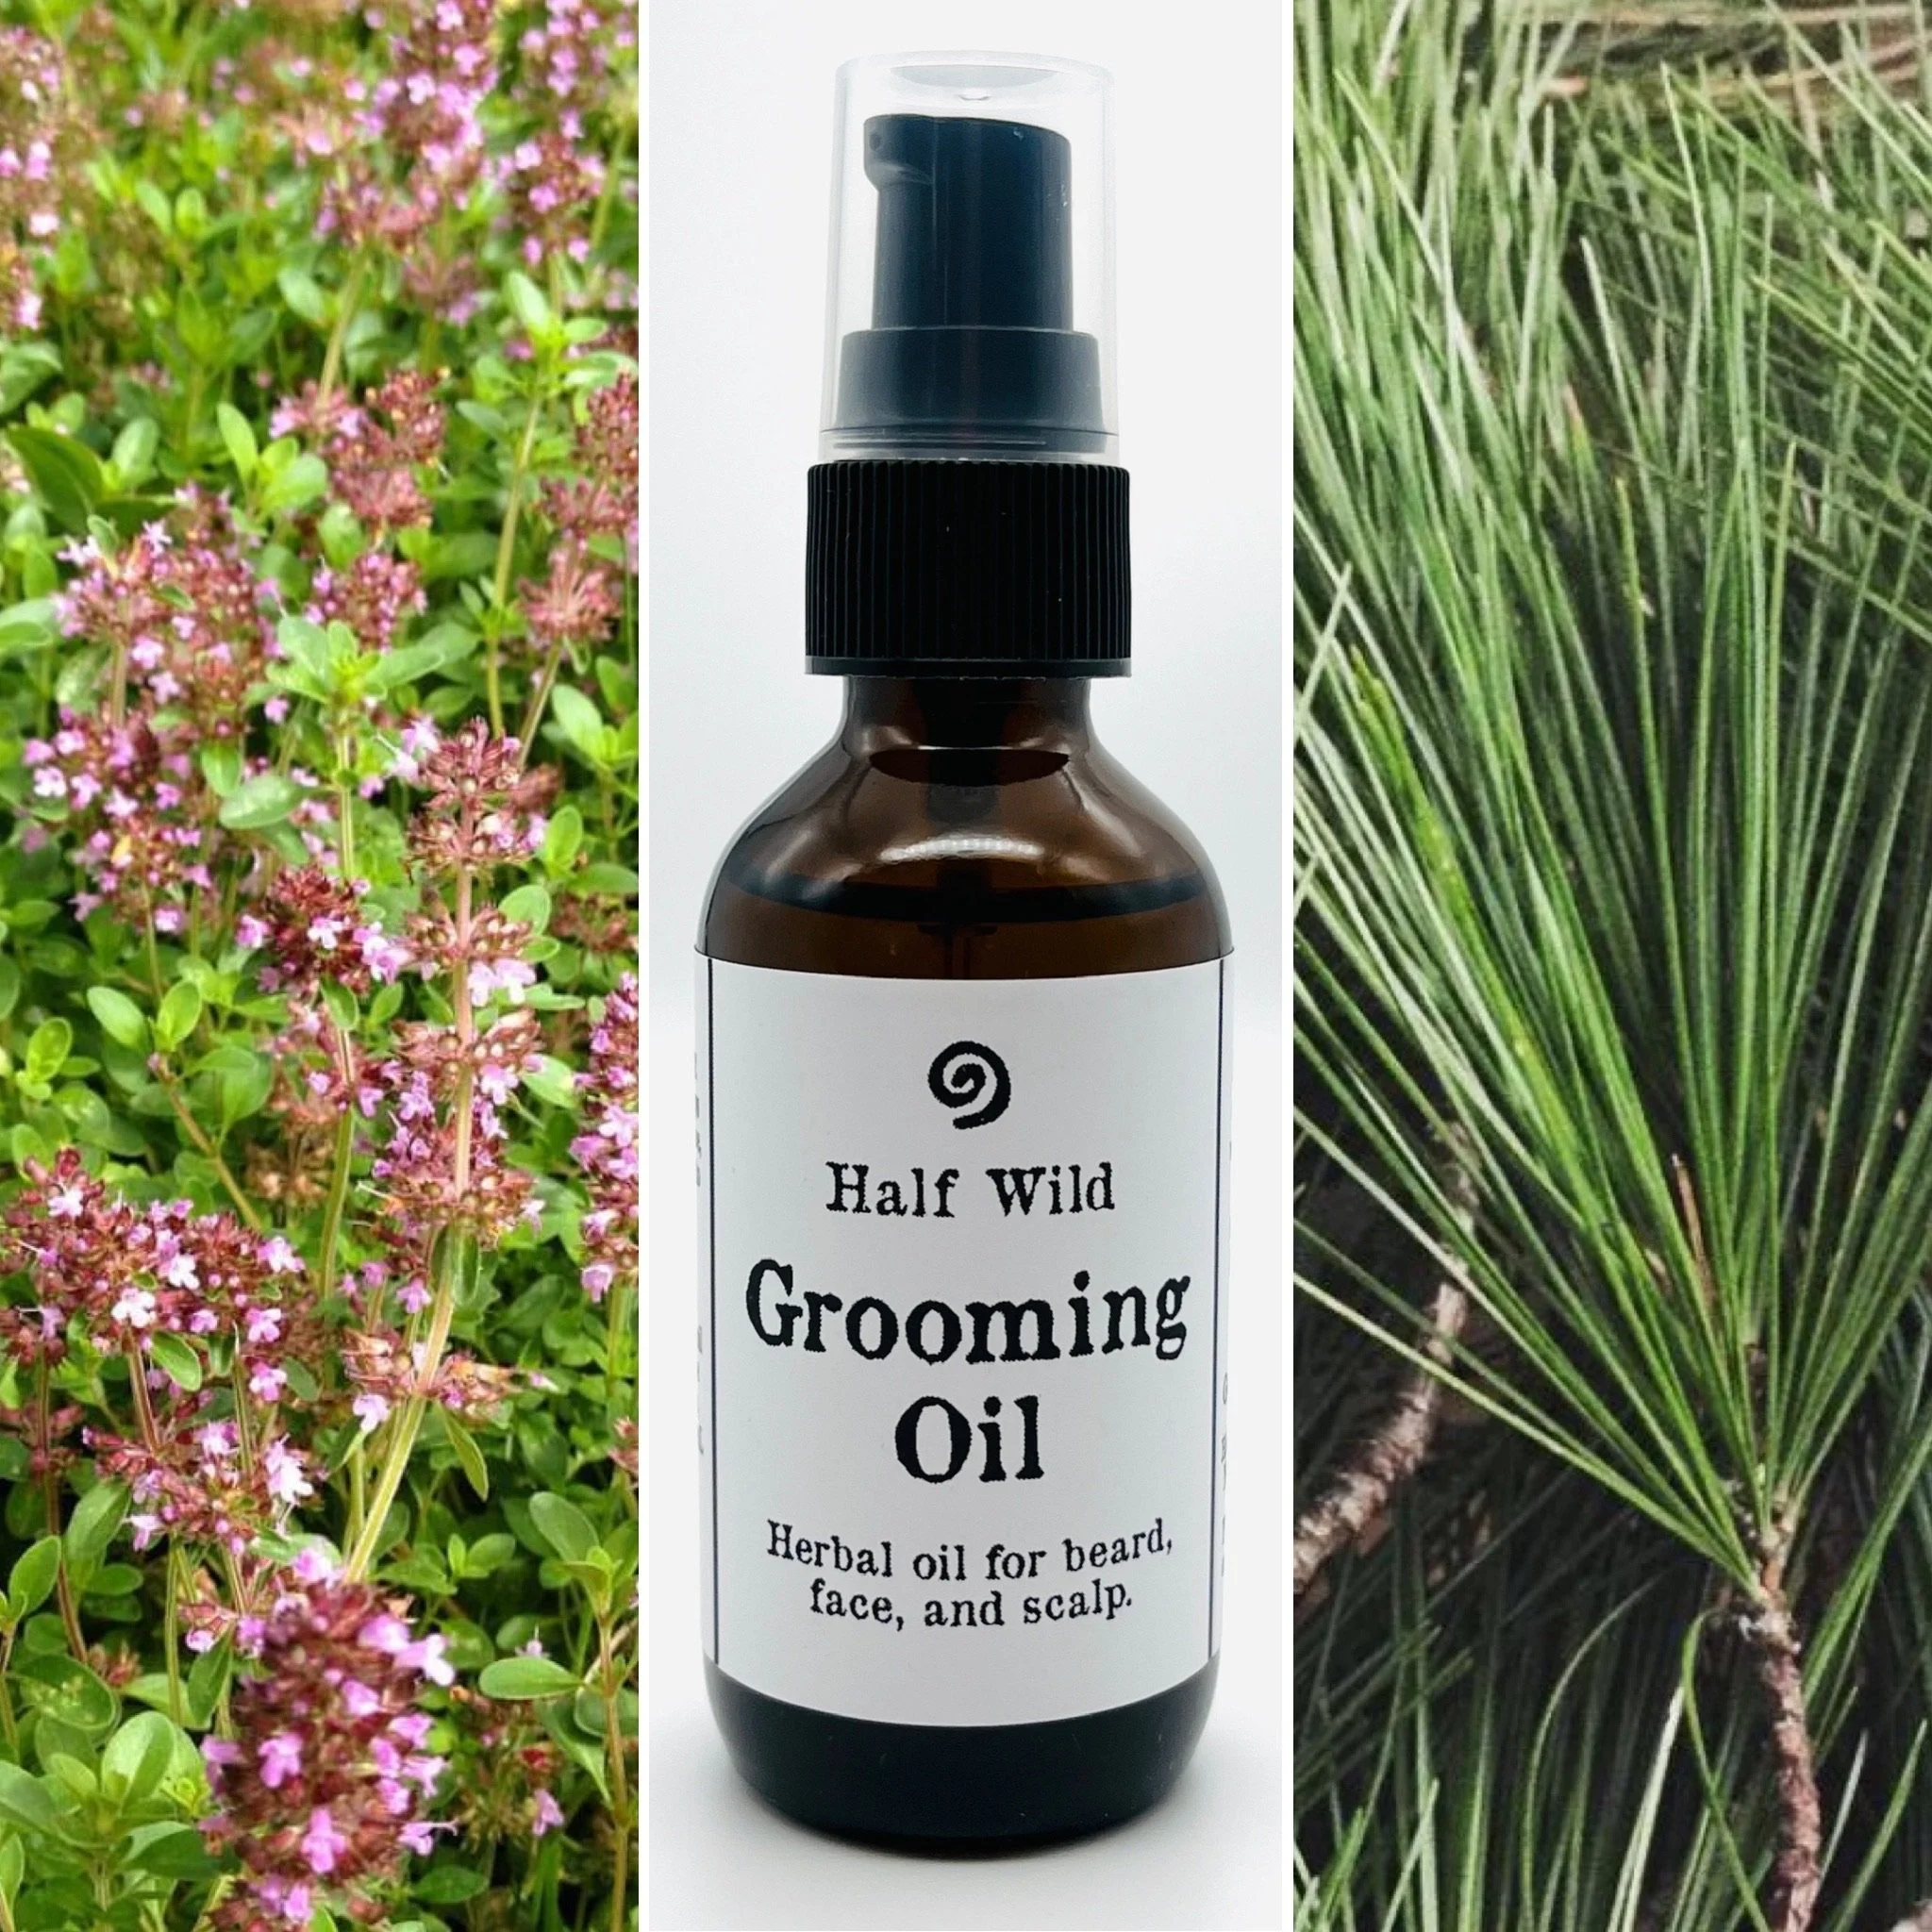







Natural Protection for the Outdoors
Herbal Bug Spray is a refreshing, herb-infused mist designed to keep your comfortable during your time outdoors. Made with thyme and other herbs grown on our farm, this formula is thoughtfully crafted to help you enjoy nature without unwatned distractions. Light and easy to apply, it is perfect for hikes, picnics, or any adventure under the open sky.
Best For: Outdoor Adventures, Hiking, Gardening, Camping
Not for use on pets.
This 56 mL bottle comes with a treatment pump that can be refilled twice with our Herbal Bug Spray Refill.
We offer sliding scale prices. Please select an option below to support our small business at a price that matches your ability to pay.